
Learn how to create a folded Text Effect
In today’s tutorial you will learn the famous folded effect. We are creating a folded text effect, but you can use it on anything you like papers, badges or buttons may be. It’s really up to you. So let’s start.
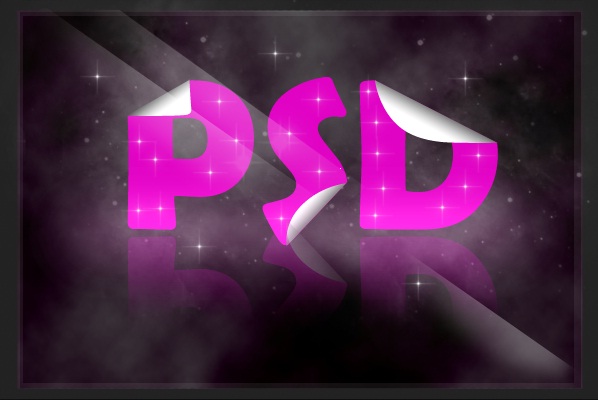
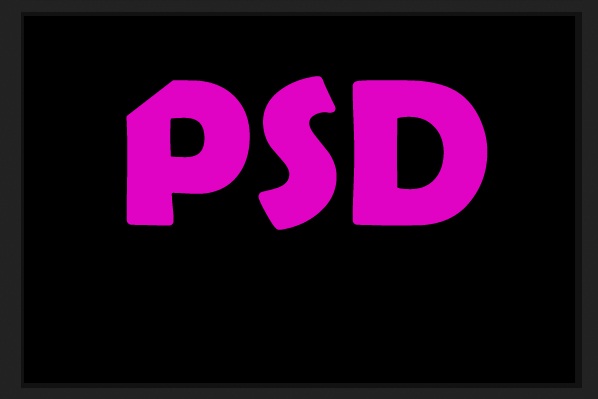
Preview:-
Step 1:-
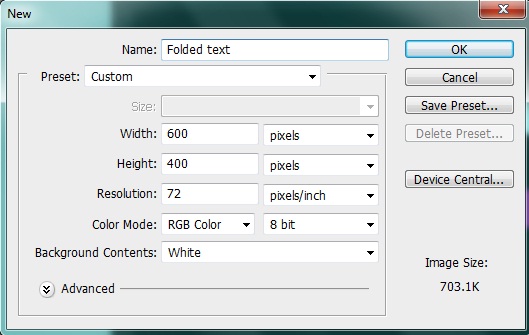
Create a new file with 600px width and 400px height.
Step 2:-
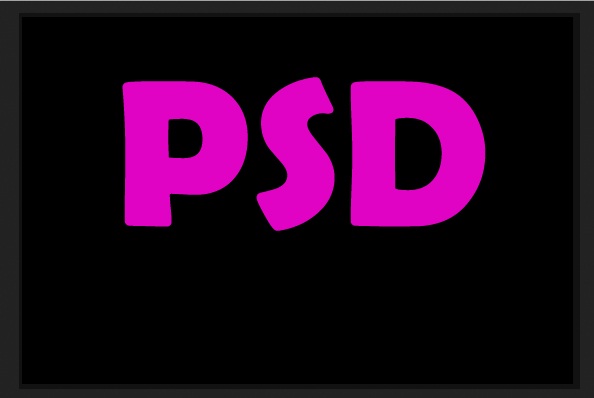
Select the “paint bucket tool” and fill our background with # 000000. Or you can also add a frame if you want.

Step 3:-
Now select the “Text Tool” and add text. You can use whatever color you like but I’m using this # e103c4.
Step 4:-
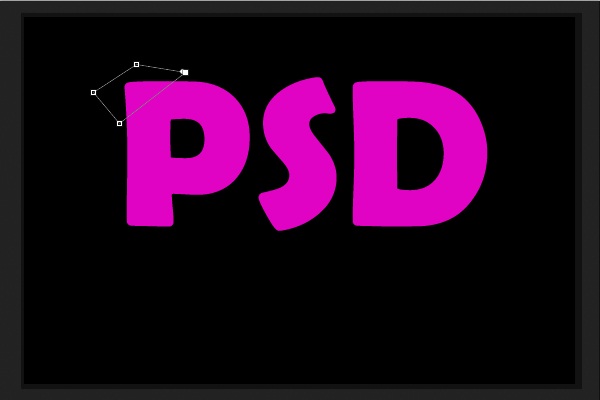
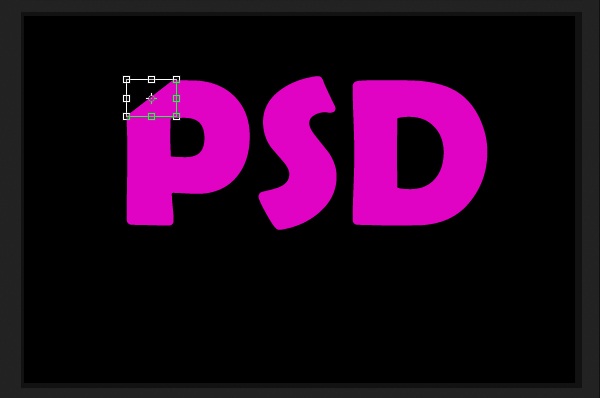
Now select the “Pen Tool” and create a rectangle on the upper corner of our “P”.
Step 5:-
Now right click on the path and select “Make selection”. And then click Edit> Cut.
Step 6:-
Now paste it. Then click edit> Free Transform, right click select “Flip horizontal” and then “Flip vertical”.
Step 7:-
Click on Layer> Layer style> gradient overlay and add a gradient to it. Select white and black gradient for this. And keep the setting same as shown in the picture below.
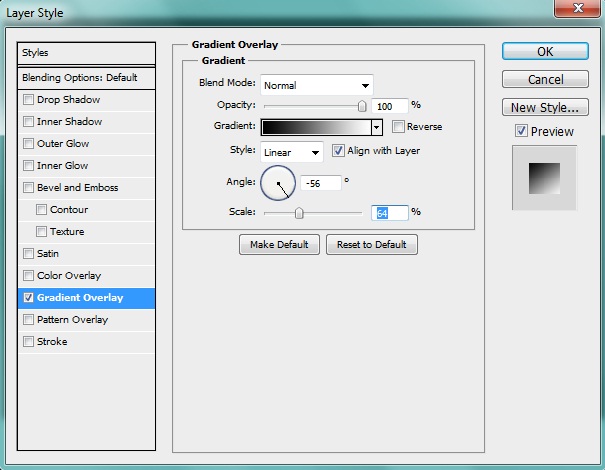
Step 8:-
Now we’ll repeat the same process with other letters.
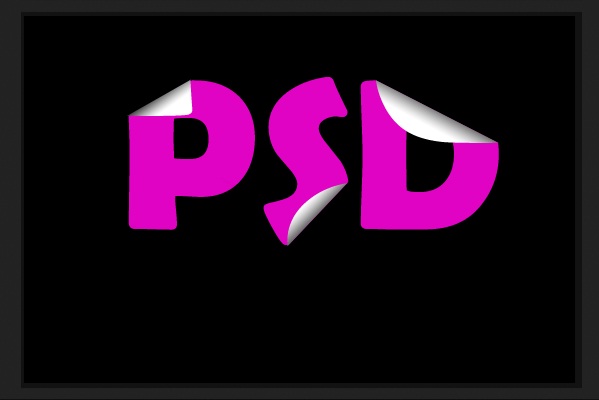
Step 9:-
Now we’ll create a reflection. For this we need to group these layers. Then right click on the group and select “Duplicate Group”. Now click on edit > Free transform, right click on it and select “Flip vertical”. Now place it under our main text.
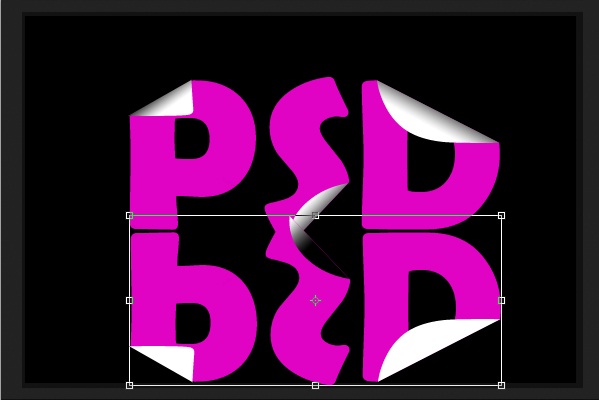
Step 10:-
First select the eraser tool and remove the lower area using “Soft round brush” and then select the brush tool and use “Soft round brush” with 50px size and color # ff85ef. Use it between the our main text and reflection and reduce the opacity to 15%.
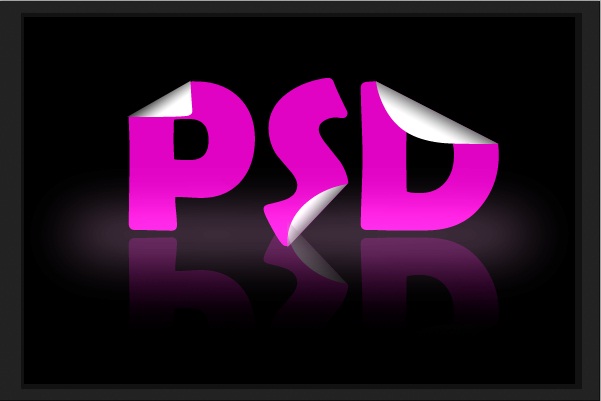
Now we are done you have learn how to create the folded look. Its pretty simple isn’t. Now if you want you can add some stars and texture to enhance the appearance. Let’s have a look at our final result.


