
Learn how to create an awesome flaming card in photoshop
Hey guys, today we’ll learn how to create an amazing flaming card in photoshop. I’m going to show you how we can use different techniques to get an awesome result. Today, we are going to try some simple photo manipulation tips and will create our own card from the scratch. However, before we start let’s see what we need.
We’ll need the Fire image and some Grunge Brushes.
Preview:-

Step 1:-
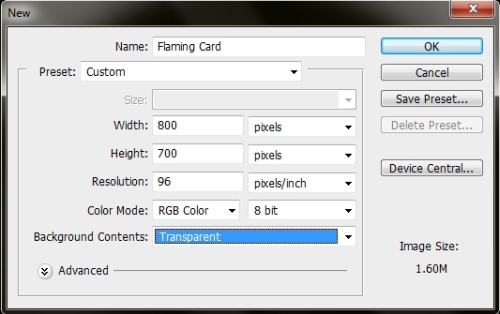
Let’s start with creating a new file of 800 width and 700 height. And keep the background transparent.
Step 2:-
Now fill the background using “Paint bucket Tool” with foreground color # 000000.

Step 3:-
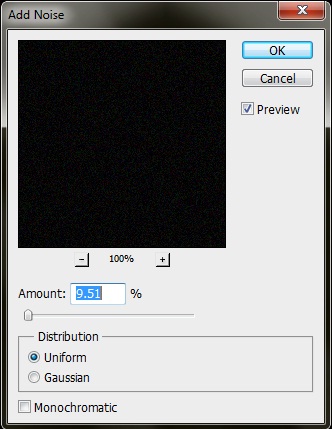
Now create a new layer simply click on layer>New>layer. Now we’ll add the noise to our background. Click on, Filter>Noise>Add noise. Keep the noise about 9.51%.
Step 4:-
Now create another layer and select the “Brush Tool” with 2px brush size and # 646464 foreground color. Use the brush randomly on our background and then reduce the opacity to 10%.

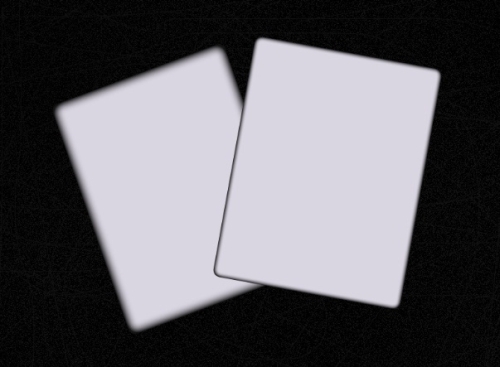
Step 5:-
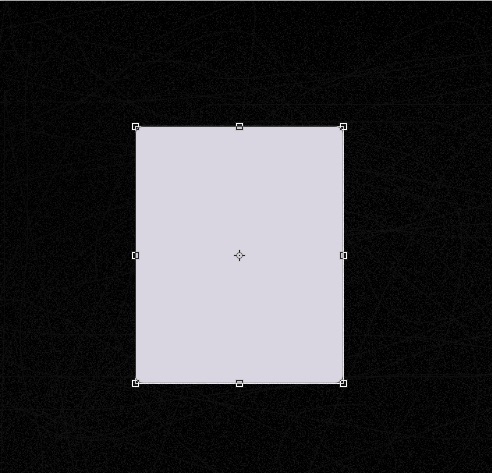
Select the “Rounded Rectangle Tool” and create a small rectangle for our card. Fill it with # d9d5e1.
Step 6:-
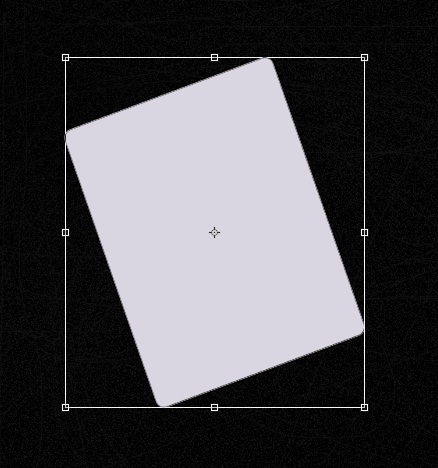
Now rotate the card for this click on Edit>free transform.
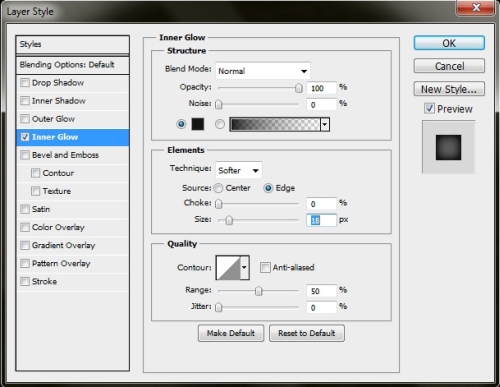
Step 7:-
Now add some inner glow to our card. Click on Layer> style layer> Inner glow with color # 141414.
Step 8:-
Now repeat the same process and create another card or you can simply press down ctrl/cmd +J to duplicate the layer.
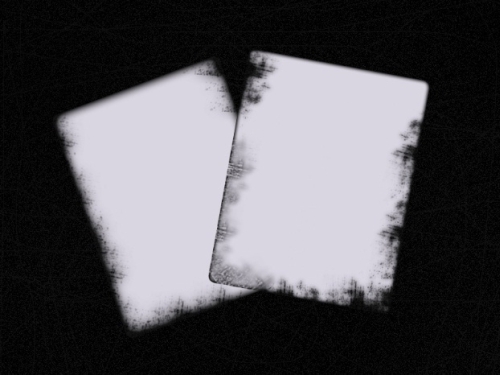
Step 9:-
Now load the grunge brushes mentioned above. Then select the “Eraser Tool”, select a grunge brush and use it on the edges of our cards to get the torn effect.
Step 10:-
Now use the “Burn Tool” on the top of each card. And create the leaf shape using “Pen Tool”.
Step 11:-
Now open the fire image mentioned above. Copy it to cards.
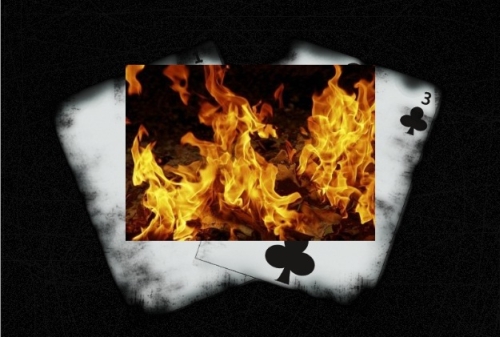
Step 12:-
Now select the “Eraser Tool” and remove the area around the flame as much as you can. But it doesn’t have to be too perfect.
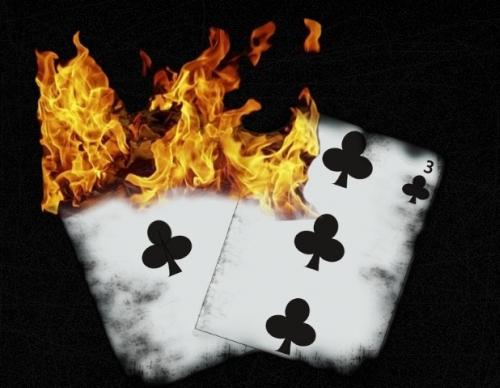
Step 13:-
Now we’ll duplicate our fire layer. Simply right click on the layer and click on “Duplicate layer”. Then arrange the fire using “Move Tool”.
Step 14:-
Now select the “Lasso Tool” and select a small flame. Copy it and paste it on the lower edge of our card.
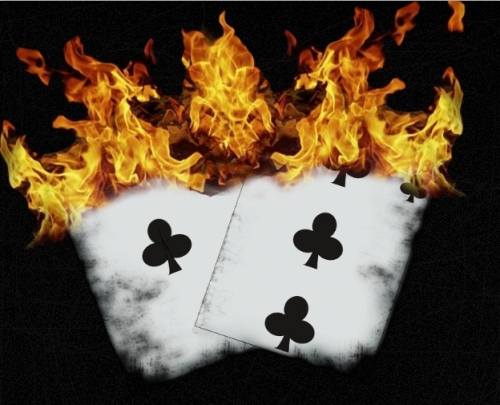
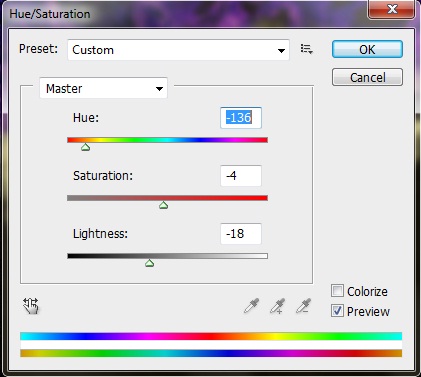
Step 15:-
Now we’ll change the color of our flames and for that click on Image>Adjustments>Hue/saturations. Drag the arrows until you get the desired color.
Step 16:-
Now just reduce the opacity of our flames to 80% and we are done.

Here you go. I hope you guys enjoyed the tutorial and learned something interesting. Do try this and share your results. Thanks


