
Learn how to create a Glass orb in Photoshop
Hi, I’m back with a new tutorial. And in this tutorial we are going to learn how to create an elegant glass orb. We’ll create this using our famous Photoshop. So before we start let’s see what we need. We need some good images. I’ll use a girl image and a Landscape image .
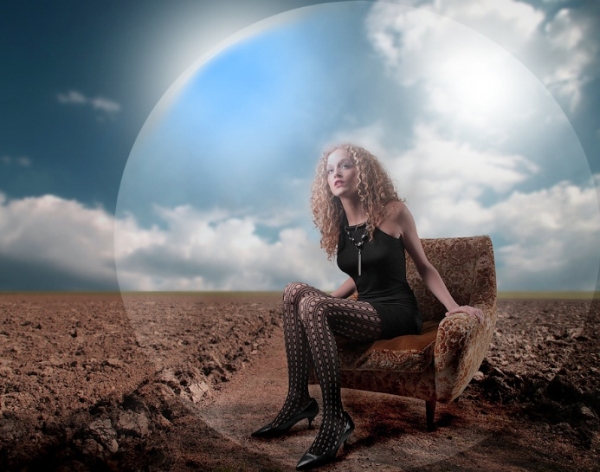
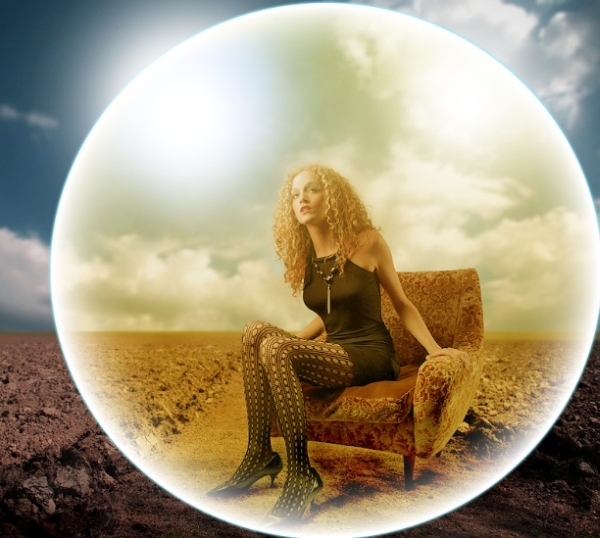
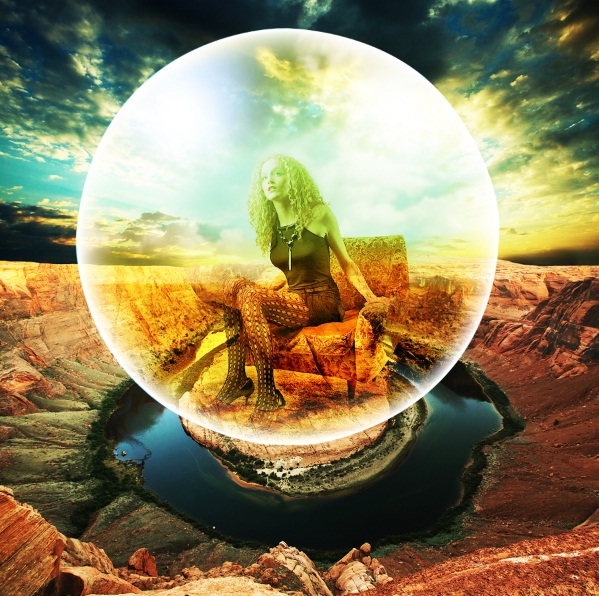
Final preview:-

Step 1:-
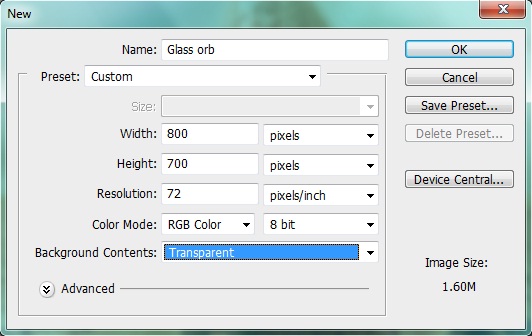
First open the photoshop and create a new file. Keep the width 800px and Height 700px.
Step 2:-
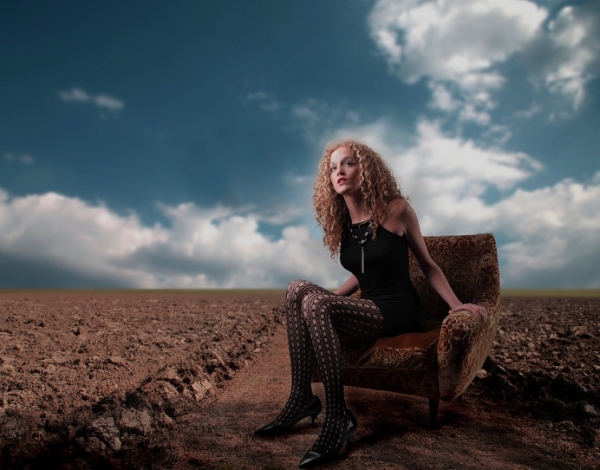
Now open the “Girl” image.
Step 3:-
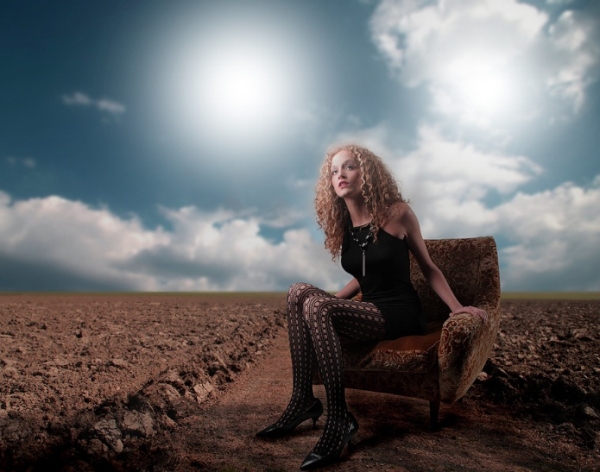
Now select the “Soft Round Brush” with 250px size and change the foreground color to #ffffff. Now use it randomly on the background.
Step 4:-
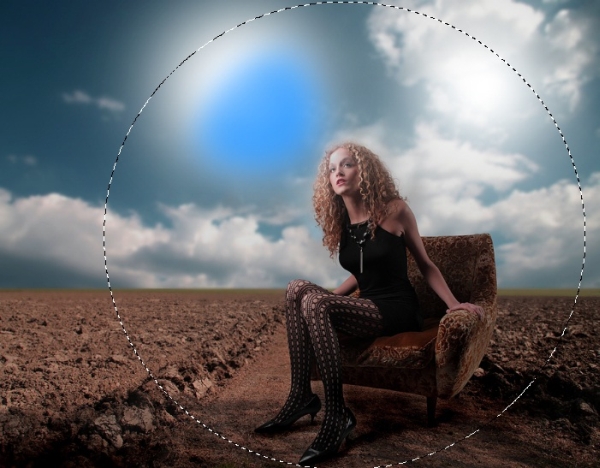
Now create a new layer for this click on Layer> new> Layer. Then change the foreground color to # 0084ff. And once again use the “Soft Round brush”.

Step 5:-
Now select the “Elliptical Marquee Tool” and create a circle around the girl.
Step 6:-
Now create a new layer and change the foreground color to # 747474. Then click on Filter> Render> Clouds.
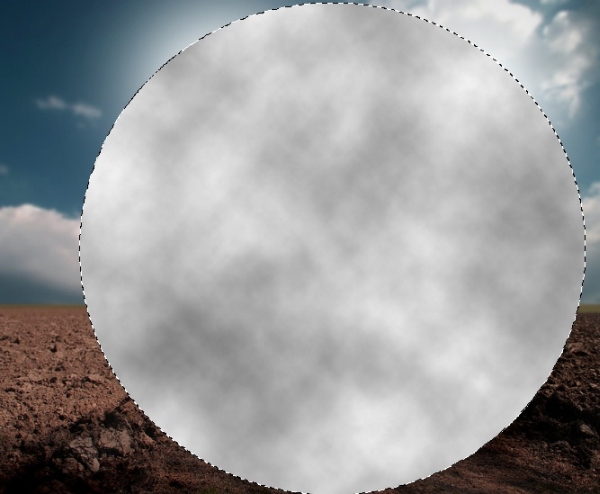
Step 7:-
Now change the blending mode of our clouds layer to “Soft Light”.
Step 8:-
We’ll add some layer styles to our orb. First click on layer> Layer Style> Outer Glow. And add outer glow with color # 94effd.
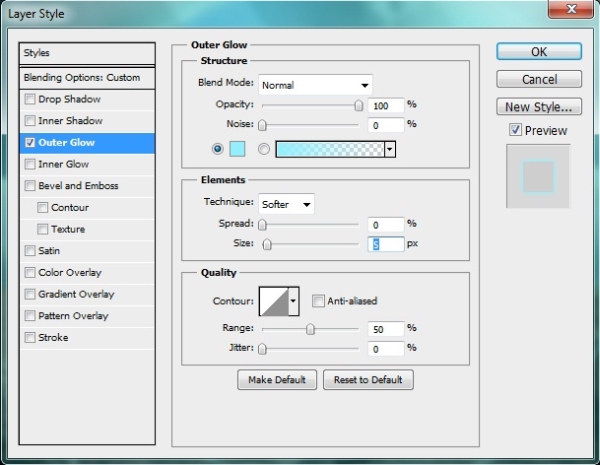
Step 9:-
Now click on Layer> Layer Style> Inner Glow. And add inner glow with color # ffffff.
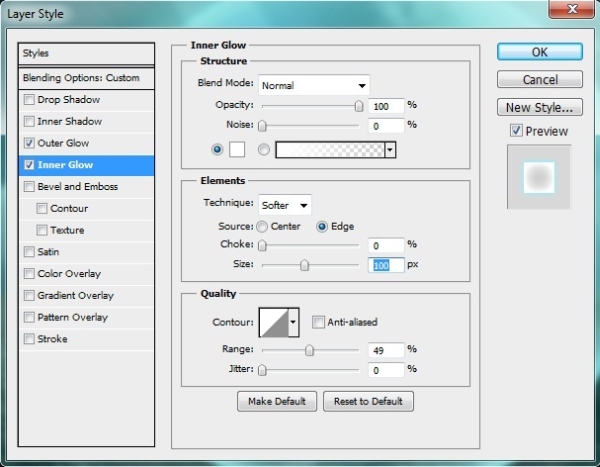
Step 10:-
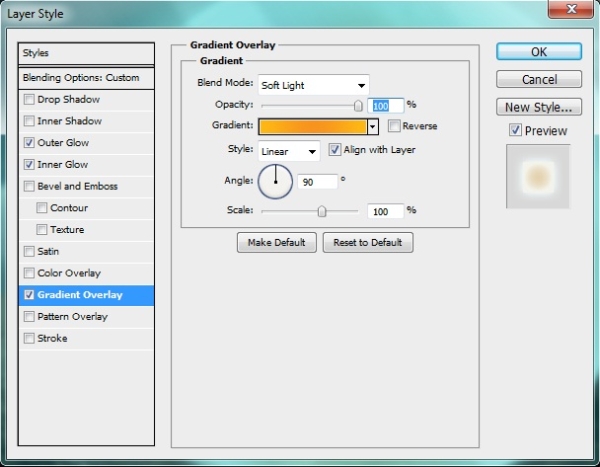
Now click on Layer> Layer Style> Gradient Overlay. And add a yellow color gradient to our orb.
Step 11:-
Now again we’ll select the “Soft Round Brush” and use it on the side of our orb with color # ffffff.
Step 12:-
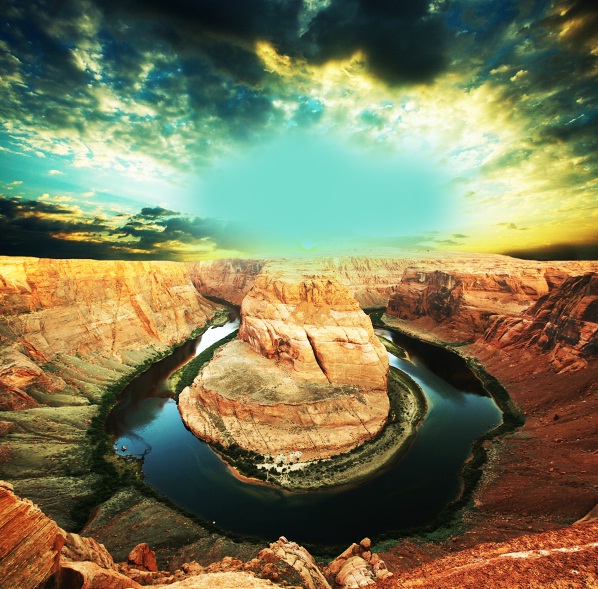
Now open our next image. And paste it on our main file.

Step 13:-
Now select the “Soft Round Brush” and we’ll use it on the main shiny part of the image with color # 79ddcd.
Step 14:-
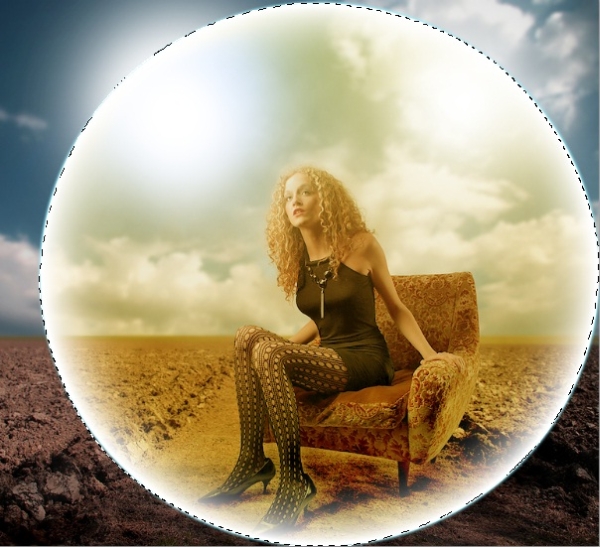
Now select the “Pen Tool” and select our orb with it. Then right click on it and select “Make selection”. Now click on edit> Copy.
Step 15:-
Now paste it on our second image. And change the blending mode to “Hard light”. And we are done.
Hope you guys enjoyed it. Do try this easy tutorial and share your results. Thanks


