
Learn how to create an action poster in photoshop
Hi everyone, I’m back again with another tutorial. Today, you will learn how to create an awesome poster in Photoshop. We’ll use some simple photoshop techniques and get an amazing result. So let’s begin. But first we’ll need to have a few things to create this.
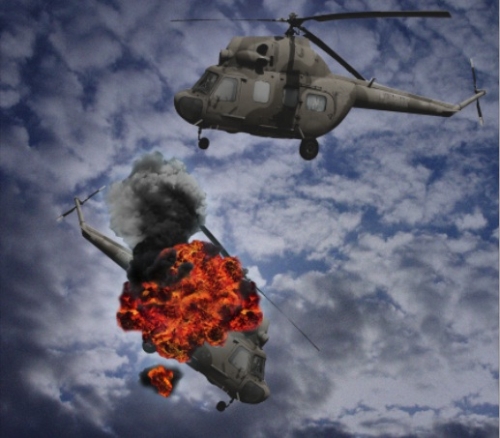
We’ll need helicopter image, sky image, smoke image and fire image.
Let’s have a look at our final result:-

Step 1:-
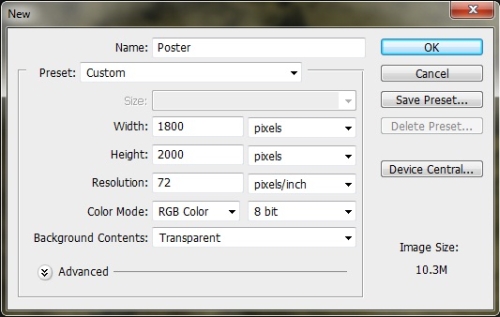
Create a new file. File>New, and keep the width 1800px and height 2000px.
Step 2:-
Now fill the background with # 000000 with “Paint bucket Tool”.

Step 3:-
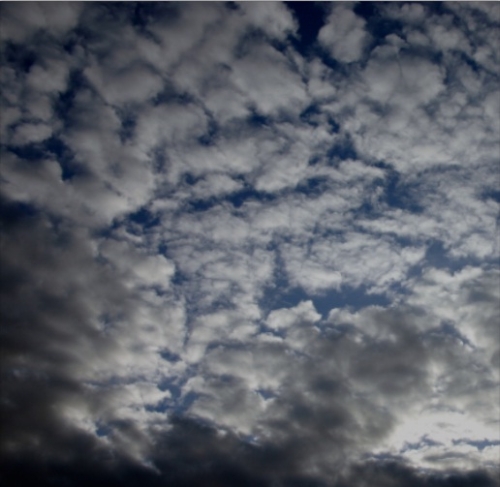
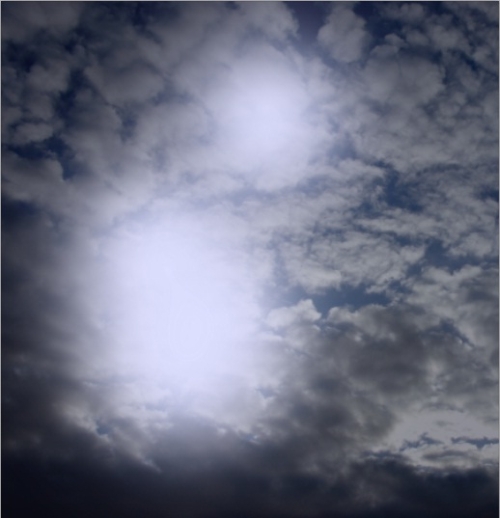
Now open the sky image and paste it on our file. Then reduce the opacity of the sky layer to 75%.
Step 4:-
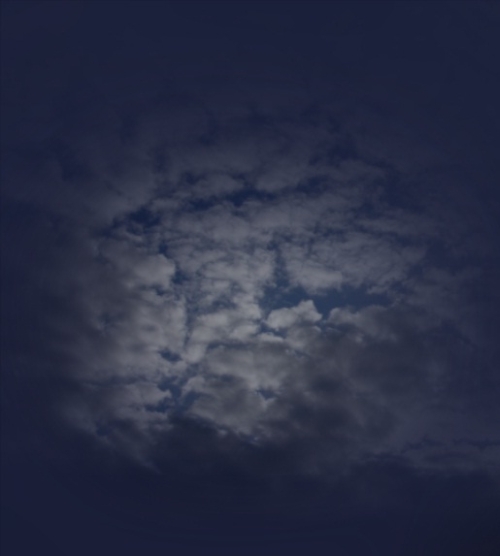
Make sure you create a new layer for each further step. So click on Layer>New>Layer. Now select the Soft Round brush with 500px size and # 1f243d foreground color. And use it on the edges.
Step 5:-
Now reduce the opacity of the color layer to 35%.
Step 6:-
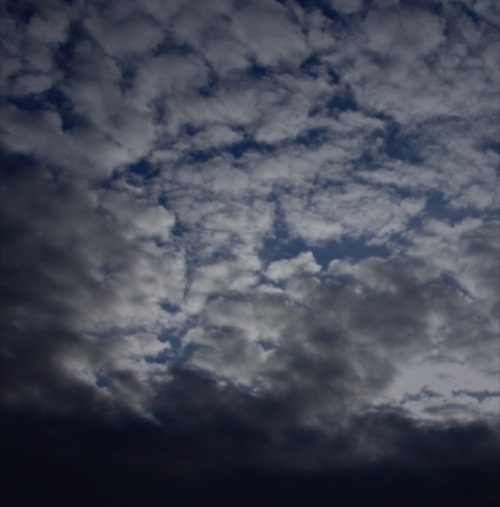
Now select the Soft Round brush again. With foreground color # dcdefe. Use it 2 to 3 times where we are going to place our helicopters.
Step 7:-
Now reduce the opacity of the previous layer to 40%.

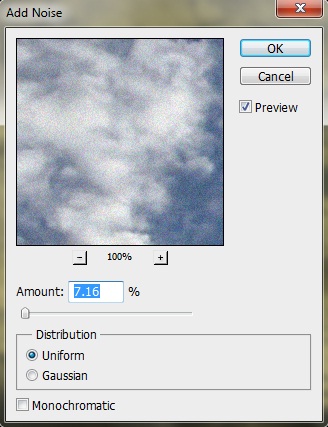
Step 8:-
Once again select the sky layer and then click on Filter>Noise>Add Noise. Keep the noise amount 7.16%.
Step 9:-
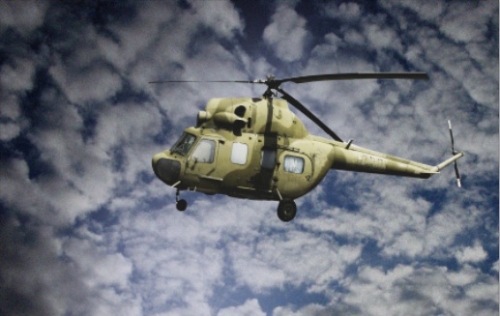
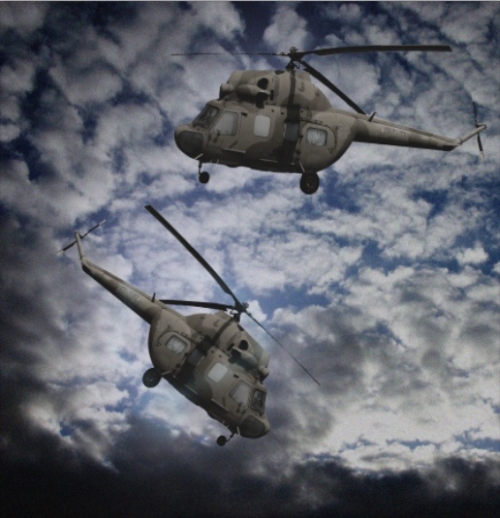
Now open the helicopter image. And crop it using the pen tool.

Step 10:-
Paste the select helicopter on our sky.
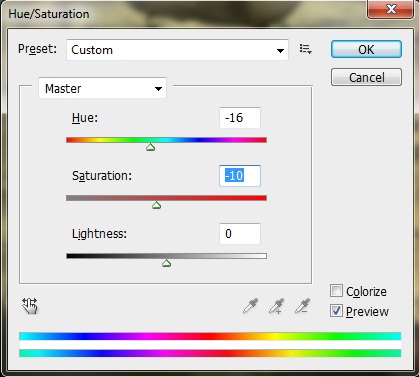
Step 11:-
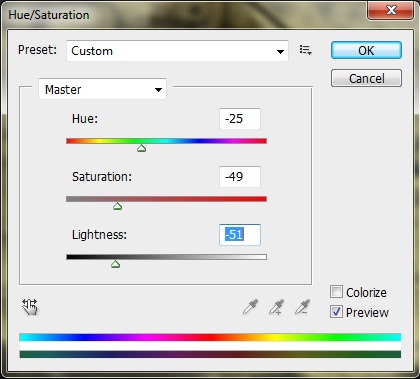
Now click on Image>Adjustments>Hue/saturation. And make the helicopter color a bid darker.
Step 12:-
Now duplicate the helicopter layer. For this you can right click on the layer and select Duplicate Layer CMD/Ctrl + J.
Step 13:-
Now open the fire image. Then crop and select it using pen tool. Now place it on our lower helicopter.
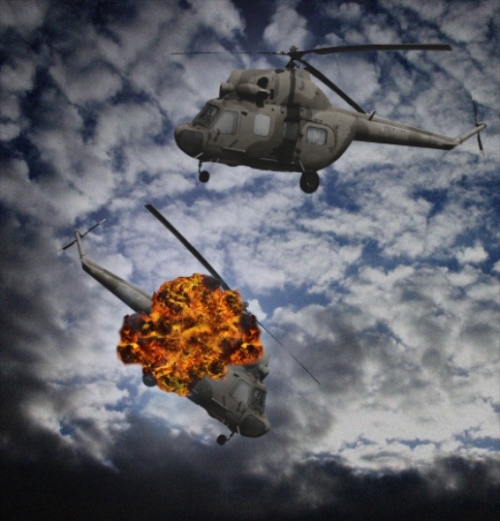
Step 14:-
I think we’ll use the Burn Tool on the edges of our fire blast.

Step 15:-
Now open the smoke image. Once again crop and select it using the pen tool. And place the smoke layer under the fire layer.
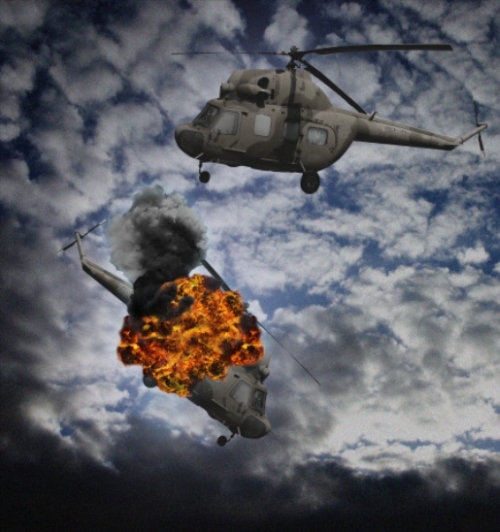
Step 16:-
Now select the fire layer and click on Image>Adjustments>Hue/saturation. And make it a bit brighter.
Step 17:-
I’ll select a little patch of dark smoke and fire with Quick selection Tool and place it on the lower left side of our attacked helicopter.
Step 18:-
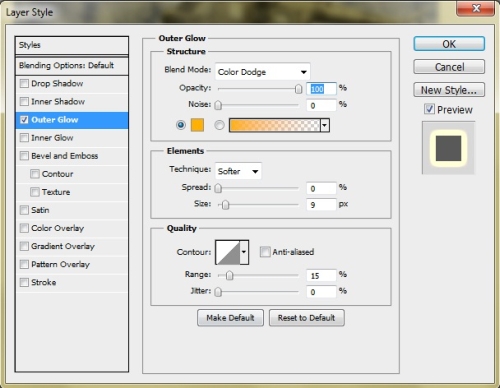
Create a new layer again. And select the Hard round brush of 5 px size. Keep the foreground color # ff2f00. So use it randomly around the fire blast. Then click on Layer>Layer style>Outer Glow. And add some outer glow with the color # ffb000.
Step 19:-
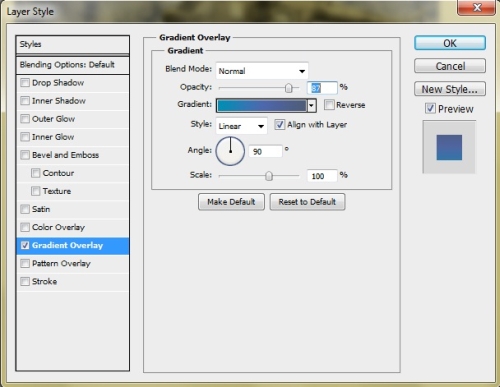
Now it’s time to add some text to give it a tittle. So click on “Text Tool” and add text. Add gradient to the title. Click on Layer> Layer Style> Gradient Overlay.
Step 20:-
Now add the rest of the text with colors # 3c4b63 and # 9596a5. And it’s ready.
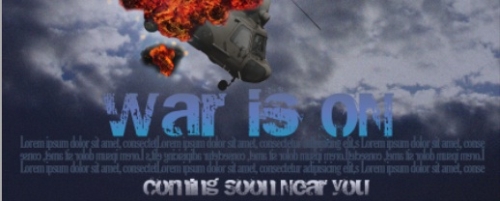
Now we are done. Let’s have a look at our final result:-
I hope you guys enjoyed this tutorial. Do try this and share your thoughts. I’ll be back with something new. Bye!


