Learn how to create Neon Text in Photoshop
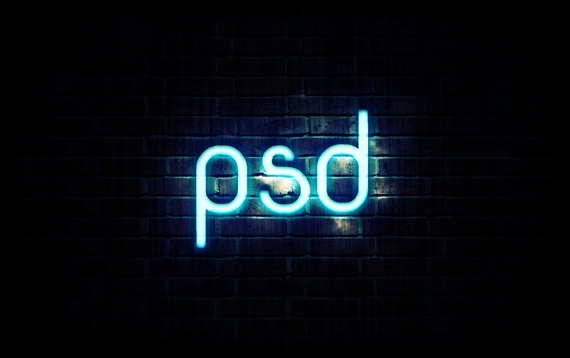
In this tutorial, we would be showing you how to make neon effect on the text using simple blending options and basic effects in Photoshop. Below is shown the effect, which we are going to create.

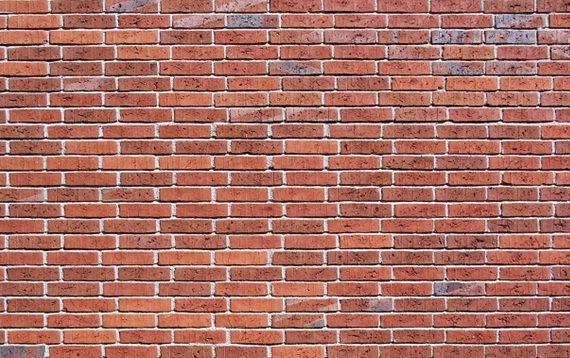
Step 1: Brick Wall Image
First of all, you would need a brick wall image like the one shown below.
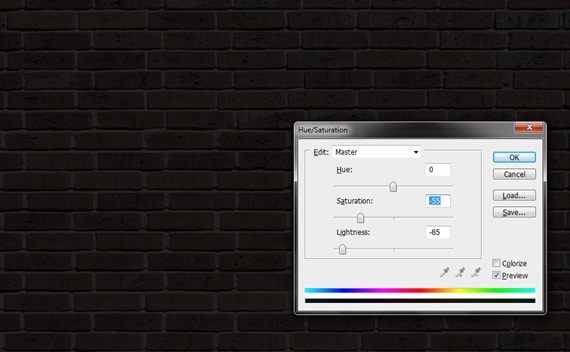
Step 2: Hue/Saturation
Bring the image on the canvas. Press CTRL U to open up the Hue/Saturation box. Use the following details to darken the image.
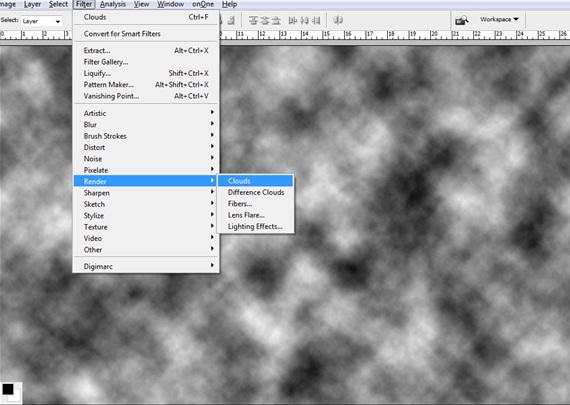
Step 3: Clouds
Set the foreground to black and keep the background to white. Make a new layer and go to Filter, Render and choose clouds.
Step 4: Overlay
Now select the Clouds layer and change the blending options to overlay. Pick up the eraser tool and erase the clouds like shown below.

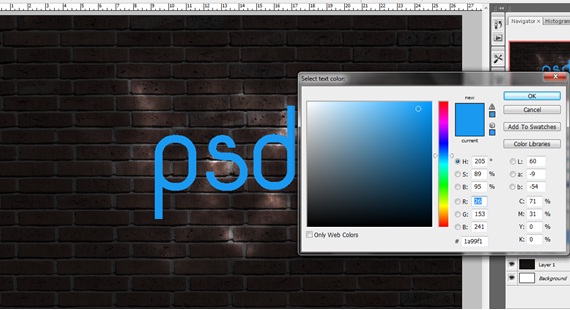
Step 5: Text
Right in the center of the canvas type in your text. Set the colors as shown below.
Step 6: Gaussian Blur
Duplicate the text layer. Go to Filter, Blur and choose the Gaussian Blur effect. Keep the radius to 15px.

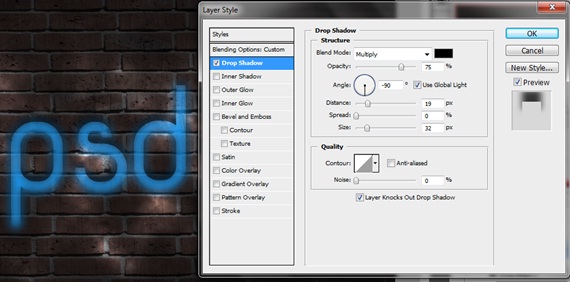
Step 7: Drop Shadow
Now choose the text layer in front and go to the Layer Style options. Tick on the Drop Shadow option and use the following details.
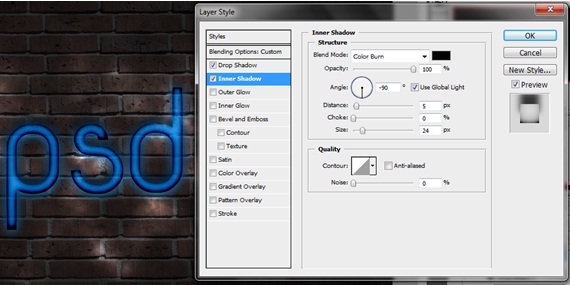
Step 8: Inner Shadow
Now select the Inner Shadow option and use the following details.
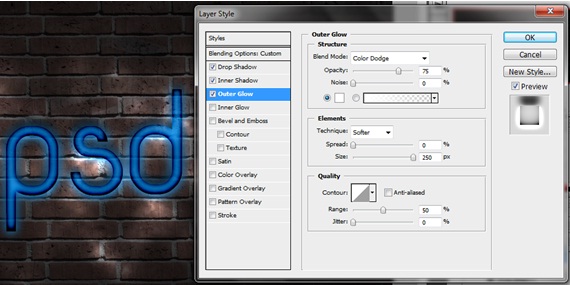
Step 9: Outer Glow
After that, select the Outer Glow option and input the following details.
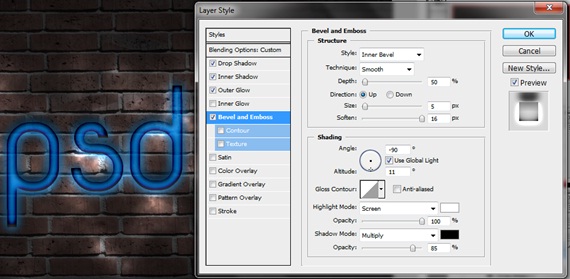
Step 10: Bevel and Emboss
After that, select the Bevel and Emboss option and use the following details.
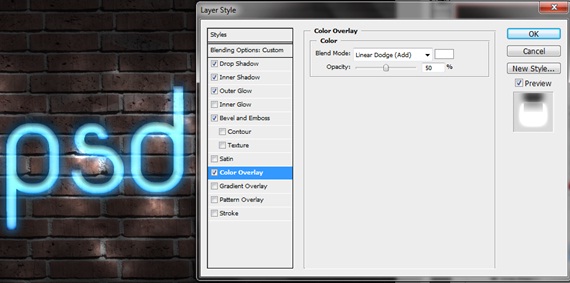
Step 11: Color Overlay
To give your text the neon effect, tick on the Color Overlay option and use the following details.
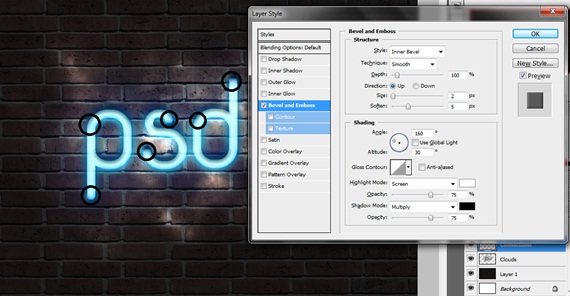
Step 12: Adding Depth
Create a new layer and position it between the wall and the text layer. Color the edges of the text (the area that should be colored is denoted by the black circles in the image. Once you are done with this step, go to the Layer Style and choose Bevel and Emboss. Use the details given below and this would add more depth to your text.
Step 13: Final Touches
Create a new layer right at the top and color the whole canvas black, except the area with the text and glow. Go to the blending options of that particular layer and choose “Luminosity”.