
How to create gunshot effect in Photoshop
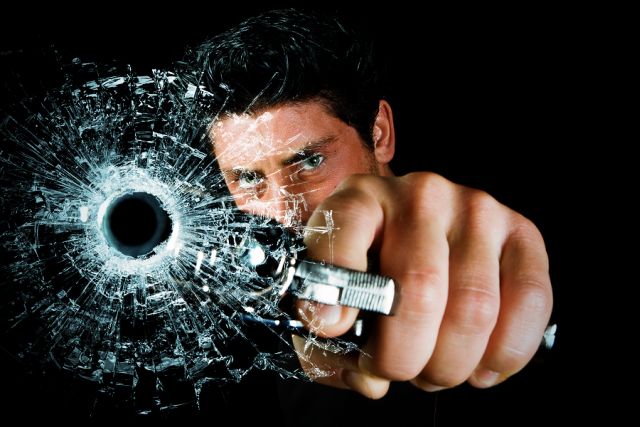
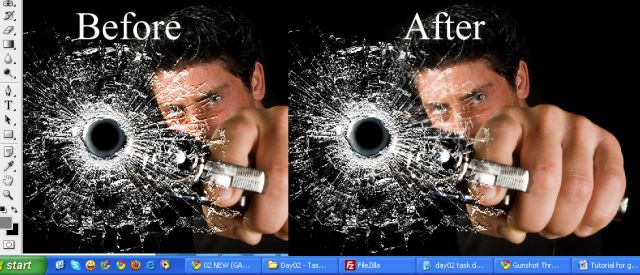
In this tutorial, we are going to learn how to do suspenseful image manipulation for creating the gunshot effect in Photoshop. For this, we require two images, 1) Gun pointing man and 2) Gun shot. Below is displayed what we want to create.
Step – 1:
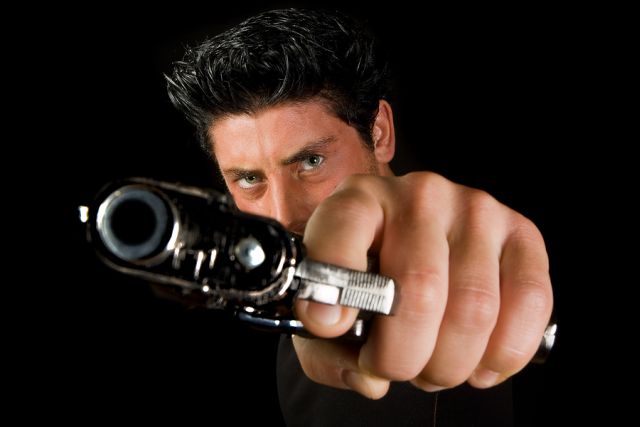
First of all, open photo of man pointing a gun.
Let’s open the file. Click File >> Open, then locate your file, select and click open to open it.
Step – 2:
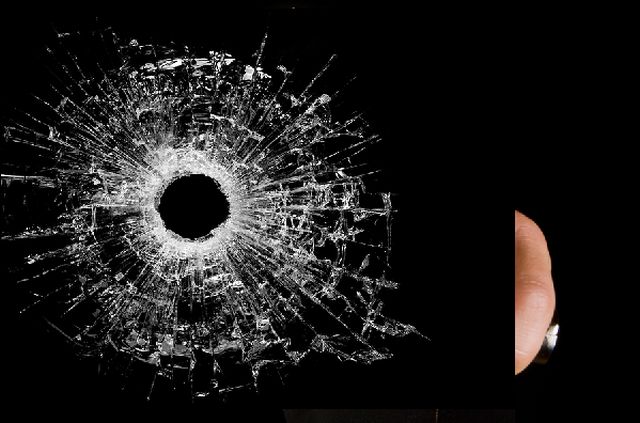
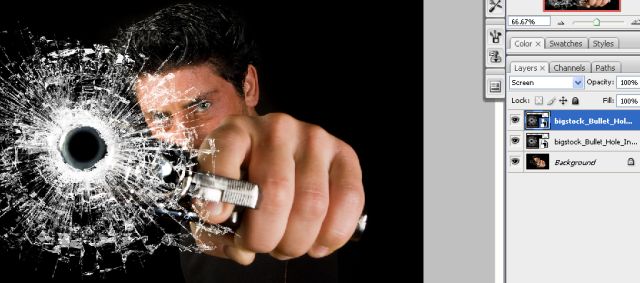
Now Place photo of gunshot hole on glass.
To place it, click File, select image and click place. The image will be placed with transform tool being activated. Make sure the placed image is just above the gun point.
Step – 3:
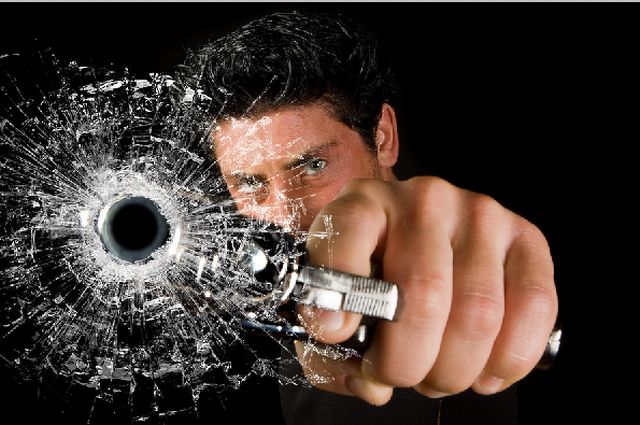
Now, in this step, select the just placed image layer and select screen in blending mode in the layer palette.
Step – 4:
Now we will use distort effect to give it real effect. We will use displace filter. Before using it, we need to create displacement map, which will tell displace filter about how it should distort image.
First, create new layer for displacement map.
Duplicate the placed layer by right clicking on it and select duplicate layer.
Also, in new version of Photoshop your placed layer will automatically be smart layer. Smart layer is shown by icon on layer. If so, then rasterize it by right click and select Rasterize Layer.
Note: filters can’t be applied to smart layer so layer needs to rasterized to apply filter.
Step – 5:
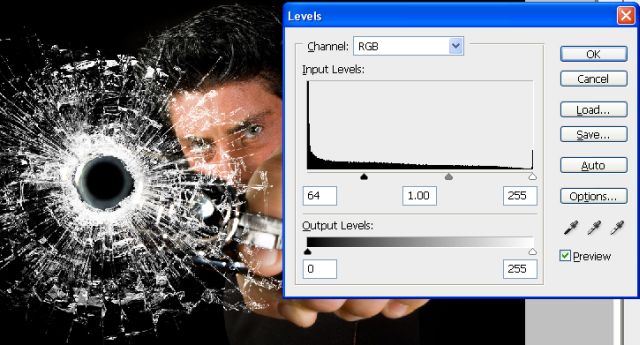
Now we are adding contrast to layer. Select top layer in layer palette and click Image >> Adjustments >> Levels.
Fill settings as shown in the window.
Step – 6:
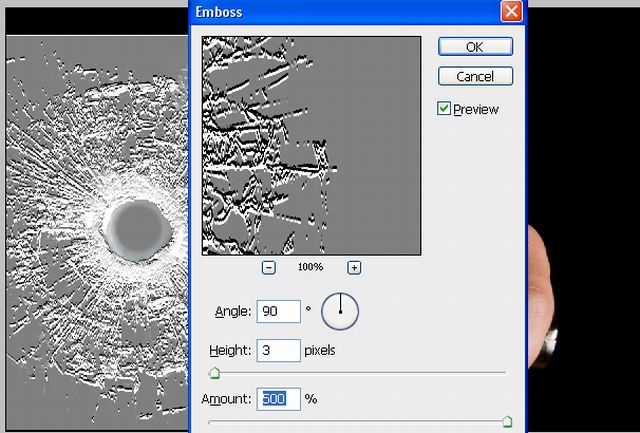
Now we will use emboss filter.
Click Filter >> Stylize >> Emboss.
Fill values as in screenshot.
Step – 7:
Now in layer palette, select overlay in the blending mode of displacement layer (the last layer we worked on)
Select color #808080 for foreground, now select brush tool and paint over areas where you don’t want bumps. The bumps will be removed from the areas you paint.
Step – 8:
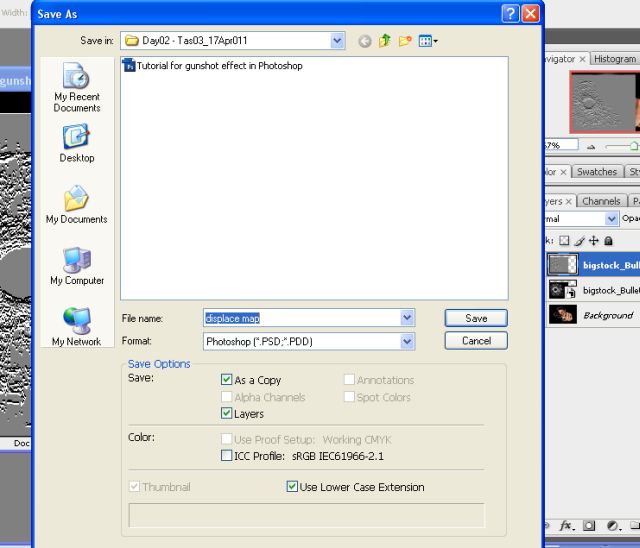
After finishing painting bumps, change your layer blending mode back to normal from overlay and then click File >> Save As, then save file as to “displace map”. See screenshot.
Then delete top layer with bump texture. After that, select background layer.
Step – 9:
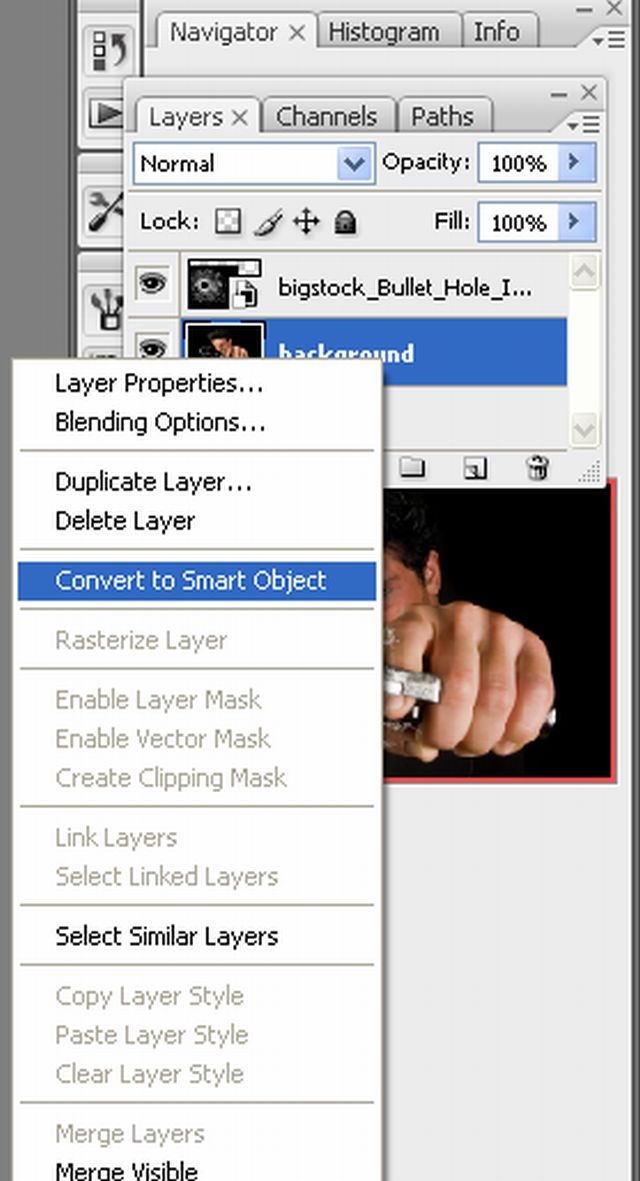
Then after deleting top displacement layer, convert background layer to smart object.
To convert background to smart object:
1. Right click background layer in layer palette.
2. Choose “convert to smart object”.
Step – 10:
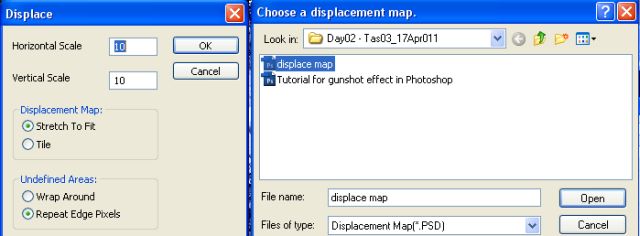
Then in next step, we will use distort filter. Click Filter >> Distort >> Displace. Then fill in values as shown in the screenshot.
Then select displacement map file that you have saved earlier and click open.
Step – 11:
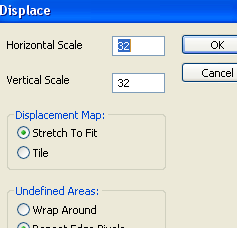
Now again readjust displace settings as displayed in the screen shot (filter>>distort>>displace).
Step – 12:
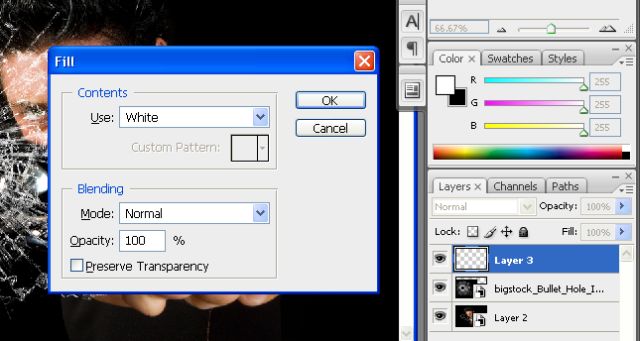
Now create new layer to add vignette effect.
Create new layer (Layer >> New Layer) and move it to top in the layer palette. Then Fill with white color on the layer. To fill white color, select the layer you have just created and click Edit >> Fill with white color. See screenshot. Now change this layer’s blending mode to multiply in layer palette.
Step – 13:
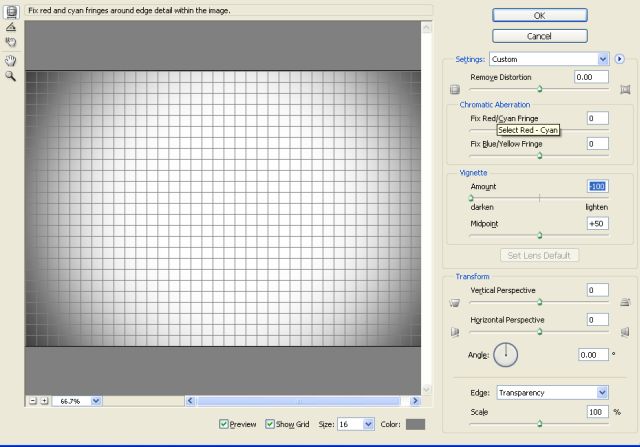
Now we shall add a vignette effect.
To do this, click Filter >> Distort >> Lens correction.
Now adjust as shown in the screenshot. If you don’t get nice result then you can slightly vary amount and midpoint than this screenshot.
Step – 14:
Now you will see dark around the edge of the gun. If you see too much dark around the gun then you can lower the opacity of this new layer. Precisely, you will notice this more if your image is in daylight or other background than black.

Step – 15:
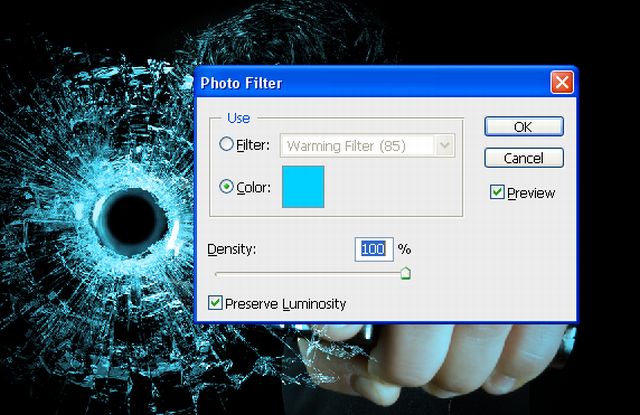
Now let’s cool this image with photo filter.
Select top layer and click Layer >> New Adjustment Layer >> Photo Filter. Then in the photo filter box, set color to cyan or #00d2ff and density – 100%.
See screenshot. Then Change blending mode of this layer in layer palette to soft light.
Step – 16:
Your final image should look like this.


