
How to create an abstract Nebula
In this tutorial, we would be making an abstract nebula using basic shapes and image manipulation techniques in Photoshop.

Step 1: Ellipse Shape
First of all, set the background color to gray. Pick up the Ellipse shape and use it to make a circle right in the middle of the canvas.

Step 2: Cloud
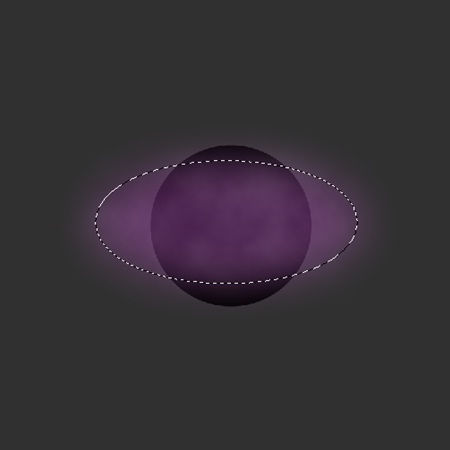
Use the Ellipse lasso tool to make a selection like shown in the image below. Keep the feather to 30 px. Choose light purple for the background color and dark purple for the foreground color. Go to Filters, Render and click on cloud. Make sure to reduce the opacity to 75%
Step 3: Warp Tool
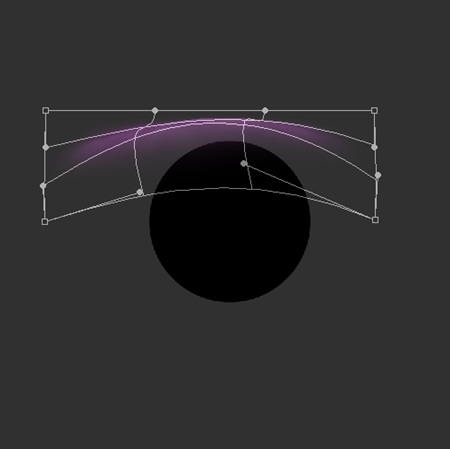
Now transform the cloud by pressing CTRL T. Reshape the cloud. After resizing the cloud, second click on the selection and choose warp. Once the grid appears in front of you, reshape the image as displayed below.
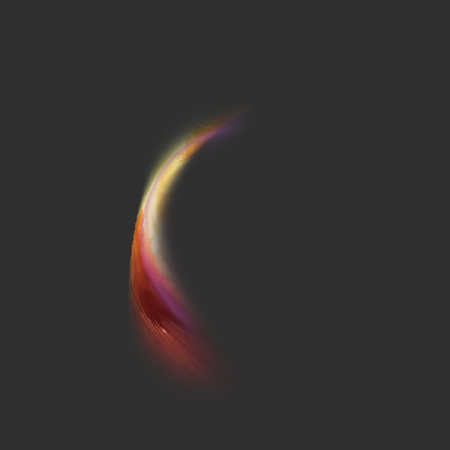
Step 4: Liquify
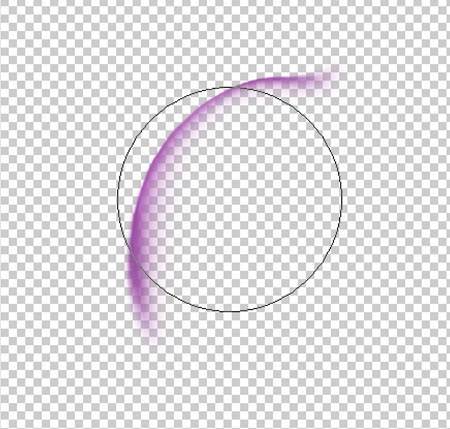
Once you have made a perfect semi-circle using the warp tool, it is the time to refine your cloud a little. By going into Filters, choose liquify and edit the layer like shown below.
Step 5: Full Circle
Once you are done with the semi-circle, copy the layer and make it into a full circle surrounding the ellipse shape.

Step 6: Nebula Image
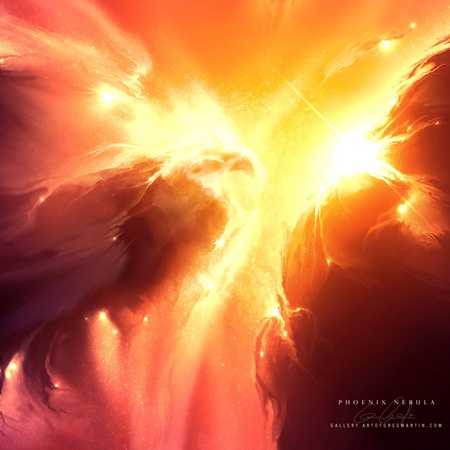
Find an image of a nebula. For this tutorial, we would be using the image below. Use the ellipse lasso tool to make a selection of this image. You can select a portion from anywhere in the image. Copy the selection into a new layer.
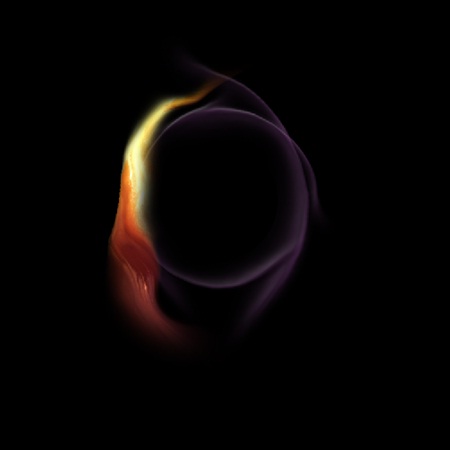
Step 7: Merging the Two
Once you have the selection copied onto a new layer, press CTRL T and use the warp tool to reshape the selection exactly as the half circle we made before.
Step 8: Liquify
Go to Filters and choose Liquify to give the image a more realistic look.
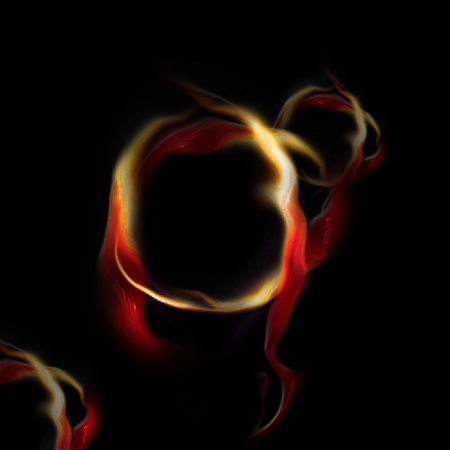
Step 9: Complete the Nebula
Copy the selection to form a complete circle. You can make any pattern you want with the selection.
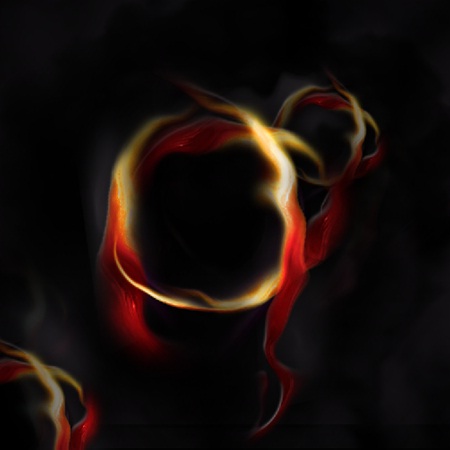
Step 10: Smoke
For this particular step, you would need the smoke brush so download any suitable for you.
Once downloaded and installed, you can apply the smoke brush all over the canvas like shown below.
Step 11: Final Touches and Color Correction
First of all, duplicate all the layers in your Photoshop file. Press CTRL E to merge all the layers into one. Go to the Hue/Saturation option and tick the check box titled “Colorize”. You can play around with the Hue and Saturation values to arrive at a particular color you like.


