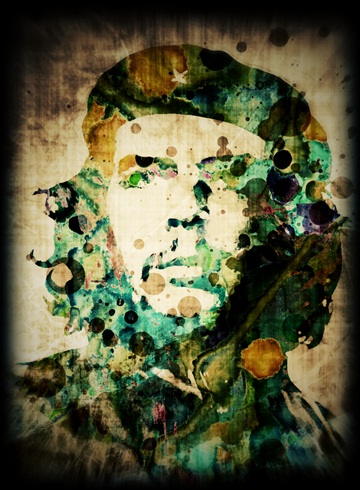
How to create Abstract Wallpaper
You can create the watercolor effect in a number of ways using the stunning features of Photoshop. In this tutorial, you would be able to sharpen your image manipulation techniques along with layer masking principles and a number of other cool effects.

Step 1 – Right From The Basics
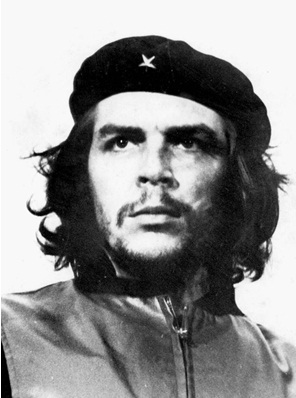
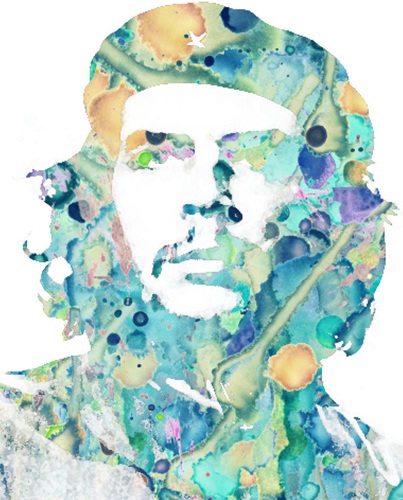
You can select any of your favorite character, which you want to work on. For this particular tutorial, we would be working on Che Guevara.
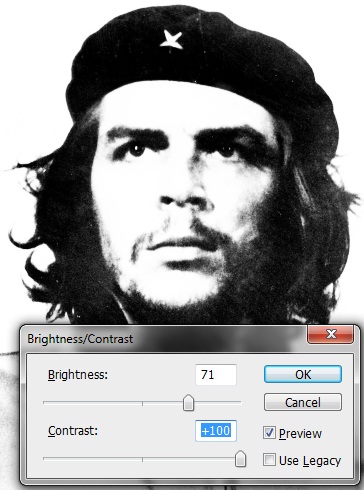
Step 2 – Brightness/Contrast
First of all, you need to do a little color correction before we add the watercolors. Go to Image, Adjustments and select the Brightness/Contrast option. Use the following frequencies for the layer.
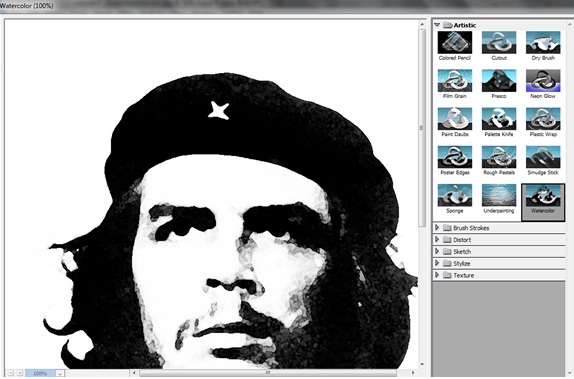
Step 3 - Filter
Duplicate the layer. Select the new layer and go to Filter and open the Filter Gallery. Once the new window opens choose the Watercolor effect in the directory titled “Artistic”.
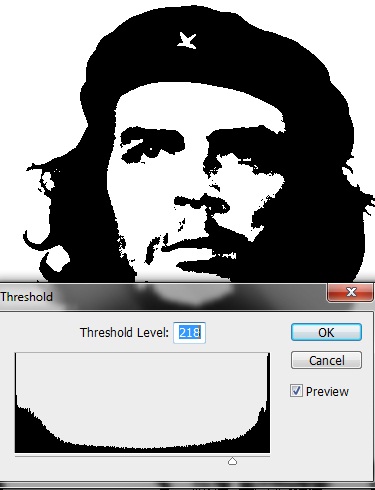
Step 4 – Threshold
Go to your original layer. Once selected, go to Image, Adjustments and open the Threshold dialogue. Once the window opens, use the following details.
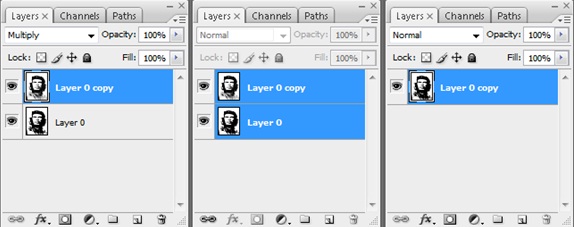
Step 5 – Layers
Choose the color in which you applied the Watercolor filter. Go to the blending options and change the value from Normal to Multiply. Once that is done, select both the layers (as shown in the second screenshot) and press CTRL E. This would merge both the layers into one single layer.
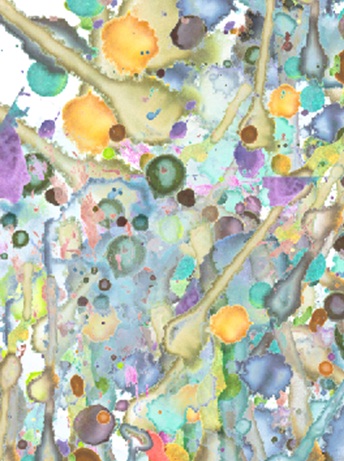
Step 6 – Watercolor Splash
For this, your image manipulation techniques would come in handy. Download splash images of watercolor.
Now duplicate the layers and fill up the canvas. Merge all the duplicated layers into one single layer and position that layer right at the top.
Step 7 – Layer Mask
Apply the layer mask on the splash image. Copy the original image onto the mask and press CTRL I to invert the colors of the copied image.
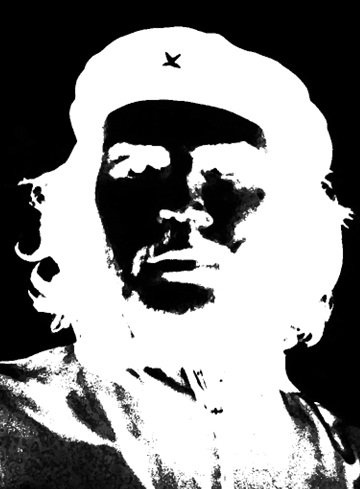
Step 8 – Output
Just simply go out of the masked layer and see the result.
Step 9 – Background
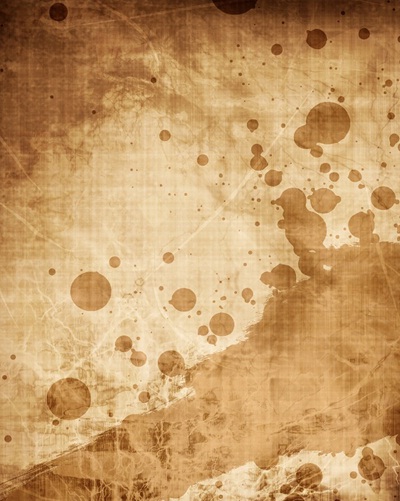
Now add any kind of background image in the canvas. I have used the grunge backdrop for this tutorial.
Step 10 – Merging With The Backdrop
Simply select the background layer. Go to the blending options and change the value from Normal to “Linear Burn”.
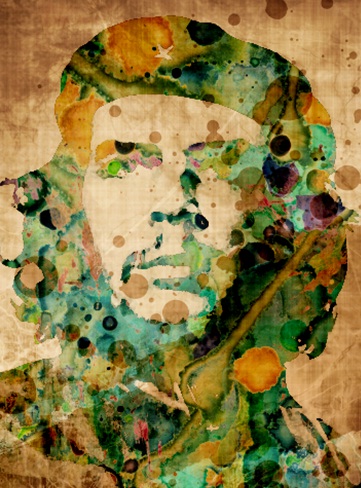
Step 11 – Final Touches
Make a new layer and fill the color with white. Reduce the opacity of the layer and apply the gussian blur effect. After that, make another new layer and make the borders as shown below. Change the blending options from Normal to Overlay. You can play with the Saturation and Hue of the image and see what looks better on your canvas.