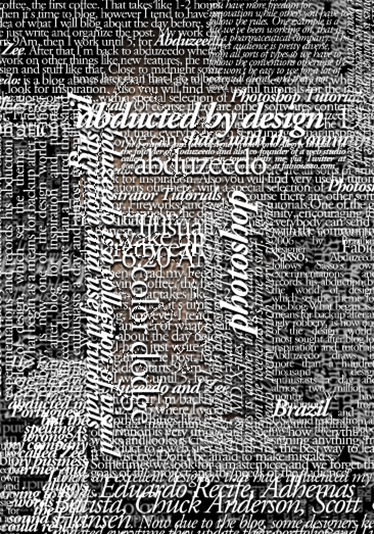
How to create a stunning Typographic Portrait
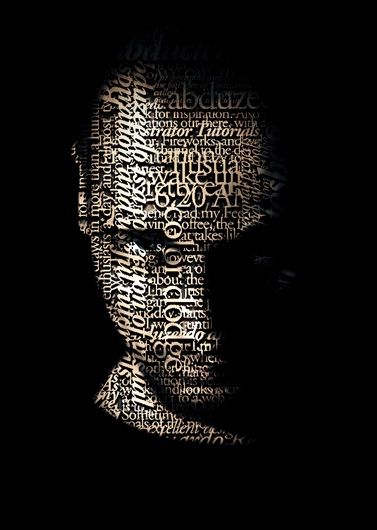
In this tutorial, you would be learning how to make a stunning typographic portrait in Photoshop. The only time consuming part in this tutorial is adding the text to your image. Other than that the whole process is fairly simple. Below is displayed our final result, which we are going to create. So, let’s start.
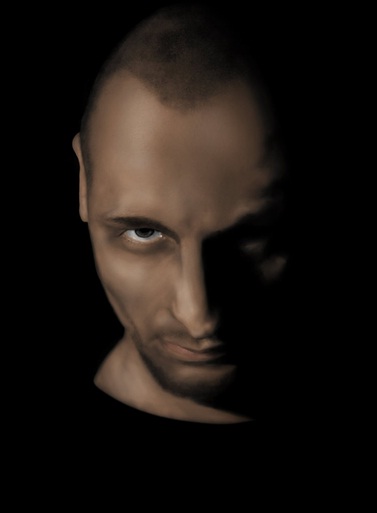
Step 1: Basic Image
Import the image of the model on the canvas and use the lasso tool to crop out the model from the background.
Step 2: Text Tool
Select the Text Tool and start typing in whatever you want to type. You can use any font you like. For this tutorial, I have used Garamond for the basic text. Notice how different fonts are used for the text laying on the main body.
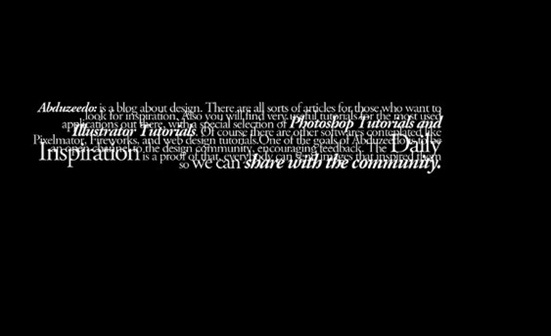
Step 3: Further Text
Keep adding more and more text on the canvas and follow a particular arrangement.

Step 4: Selection
Bring the text in front of the model image like shown below. Select the cropped out model layer and press CTRL along with right click on the layer. This would automatically load the selection of the model’s face.
Step 5: Face Text
Duplicate the text layer while the selection is still on. Go to Select and choose the Inverse Option. Hit Delete and you would have a face mask.
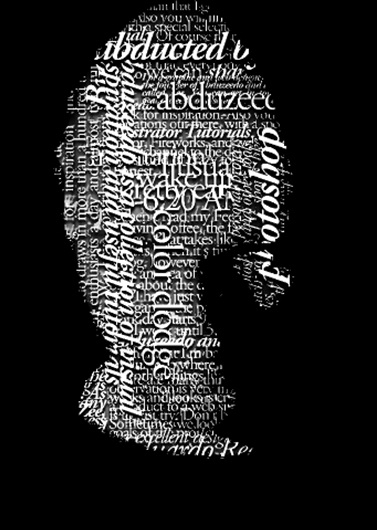
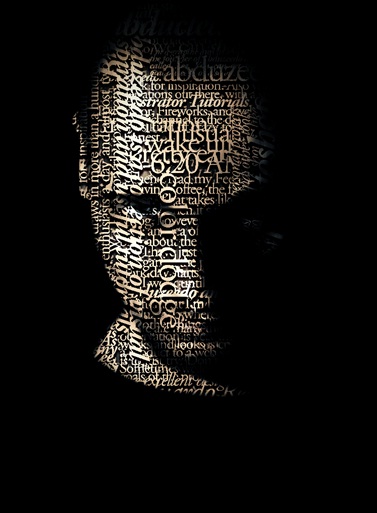
Step 6: Overlay
Now simply select the face mask layer and change the blending options of the layer to Overlay. The text would automatically embed itself on the image.

Step 7: Finishing Touches
Press CTRL U and decrease the saturation of the image. You can use various other features and effects to add depth to the image.