Creation of the Metallic Superman Logo
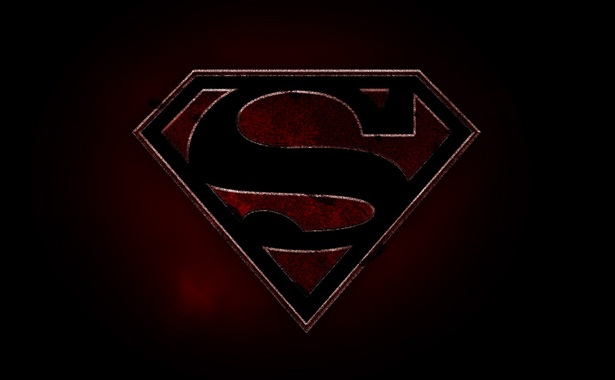
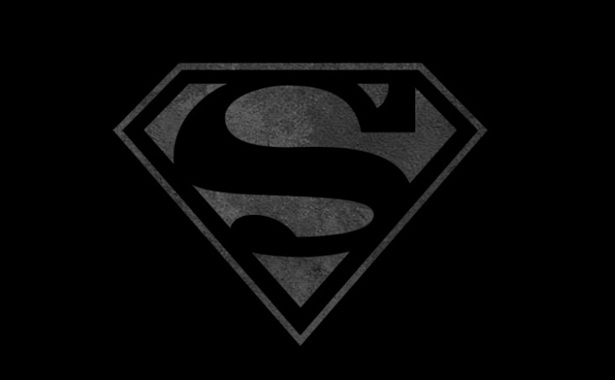
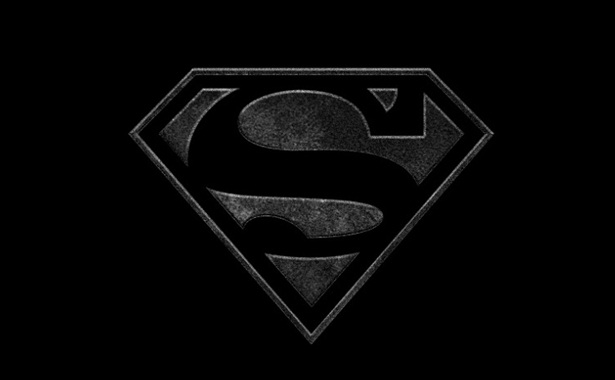
In this tutorial, we are going to learn how to give your logo a metallic look. Just follow few simple steps with me to know how to do it. I am taking the superman logo to transform it into the metallic one. For this, we will need few crack brushes and grunge texture for the background. Below is displayed what we are aiming to create.

Step 1 – Set the Background
1. Create a new document, with dimensions 750 x 550px.
2. Make the Background black.
3. Drag the Superman logo to middle of this document.
Step 2 – Marking out the Paths
1. Select ‘View’ then go to ‘Rulers’ or just click on ‘Ctrl plus R’. While being on the layer of logo, drag a guide in and snap to middle of your image.
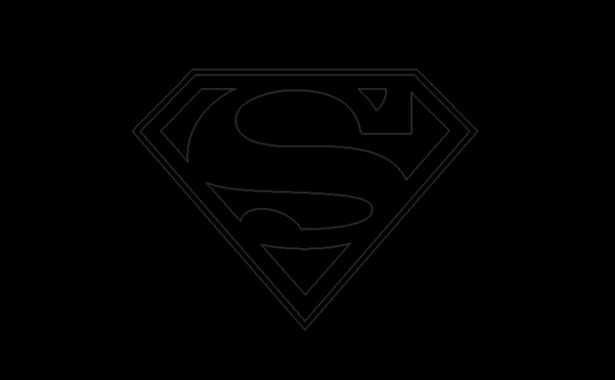
2. Trace the path of the superman logo using a Pen tool.
Step 3 – Creating Logo Shape
1. Make a fresh layer now over your Background layer and give it name as ‘Left-Logo’.
2. Now do the selection of the path, which you have drawn formerly.
3. Add white color to fill in the selection.
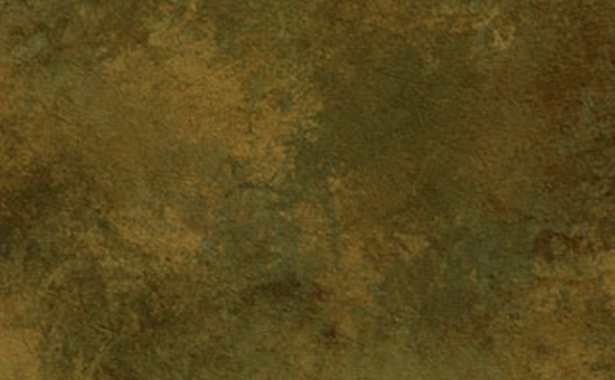
Step 4 – Texture layer
1. Open up a grunge texture of your choice.
2. Resize your image in order to make it fit properly on the document.
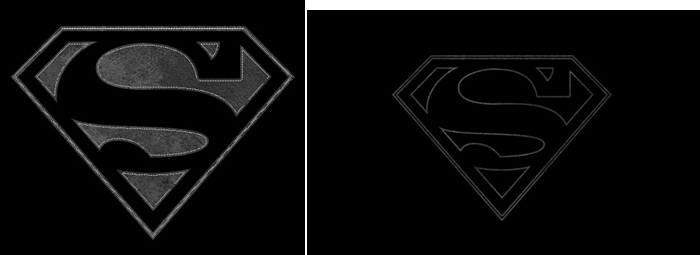
Step 5 – Applying Texture
1. Choose texture layer now and select ‘Image’ then go to ‘Adjustments’ and click ‘Desaturate.
2. Ctrl plus left click on Logo-Base layer and use the ‘Layer Mask’ on this texture layer. Give name to the layer of texture as Base-Texture.
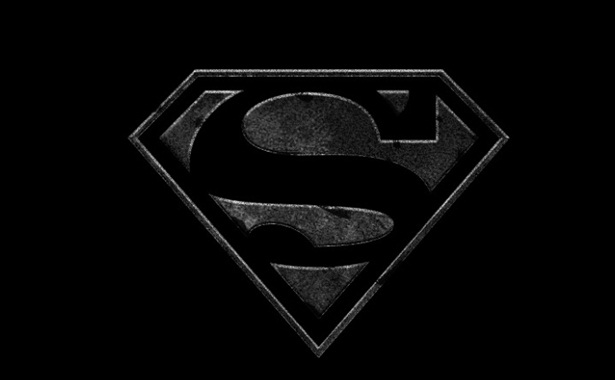
You should have something like what shown below now.
Step 6 – Making Inner Bevel
1. Ctrl plus left click on Logo-Base layer to make selection.
2. Click on ‘Select’ option then go to ‘Modify’ then select ‘Contract’. To contract this selection, enter value of 5pixels.
Step 7 – Creating Inner Bevel
1. Make a fresh layer over all of the other layers and give it name as Logo-Bevel
2. Give black color to the selection on this fresh layer.
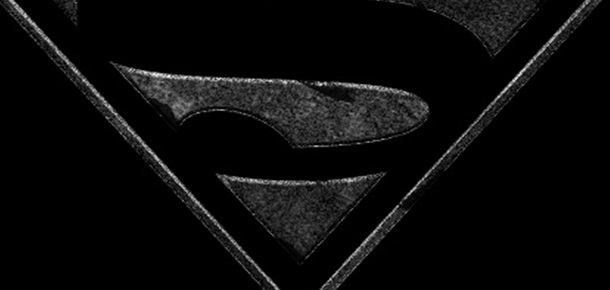
Step 8 – Adding Depth
1. Drag the texture created in the Step 4 into your document. Desaturate and retitle the layer such as texture-bevel. Move this layer on the top of your Layers panel.
2. ‘Ctrl plus left’ click on the Logo-Bevel layer in order to load ‘selection’ for it. Now with this selection, use a Layer Mask to the Texture-bevel layer.
3. Choose Base-Texture layer and open ‘Image’ option then go to ‘Adjustments’ and click on ‘Brightness and Contrast’. Use -80 value for the Brightness and 0 value for the Contrast.
4. You can delete the Logo-Base and Logo-Bevel layers now.
5. Use Burn tool to paint in few shadows after selecting Base-Texture layer. Then to paint the highlights use Dodge tool.
6. You can paint the highlights and shadows at spots similar to what I did here.
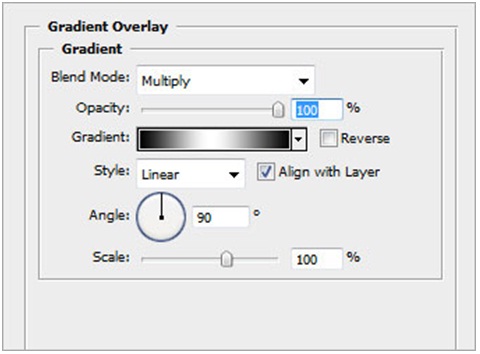
Step 9 – Gradient Overlay
1. Select now the Bevel-Texture layer and select Blending Options for it.
2. Open Gradient Overlay and adjust the settings as displayed in the window below.
3. Gradient’s colors are black – white – black.
Step 10 – Adding Cracks
1. Create a fresh layer and label it ‘cracks’. Adjust Blend Mode for this fresh layer to the Overlay.
2. Load those Cracks Brushes that you’ve downloaded and paint with the help of these brushes various cracks of different shapes on your layer.
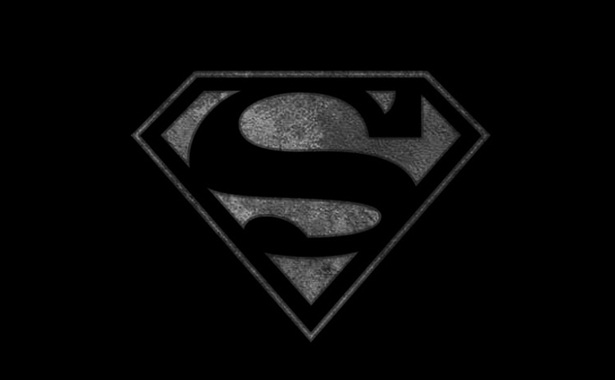
Final image