Creating Meat Typography
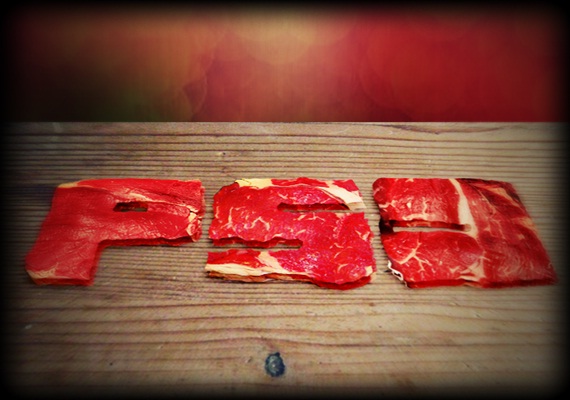
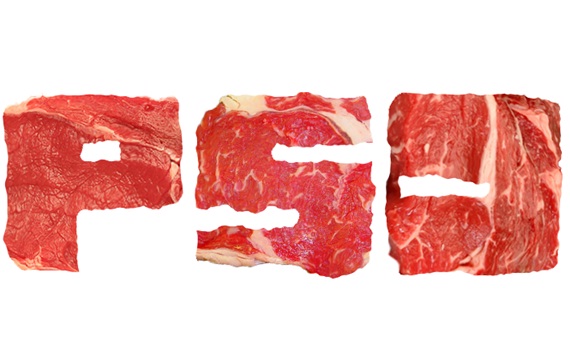
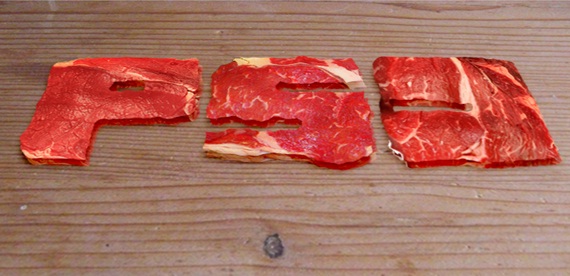
In this tutorial, we would be using basic effects and image manipulation techniques to create meat typography in Photoshop like the one shown below.

Step 1: Text
First of all, you would need to download the font “Infobubble”. After installing the font, type your text on the canvas. The text shown above is what the font really looks like. After rasterizing the image and manipulating it a little bit using the lasso tool, the text below is what the altered version looks like.

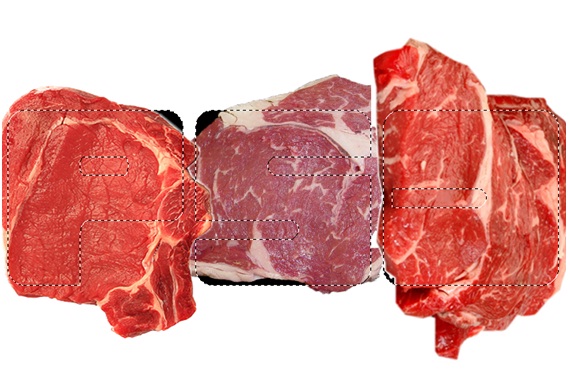
Step 2: Meat Images
Download meat images and bring them on the canvas. Separate the images from the background using either the quick selection tool or the lasso tool. Once that is done, place each image on each letter. After that press CTRL and right click on the text layer. This would automatically load the selection.
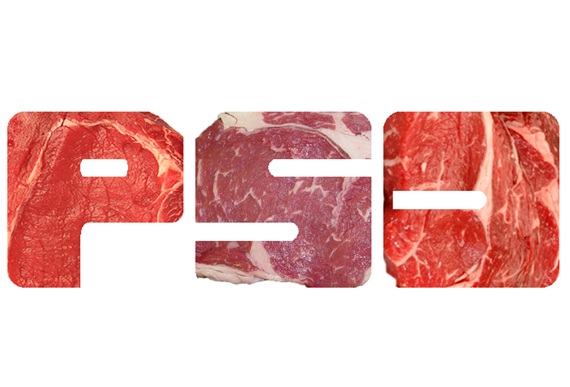
Step 3: New Layer
Once the selection has been loaded, press CTRL C and CTRL V to automatically duplicate the selection on to a new layer. Once that is done, we would still need to add some effects since the text is looking pretty much static and raw at this moment.
Step 4: Liquify
Select the text layer and go to Filters and choose the Liquify option. Once the new window opens, pick up the Turbulence tool and apply it on the text like shown below.
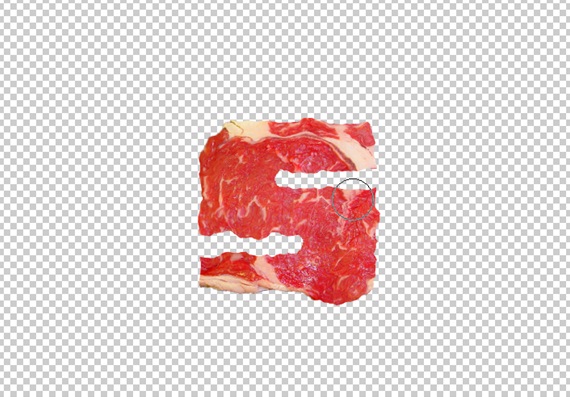
Step 5: Output
Once you are done applying the Turbulence tool, this is what your text would look like.
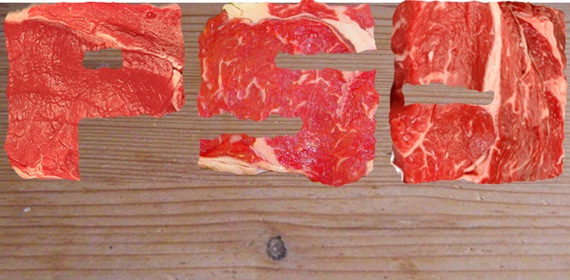
Step 6: Wooden Texture
Now it is the time to add a wooden texture. Bring the image on the canvas and place it behind your text.
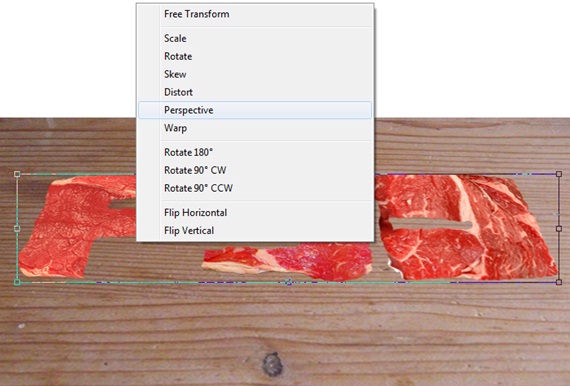
Step 7: Perspective
Press CTRL T on the text layer and right click on the selection. After that, choose the Perspective option. Make the text look like it is placed on the wooden texture like shown in the image below.
Step 8: Drop Shadow
Once you are done with the perspective, go to the Layer Style and choose the option of Drop Shadow. Use the following details.

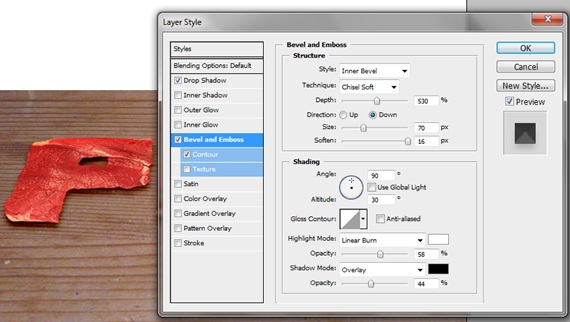
Step 9: Bevel and Emboss
While in the Layer Style window, choose the option of Bevel and Emboss and Contour. Apply the following details.
Step 10: Duplicate
Duplicate the text layer and reduce the opacity of that layer to 55%. Remove all the Layer Style effects from the duplicated layer and shift the layer a few pixels below. Place the layer behind the original text layer. This would give the image a 3D look.
Step 11: Background
You can insert a background behind the wooden layer. This would give more depth to the image.