Creating Comic Book Effect
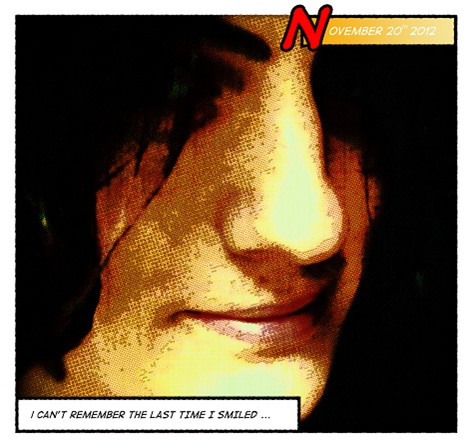
In this tutorial, you would be learning how to transform a simple photograph into an appealing old comic book strip using basic Photoshop tools. Let’s have a look at our final result first.

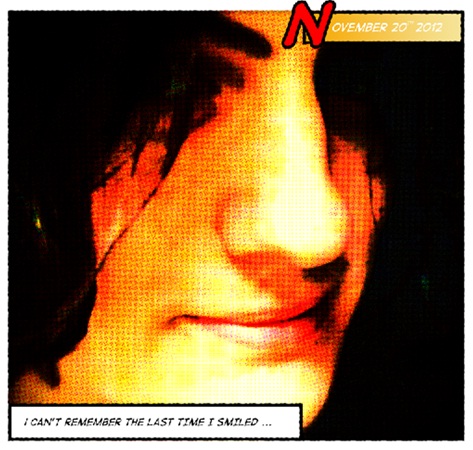
Step 1: Basic Image
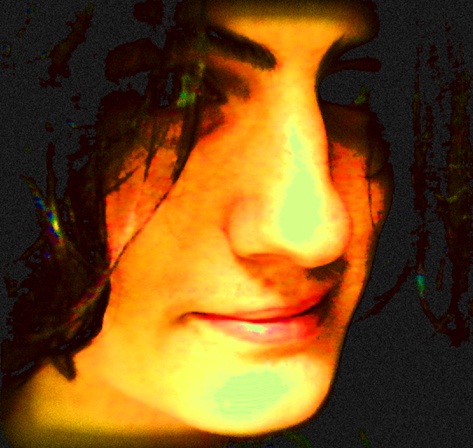
You need a basic image to start with, first of all.

Step 2: Noise, Saturation and Levels
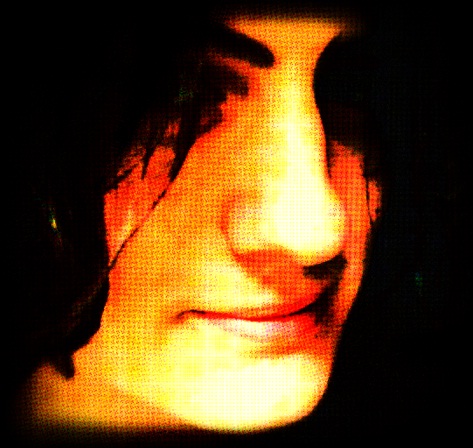
Now go to Image, Adjustments and choose the Levels option. Use the input levels 60, 1.00 and 220 for this particular filter. After that, press CTRL U and increase the saturation of the image. Decrease the brightness by just a few percentages to give more focus to the face. After that, go to Filters, Artistic and choose the Film Grain filter. Set the grain level to 10px (depending on the size of your canvas) and leave the other options default.
Step 3: Halftone
Duplicate the layer and go to Filter, Pixelate and choose the Color Halftone filter. Keep the radius to 4px (depending upon the size of your canvas). Go to the blending options of that layer and change the Normal value to Darken.
Step 4: Borders
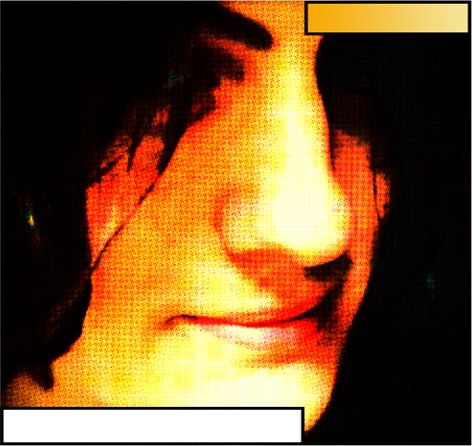
Select the Rectangle shape tool and make a basic shape that covers the whole canvas. Go to the layer style of that shape layer and choose the stroke option. Set the stroke to 10px. After that, reduce the fill of that particular layer to 0%. You would have this nice white border. Now you can make two additional rectangular shapes as shown below.
Step 5: Ripple Effect
Duplicate all the shape layers and merge them into a single layer. After that, go to Filter, Distort and apply the Ripple Effect. Keep the amount to 50% (differs according to your canvas size).

Step 6: Text
For this step, you would have to download the following font:
Once the font has been installed, you can use it to write your text as shown below.
Step 7: Final Touch
Duplicate the basic image and apply a soft brush around the face, preferably the edges. Keep the opacity of the brush to 30%. Change the blending options of the layer to Luminosity.