
Make-up in photoshop
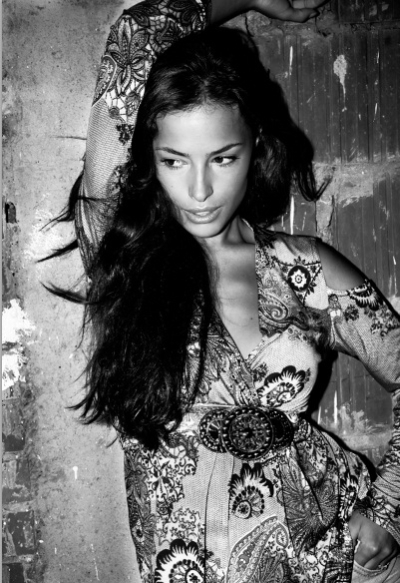
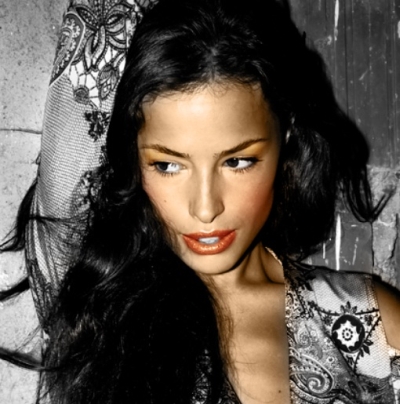
In this tutorial we will learn how to give a digital makeover to a black and white photo to get an awesome result. We’ll be using some pretty simply techniques to get beautiful results. So before we start we’ll need a nice black and white image, I’m using this one.
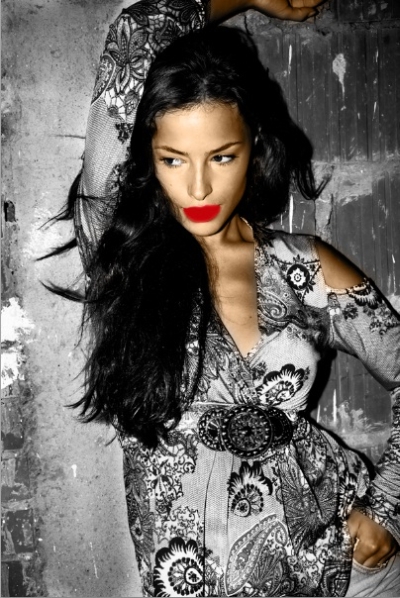
Preview:-

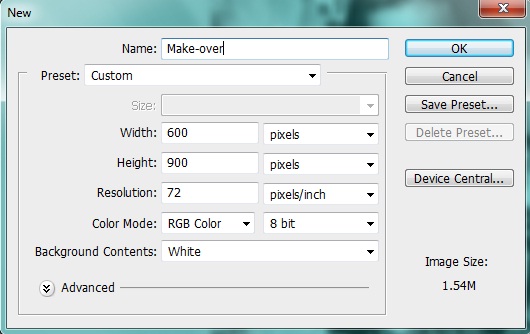
Step 1:-
Create a new file with 600px width and 900px height.
Step 2:-
Now open the girl image and paste it on our main file.
Step 3:-
Create a new layer by clicking layer>New> layer. Then select “Soft round brush” with 80px size. And change the foreground color to # a67c52. Now use it on the skin area.
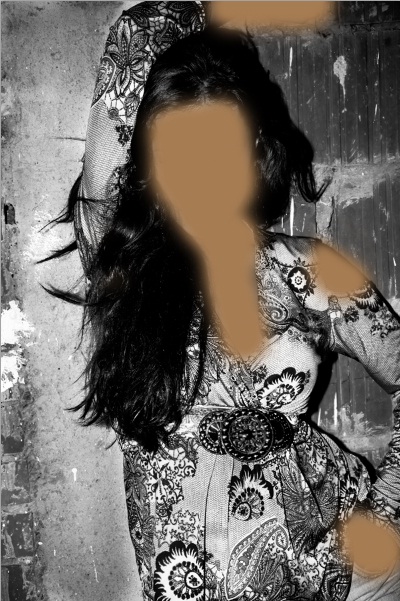
Step 4:-
Now we need to change the blend mode. So click layer> Layer style> Blending options. And then change the blending mode to “color”.

Step 5:-
Now select the Eraser tool and remove the color from her eyes, teeth and dress.

Step 6:-
Now change the foreground color to # c3030a. And then again select the soft brush and use it on her lips.
Step 7:-
Now change the blending mode of the layer to “Soft light”. And then remove the color from her teeth using eraser tool.

Step 8:-
Select the “Soft round brush” and foreground color # ff0000. Use it on her cheeks. Then reduce the opacity to 10%.

Step 9:-
Now for her eye-shadow use color # e18a23 and blending mode should be “Soft light”. Then reduce the opacity of the layer to 50%.
Step 10:-
Now select “Hard round brush” and use it on her belt. With foreground color # 463408 and blending mode “Color”.
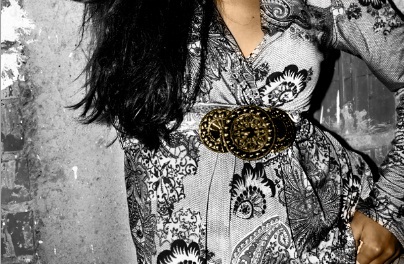
Now we are done. Let’s have a look at our final result.


