
Turning a beautiful portrait into a interweaved image in Photoshop
Hi people! Today I’ve brought a very interesting weaving effect created in Photoshop. You can turn any image into interweaved mosaic. It’s not only a very beautiful but also very simple and easy to achieve. All you need to create this unique effect is a portrait image which I’ve taken from bigstock and our favorite Photoshop.
However, before starting this tutorial have a look at the finished image.

Step1:-
We’ll start with creating a new document of size 1600×1064 pixels. Fill this with black color#000000.

Step2:-
Now open the portrait of beautiful lady in Photoshop and select complete photo using Rectangle Marquee Tool, after that copy it by going to Edit and click on copy.
Step3:-
Paste this copied image on our background. Keep in mind that this image is just for the guidance (so we can place the cutout strips according to this image), we’re going to remove it at the end.

Step4:-
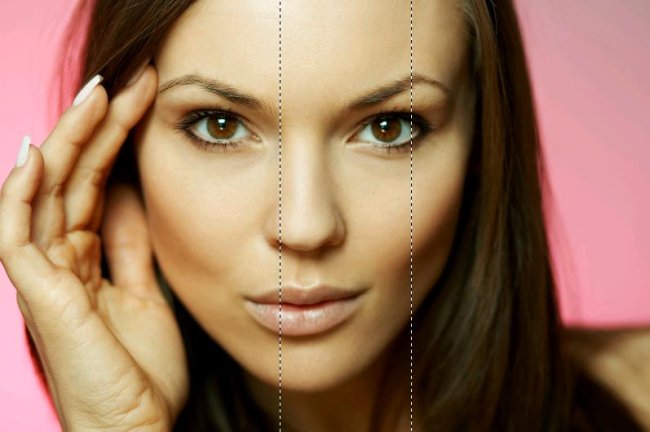
Now go back to original portrait and select a vertical strip using Rectangle Marquee Tool.

Step5:-
Paste this strip on our working image and place it exactly on the face from where it was taken. Now go back to the original portrait once again and select a 2nd vertical strip.
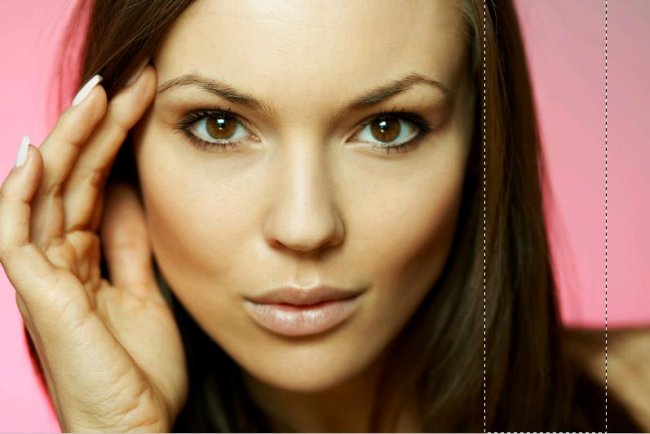
Step6:-
Now repeat the same process as step4 and 5 for cutting out a 3rd vertical strip.
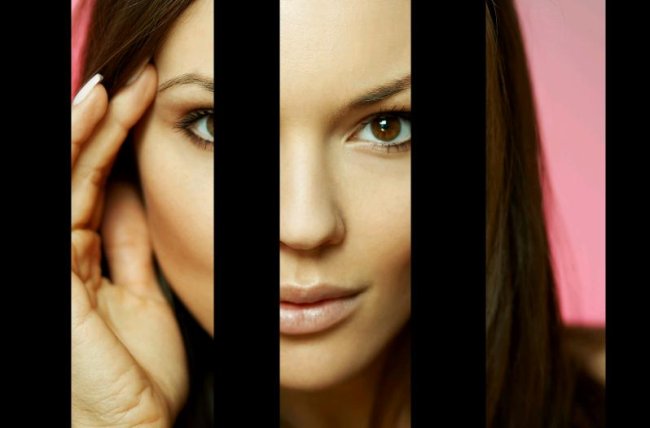
Step7:-
Now if you’ll hide the portrait layer, you will have 3 cutout vertical strips similar to the image shown below.
Step8:-
Now we are going to repeat the strip cutting process but this time we’ll cut 2 horizontal strips.

Step9:-
Now if you’ll hide the portrait once again, you’ll have crisscrossed strips squares similar to the picture shown below.

Step10:-
It’s time to add some drop shadows to give the strips a look of inter weaving. For achieving that, create another layer, naming it shadows, select a soft round brush of size 35px with color #464646 and draw a straight line on one side of a square then reduce the Opacity to 61%.

Step11:-
Follow the given picture below for creating shadows (just copy the first one and Place it across the image using Move Tool, after that you should have an image similar to the picture below.

There you go, now you have a complete image. Hope you had fun. So keep having fun while being creative, I’ll be back with something fresh for you. Chao!


