
Making a dream scene in Photoshop
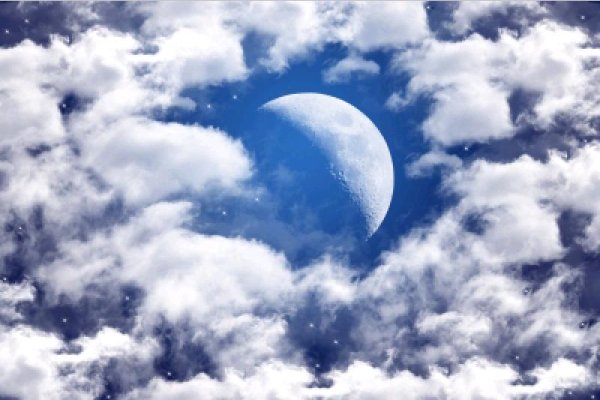
Hello guys! I’m back with an amazing cool dream scene. Hope you’ll appreciate it as much as my other works. Before we start this tutorial let’s see what do we need to make this dream scene. I’ve taken an image of the back of a bald man, an image of the sky with moon n clouds and a picture of opened windows; with all these images we need Photoshop (what else). Do have a look at the final image first and then we’ll start our tutorial.

Step1:-
Make a new document (size 400×266), open the sky image in the new document.
Step2:-
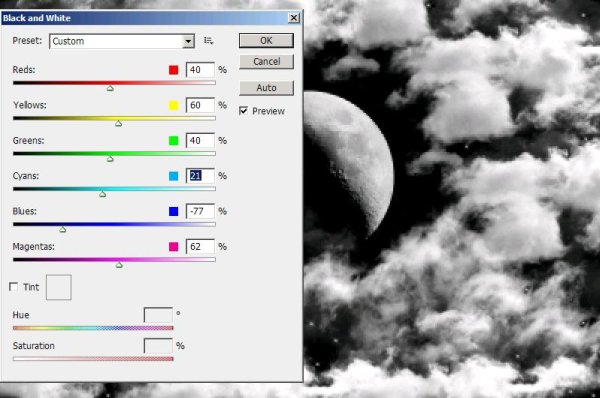
Go to Image>adjustments>Black & White and make the setting as shown in the picture below (to make the image black & white).
Step3:-
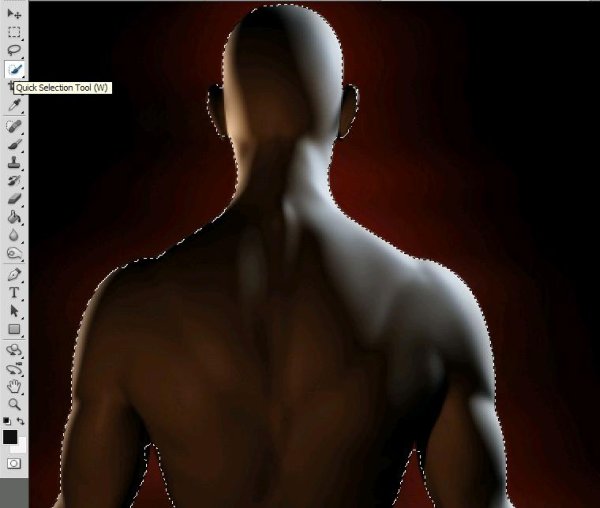
Now open the image of the bald man and cut out the man from the back ground with the help of Quick Selection Tool (w).
Step4:-
Now paste the cutout on the sky (it should look like the picture below). You can resize the cutout according to the background by pressing Ctrl+T.

Step5:-
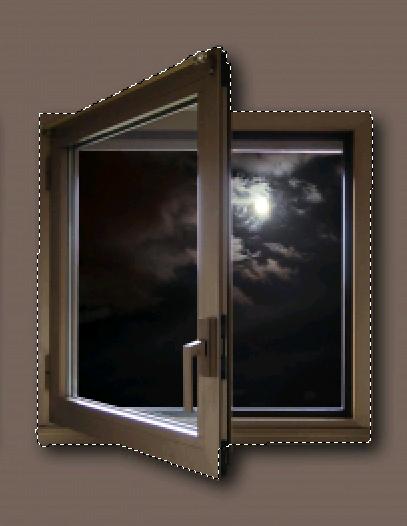
Open the window image cut out the window frame using Quick Selection Tool (w).
Step6:-
Paste the window cutout on our art board (re-size it small press Ctrl+T). Place it on the head of the man.
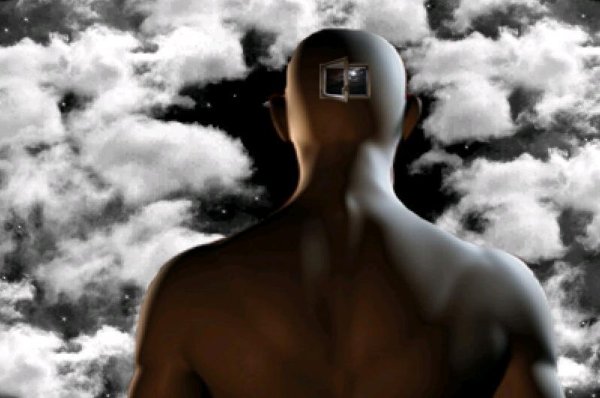
Step7:-
In this step we are going to repeat the process as mentioned in the step6 but make the window cutout a bit big than the previous cutout. Place it also on the head so the little window should be in the middle of the frame of big. (See the picture below).
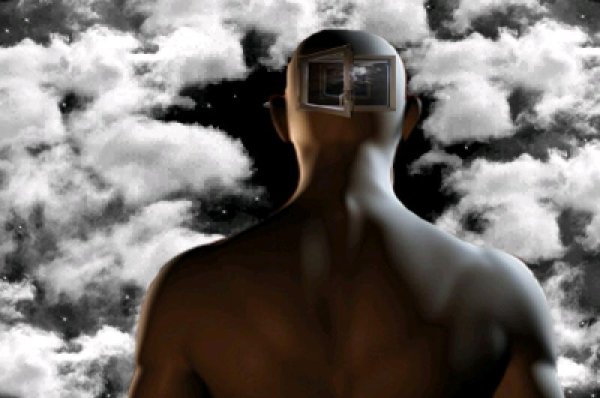
Step8:-
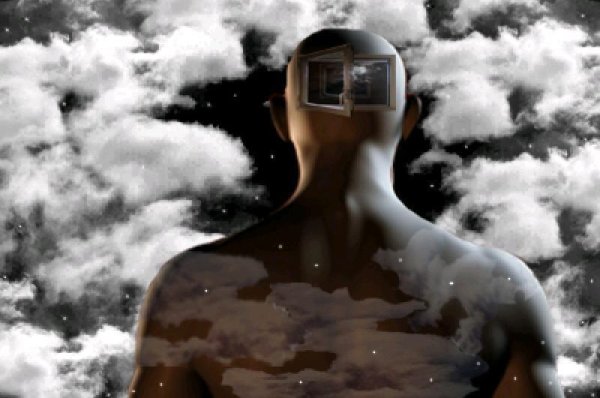
Cut out some clouds from the sky image and paste it on the back of the man, now reduce the opacity to 20% (as it is in the picture below).

Step9:-
It’s time to add some stars, for that use a hard round brush of size 1px with color #ffffff and 100% opacity.
Okay now your dream scene is ready. Hope you liked it and also learned some new tips and tricks of Photoshop. Do let us know your thoughts. I’ll be back with something new soon. Thanks for reading.


