
Learn how to create a Color Wallpaper
In this tutorial, we would be learning how to merge two simple backgrounds using custom brushes and some layer styling in Photoshop.
Step 1: Background
Color your background black and create a new layer. Now you need to download some grunge brushes, which can easily be found at Brusheezy.com. Once downloaded and installed, select your brush tool and choose the brush you want to apply on the canvas. Increase the size of the radius to fill the entire canvas. Choose white color for your brush and apply it on the canvas.

Step 2: Blending Options
Create a new layer and color the entire layer dark brown using the paint bucket tool. Change the blending options of the layer to Color. After that, go to Image, Adjustments and choose the Levels option. Apply an effect, which would reduce the brightness of the image. This would give a sort of dark grunge effect. Now we are done with your backdrop.

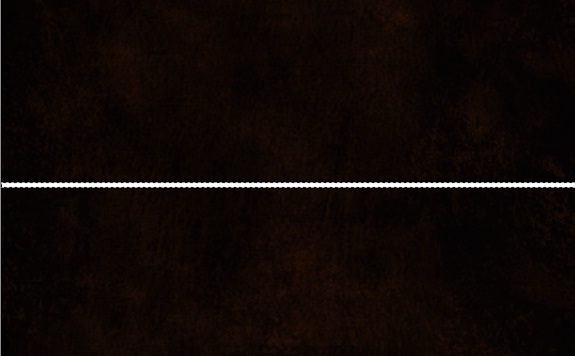
Step 3: Shape
Choose the Rectangular Marquee tool or the Rectangular Shape layer and make the following shape/selection in the middle of the canvas.
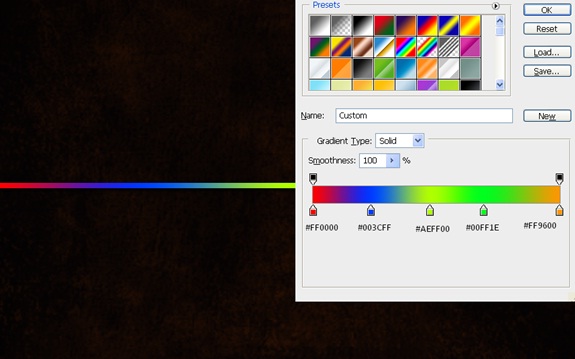
Step 4: Gradient
Go to the layer style and apply the following gradient. Keep the angle at 0 degrees.
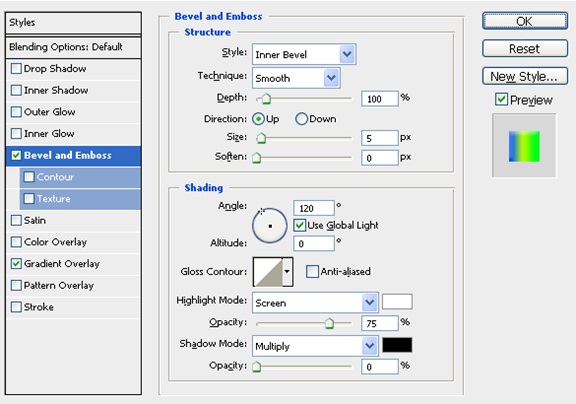
Step 5: Bevel and Emboss
Tick on the check box titled Bevel and Emboss and use the following details.
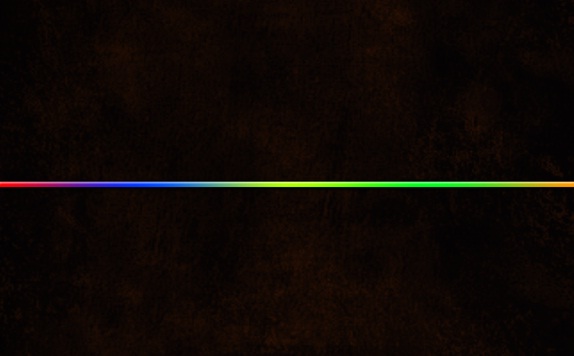
Step 6: Output
Choose the drop shadow option and keep the default values as it is. Once all the filters have been applied, this should be your output.
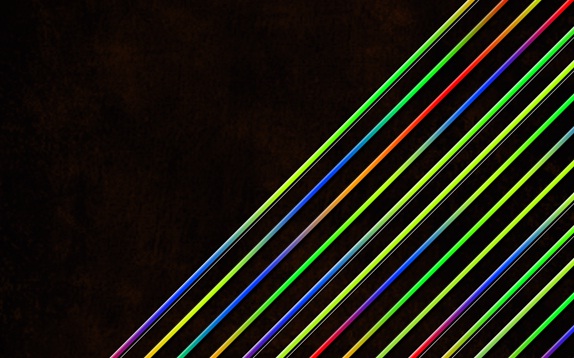
Step 7: Duplicate
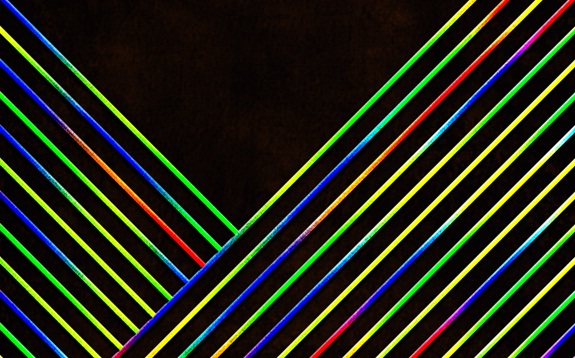
Press CTRL T and tilt the shape like shown in the image below. Keep duplicating the layer and make the pattern as shown below. You can keep on changing the gradient for each layer or simply change the angle of gradient for each layer if you want to remain in the same color scheme.
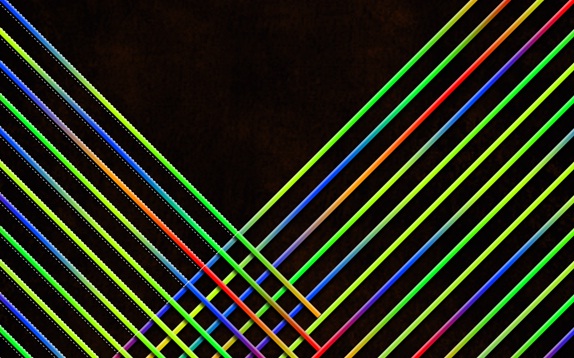
Step 8: Continue With The Pattern
Duplicate all the files and press CTRL T. Tilt the lines in different angle as shown below. Now we need to erase the part where both the patterns intersect.
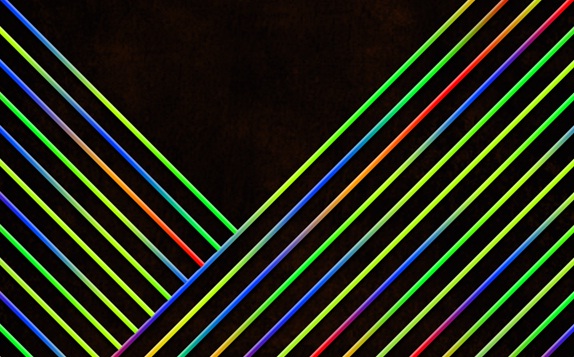
Step 9: Lasso Tool
Pick up the lasso tool and make a selection of the area where both the patterns intersect. Once the selection is made, hit delete.
Step 10: Color Burn
Duplicate the entire pattern and merge it into a single layer. Change the blending options of that layer to Color Burn.
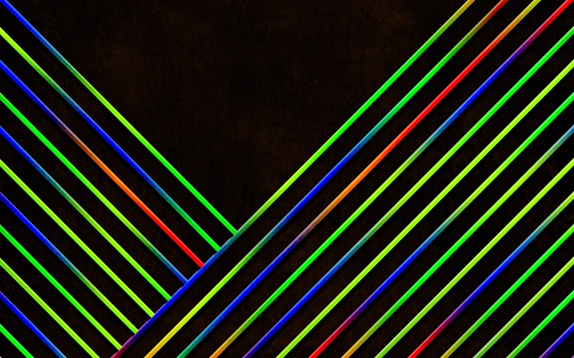
Step 11: Vivid Light
Duplicate the merged layer once more and change the blending options to Vivid Light.


