
How to make a futuristic office scene in Photoshop
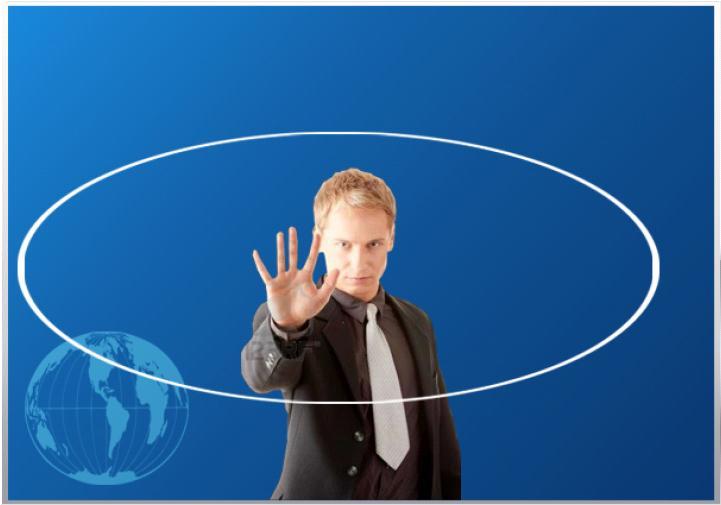
Hi guys! Today I’ve brought a very cool futuristic looking scene of a work place. Hope you will enjoy it as much as I have making this. For this incredible image we need two photo images, one of a guy and 2nd is of a globe and 3rd is our very own Photoshop what else? Before we get started let’s have a look at the final thing.

STEP 1…
Create a new document of 1000 X 768 px. Background will be filled with the gradient as shown in the picture. The gradient begins with #1a87d8 at the left side of the top and #093873 at the right side of the bottom.

STEP 2…
Download “Business man pressing an abstract touch screen” from 123RF. Crop the man out of the background with one of the extraction methods.

STEP 3…
Download “3D vector sphere” from Google search. Select the sphere and press (CTRL+C) to copy. Change back to Photoshop and push (CTRL+V) to paste the sphere in your document (on which you are working).

STEP 4…
Create a fresh layer and name it as “circles”. Make a white elliptical shape like the one shown below. Keep the selection active.

STEP 5…
Copy your elliptical layer and decrease the size of new elliptical then, marquee selection and delete the selection from 1st elliptical layer and you get a circle.
STEP 6…
Create a few more circles with same steps and overlap those.

STEP 7…
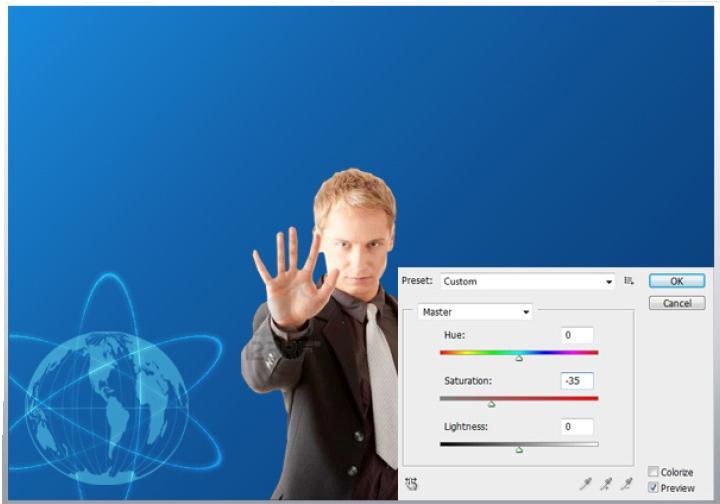
Time to select the man layer and (go to Image, go to Adjustments, go to Hue/Saturation); make the setting of the saturation to -35…
STEP 8…
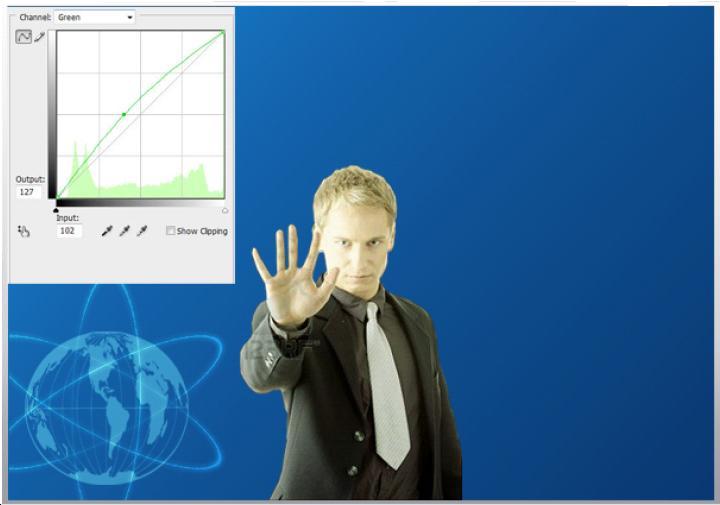
Go to Image, go to Adjustments, and select Curves. In the Green channel keep the setting as shown below. For the Blue channel also do same.
STEP 9…
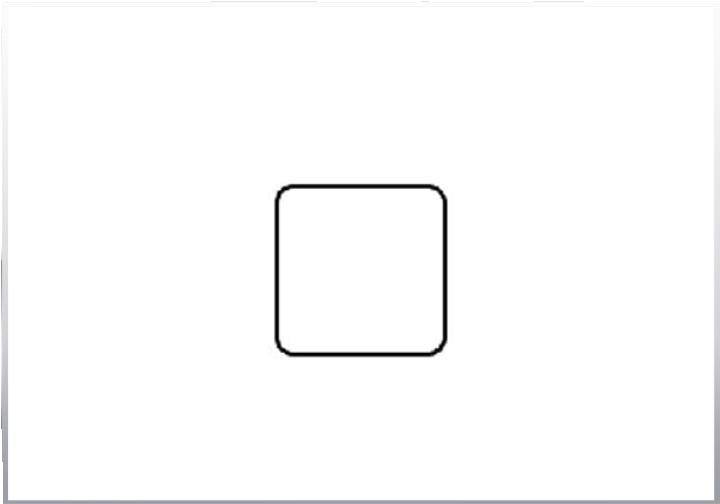
Make a fresh document of size 100×100 px. Create a rounded rectangle with white fill, “right-click” on the rectangle and, select “Blending Options”. Click on Stroke and keep the color black and size 3pixals. Push (CTRL+A) to select the whole document. Go to Edit, go to Define Brush Preset. A new brush will be created.
STEP 10…
Go reverse to the former document and open the Brush Panel. Make the settings as shown in the picture.
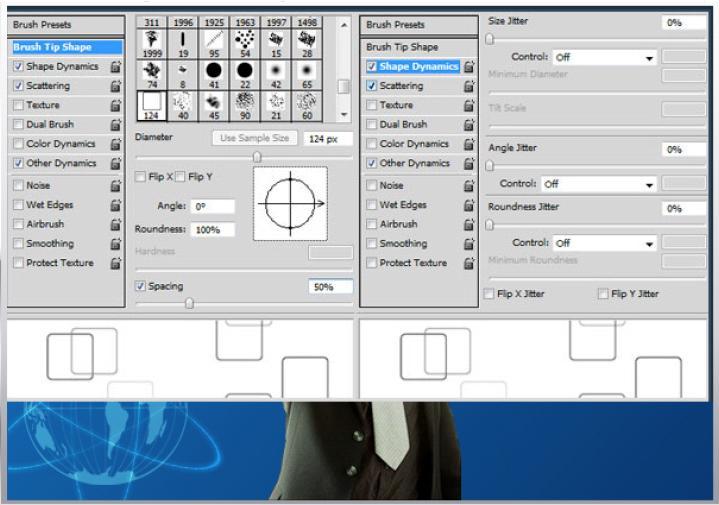
STEP 11…
Enter the settings as shown in the picture below.
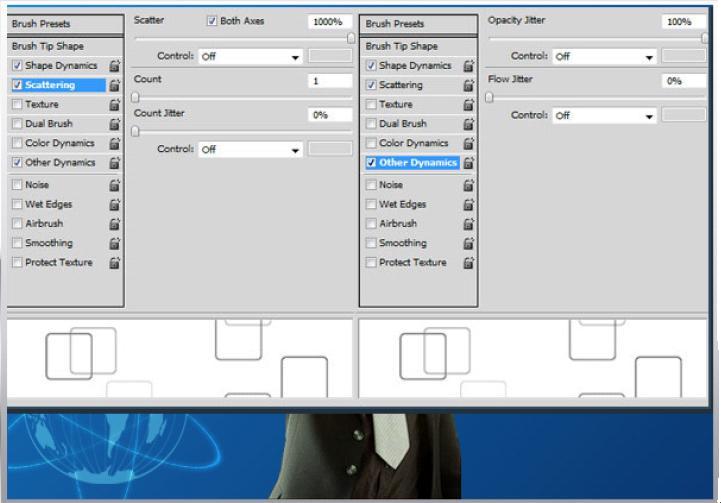
STEP 12…
Make a fresh layer underneath the man. Name the layer as “hovering Squares”. Use the brush made earlier and paint some rounded squares in the back setting.

STEP 13…
Make a fresh layer above the man layer and create white circles with tech so that his fingers look within those.

STEP 14…
It’s time to type text in with the bitmap fonts. Keep in mind to flip the text flat so it’s facing the man’s direction.

Hope you have enjoyed this tutorial. I’ll be back soon with another exciting new tutorial. Do share your side of the story. Thanks for reading!


