
How to make a disco scene in Photoshop
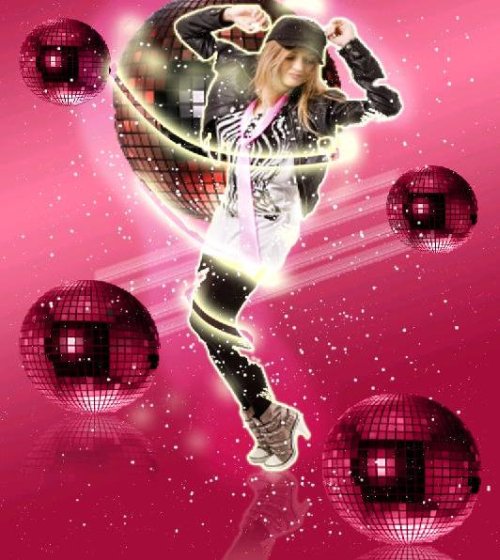
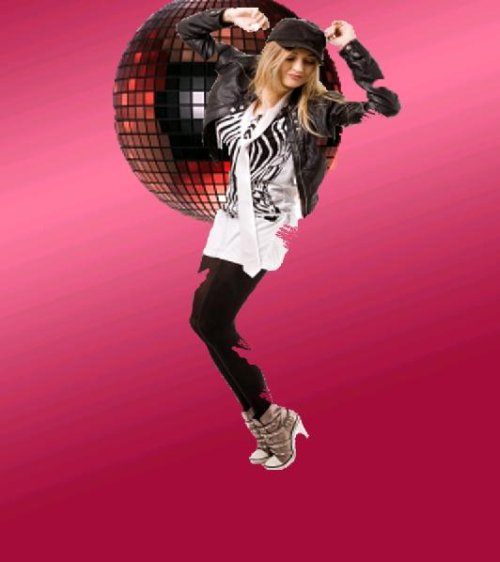
Hi people! Today I’ve brought a fun cool disco scene for you. It’s amazingly easy to make and fun all the way. So let’s see what we’re going to need for this disco theme, an image of a dancing girl and a disco globe with our very favorite Photoshop. However before we start our creative disco let’s have a look at the final image.
Step1:-
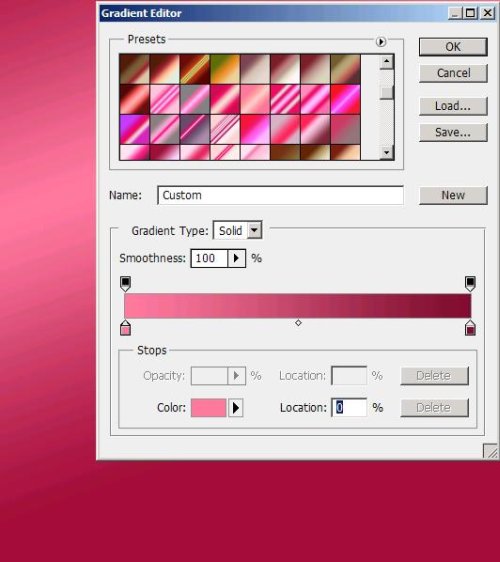
Make a fresh new document of size 800×900. Fill it with a gradient with color #7f0d30 on right side and color #fc7a9e on the left (see the picture below to have the correct idea).
Step2:-
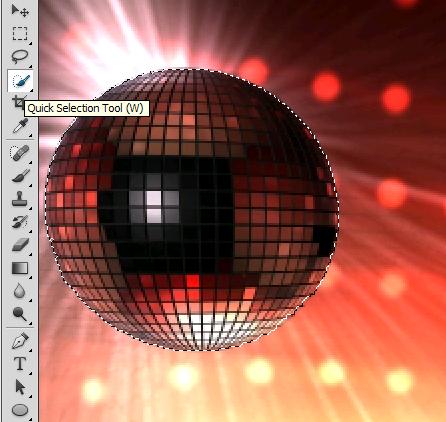
Open the disco globe image. Cut out the Globe from its background with the help of Quick Selection Tool.
Step3:-
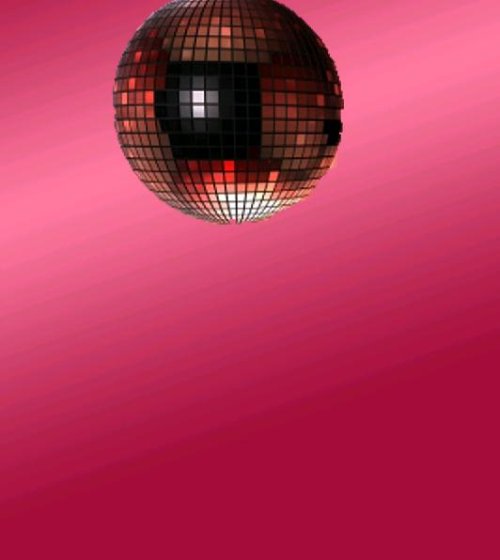
Paste the cutout globe on our working layer. Name the pasted globe layer as Globe1. Place the disco globe on the pink back ground as shown in the picture with the help of Move Tool.
Step4:-
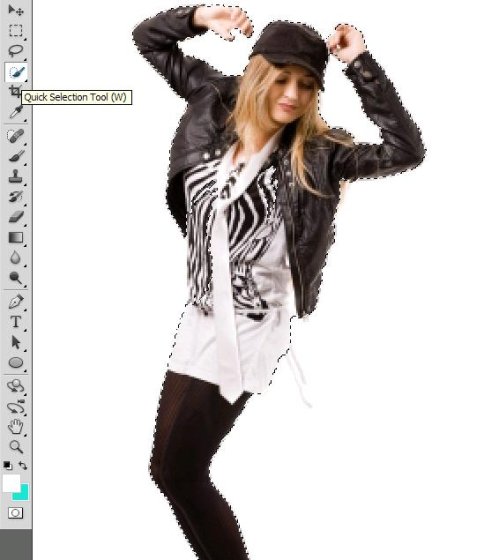
Open up the dancing girl’s image and cut the girl out from its background using Quick Selection Tool (W).
Step5:-
Paste the cutout girl on our working board and name this layer as dancing girl. Place it according to the picture below with the help of Move Tool (V). You can re-size the girl by pressing Ctrl+t. Use Eraser Tool to erase a few chunks out of the girl to give it a bit of rusty look.
Step6:-
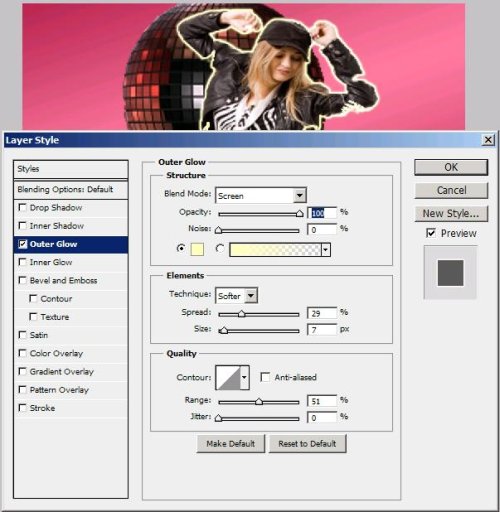
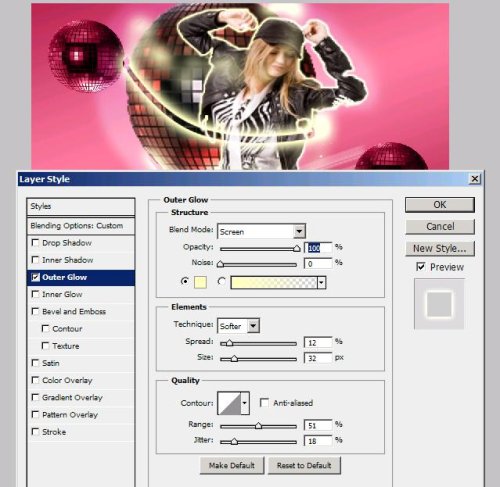
Give an outer glow to our girl, for that right click on the girl’s layer, go to Blending Options and select outer Glow. Keep the settings as shown in the picture below.
Step7:-
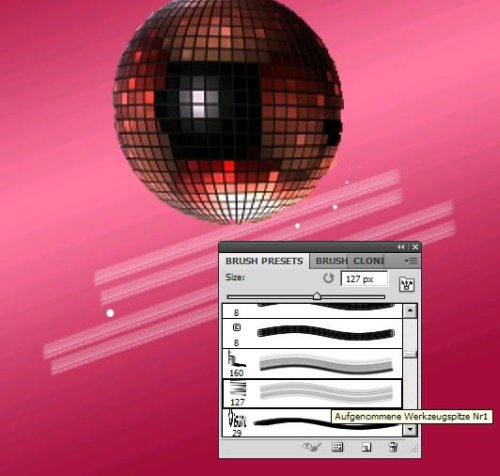
Now make some lines. Create a new layer and name it lines. First select a brush (Aufgenommene werkzeugspitze) of size 29px. Now select pen tool for straight lines.
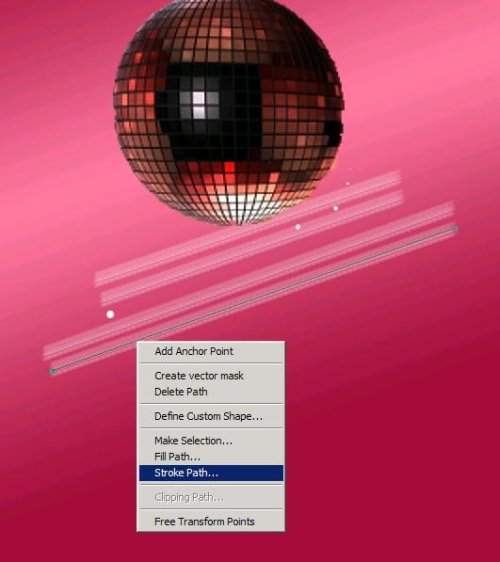
Step8:-
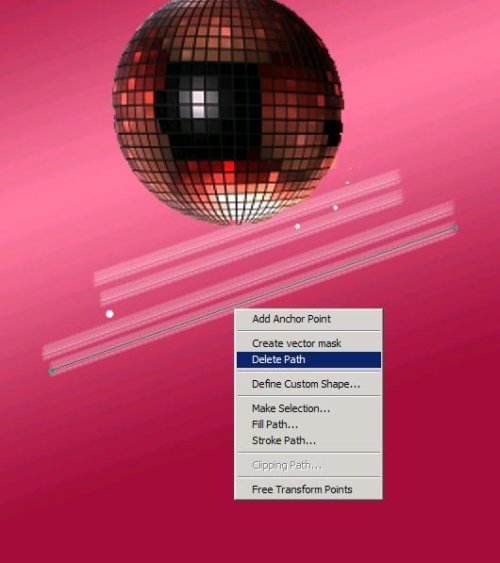
Make a straight line or tilt it a bit downward. Right click on the line and select stroke path first and then right click again and select delete path. (Make a few line, I’ve made 4).
Step9:-
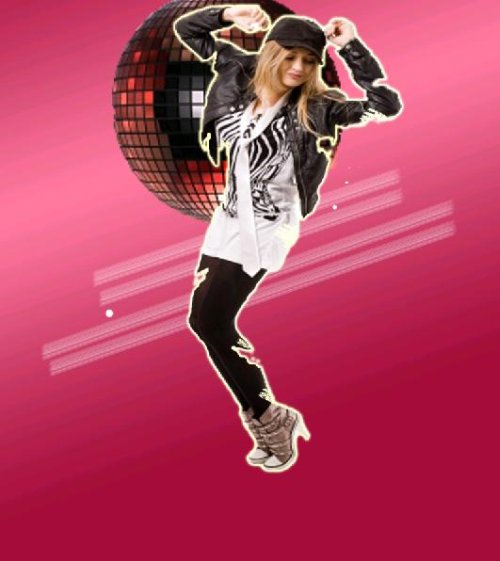
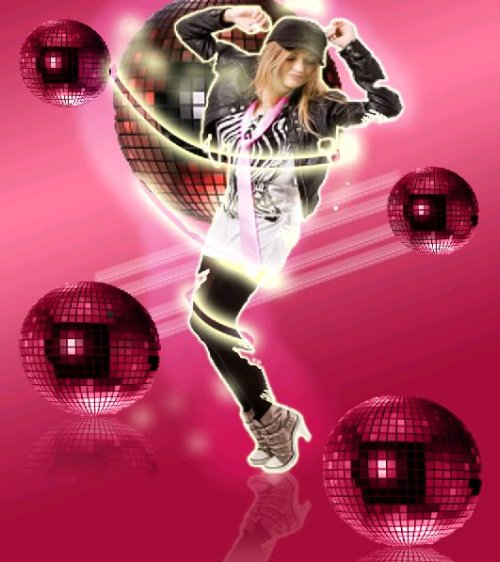
Bring the lines layer below the dancing girl’s layer. You should now have something like the picture shown below.
Step10:-
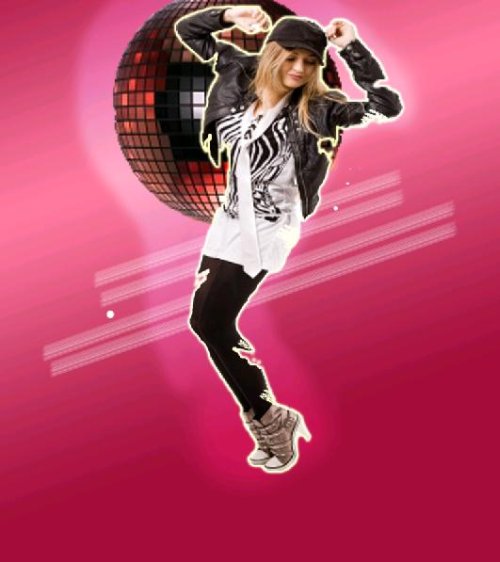
Now we’re going to add a lighter glow to our girl’s figure, for that select a soft round brush of size 80px, color would be #ffffff and reduce the opacity to 40 %. Draw it around the girls figure.
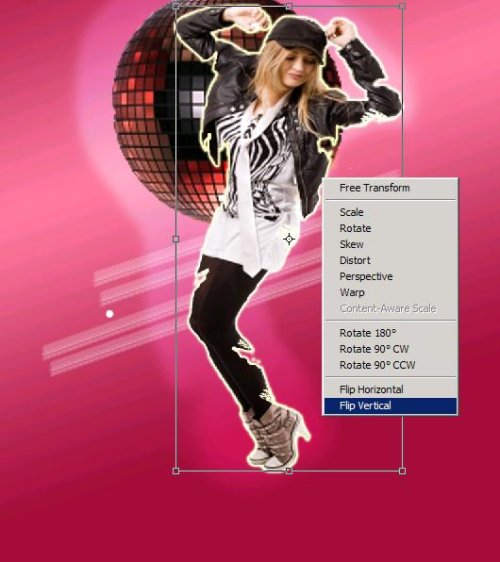
Step11:-
In this step we are going to create reflection of our girl, for that press Ctrl+j to copy the image then press Ctrl+t and then right click on the figure and select Flip Vertical.
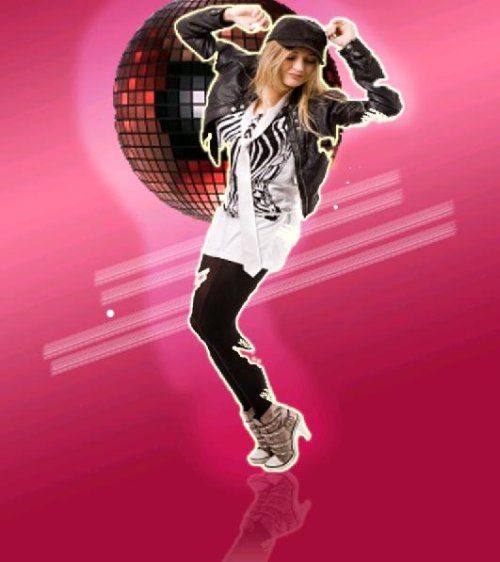
Step12:-
Now place the vertical flipped image as shown in the picture below and reduce the opacity to 40%.
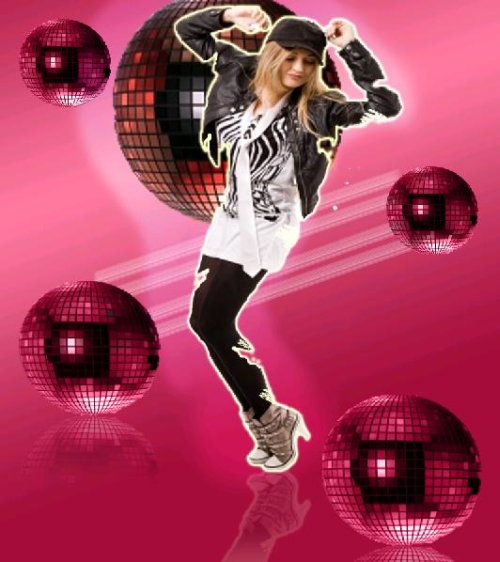
Step13:-
Okay now we’re going to add a few more disco globs. Open up the globe image cut it out with the help of Quick Selection Tool then go to Edit and select cut. Now paste the globe 4 times on our image (as shown in the picture below), you can re-size these globes by pressing Ctrl+t. set the blending mode to Luminosity (to match the color of the globes to our background).

Step14:-
In this step we are going to add reflection (like we created for the girl) to the 2 globes at the lower side of our disco image. (repeat the process of step11,press Ctrl+j to copy image and then press Ctrl+t, right click>select Flip Vertical) place the reflection according to the picture below ( use Eraser Tool with soft round brush effect to Blur the reflection to give it a mirror effect). Reduce the opacity to 40% for each reflection.
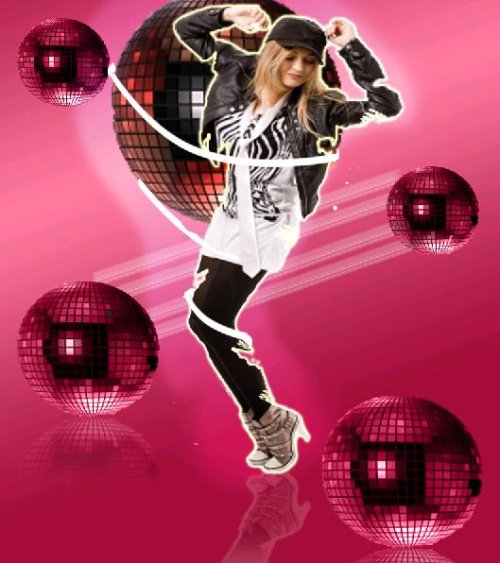
Step15:-
It’s time to create a glowing dancing light around the girl. Select a hard round brush of size 12px with color# ffffff. Draw some semi circles around the girl as shown in the picture below.
Step16:-
Set the Blending Mode to soft light then right click on the layer go to Blending Options and select Outer Glow (keep the settings as shown in the picture below).
Step17:-
Why don’t we give a pink glow to the girl’s Tai as well? It’s very simple, make a new layer name it “Tai layer” then select a soft round brush select a dark pink color# ec008c and draw on the Tai and then set the Blend Mode of the Tai layer to soft light. There you have a cool glow to the girl’s Tai.
Step18:-
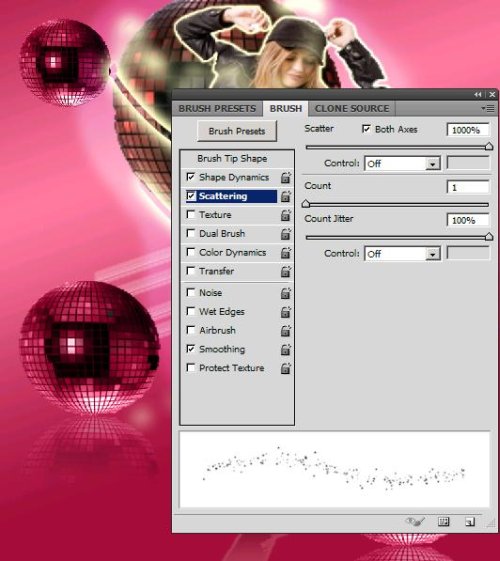
Lastly we’re going to add some glitter to our disco image to make it more rocking. Go to Brush presets, select hard round brush of size 1px. Go to brush panel and first select Shape dynamics (make the settings as shown in the picture below).

Now select Scattering and keep the settings according to the picture below.
Step19:-
Now draw and scatter the glitter on the image as shown in the picture below.
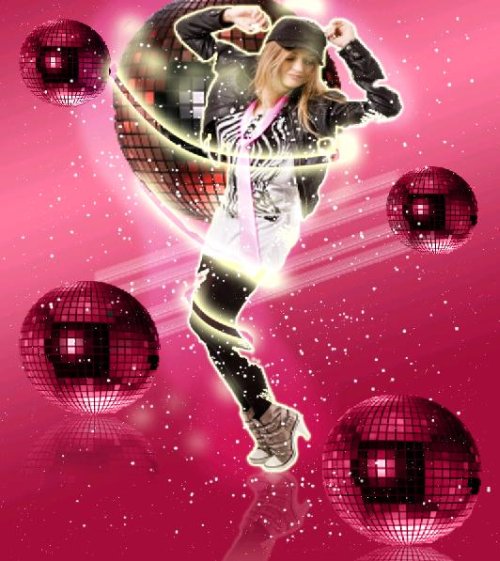
There you go, now you have a disco scene created in Photoshop. Hope you’ve liked it and learned a few tricks of your own. Do share your side of stories. Thanks a lot for reading. I’ll be back with something new for you soon. Bye!


