
How to make a crumbling brick face image in Photoshop
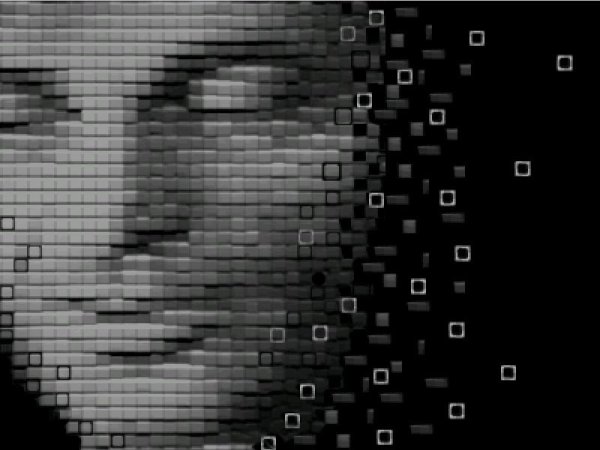
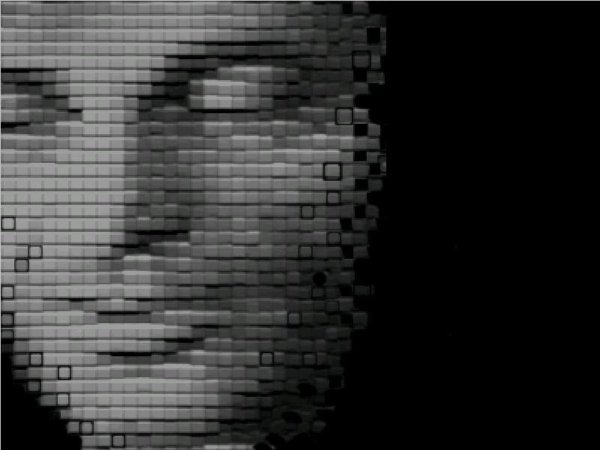
Hello friends! Today we are going to create this cool crumbling brick face image in Photoshop. It is very easy to make and you can experiment with it, can also include various things into it. For This amazing effect, we will need a portrait image (you can try any other thing beside a face if you want) and our very own Photoshop. So have a look at the final image, before starting the tutorial.
Step1:-
Create a new document of size 400x300px and fill it with color #000000.

Step2:-
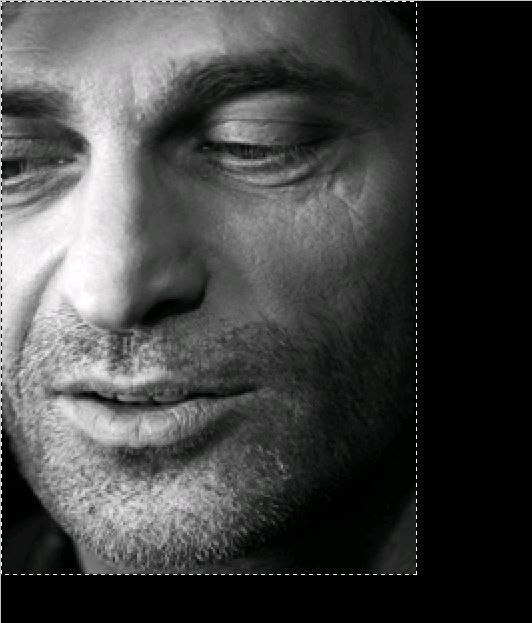
Open up the portrait image and make it a bit small in size, for that press Ctrl+t and then copy this image.
Step3:-
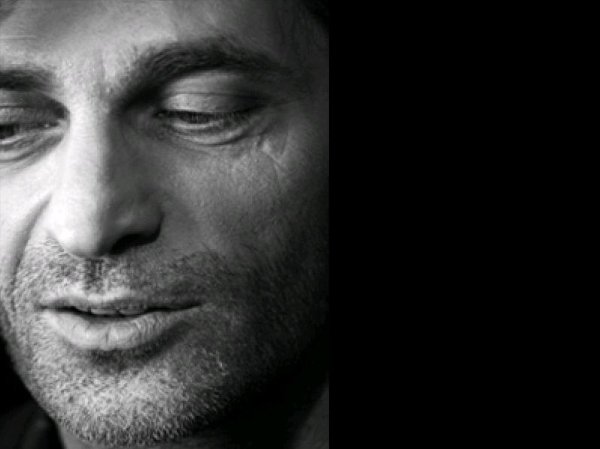
Paste the image on to our black back ground and with help of Move Tool place it the way it is shown in the picture below.
Step4:-
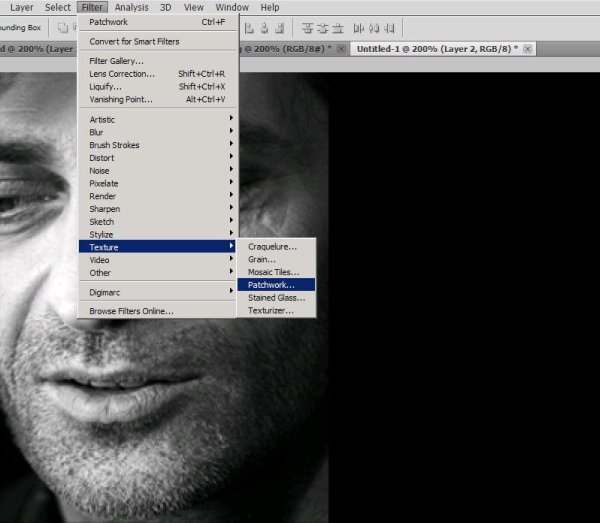
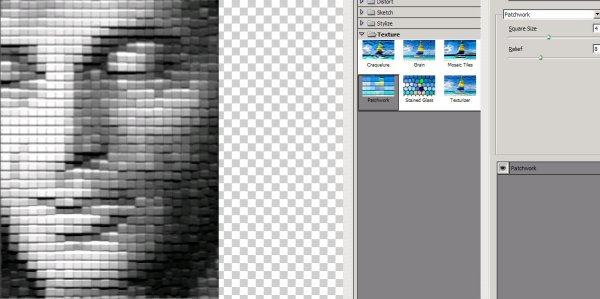
Now we are going to give our portrait the brick effect and for that go to Filter>Texture>patchwork.
Step5:-
After selecting the patchwork texture keep the Square size 4 and Relief 8.
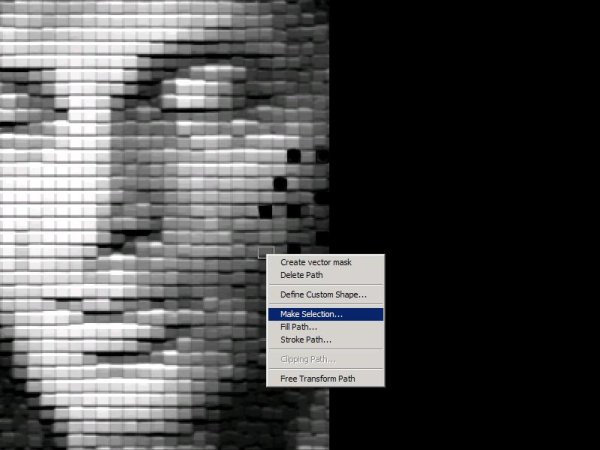
Step6:-
Select pen Tool and make a square around one of the brick on face and then make selection.
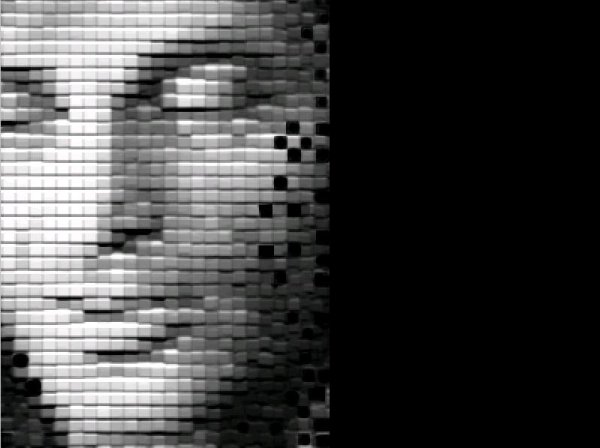
Step7:-
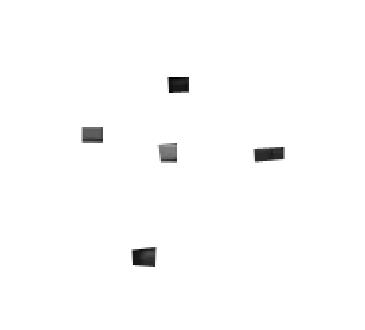
Now cut the square and paste it on a new document (you can make any size, doesn’t matter). Repeat this process several times around the edges of the face so it looks like it is crumbling.
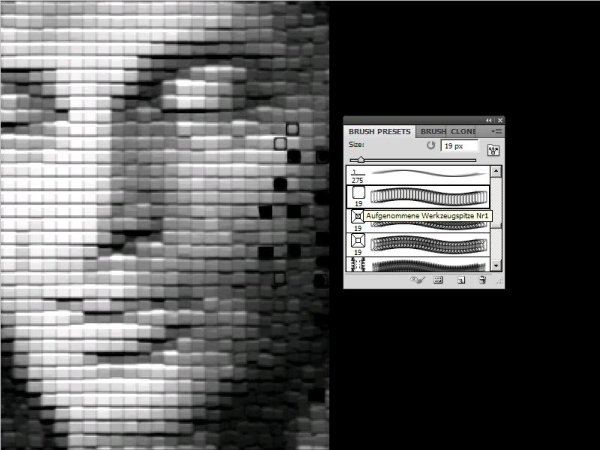
Step8:-
Select a brush #19 (name Aufgenommene Werkzeugspitze Nr1). It’s a kind of square shape, make the size 8 px and make some squares on the face bricks to highlight them. Keep the stroke black.
Step9:-
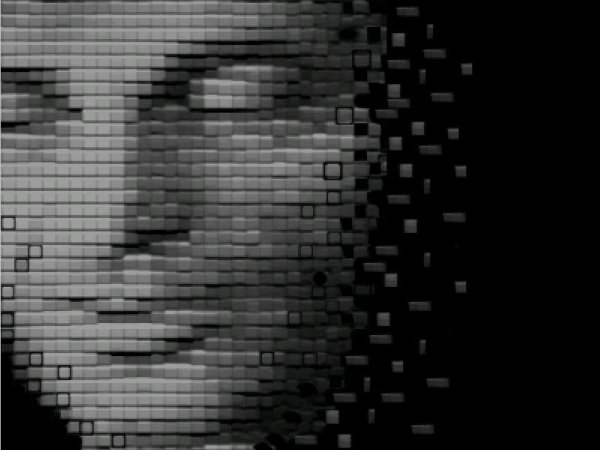
Now you should have something like the image below.
Step10:-
It’s time to add the cutout bricks we’ve collected on the other new document.
Step11:-
Okay now what we’re going to do is cut those separate bricks with the help of Quick Selection Tool and paste them one by one on our working canvas (to give the impression of bricks flying away from the face).
Step12:-
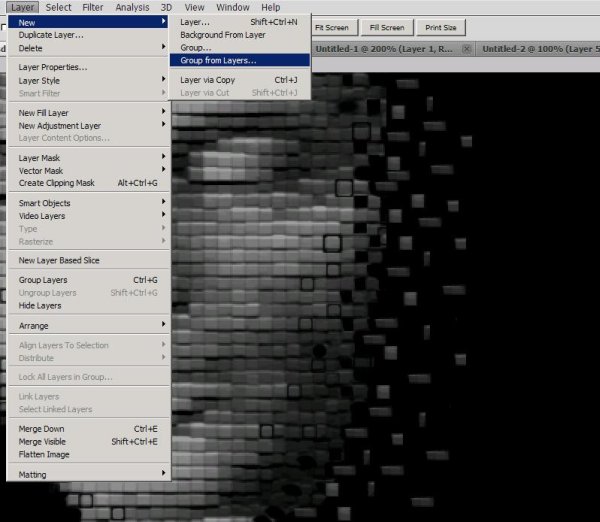
Group all the flying bricks (click on the first layer press Shift+ last layer and then go to Layer > New > Group from layers). Name the group as flying bricks.
Step13:-
Our image is ready but you can add something more if you feel like I’ve done here. I’ve added some illuminated squares, for that select the same square shaped brush (same as we’ve used in step8) and set the color #ffffff and keep the opacity to 100%.
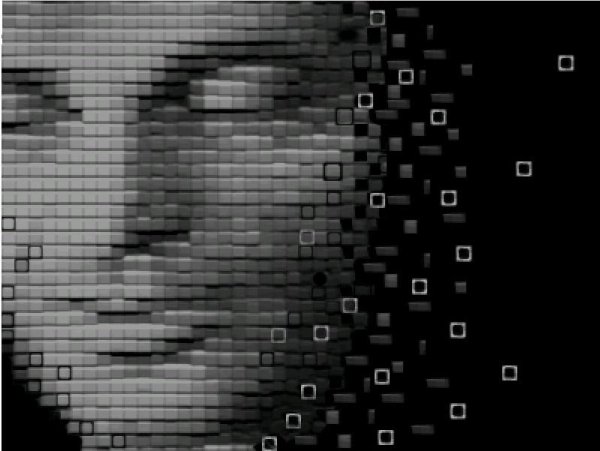
There you have it, our crumbling bricks effect. Hope you had fun. Do experiment with this technique and you’ll be amazed with the results. Share your thoughts and comments. I will be back soon with another exciting effect. Till then have fun and be creative! Bye.


