Creating Fractals In Photoshop
With a little image manipulation, effects and using some vector art, you can create amazing fractal artwork in Photoshop. I would be showing you few simple steps on how to achieve this.
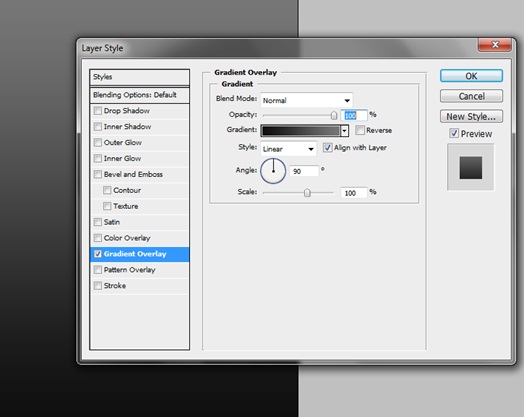
Step 1: Background
Go the Layer Style of your background, tick the Gradient Overlay option. Apply a slight gradient to give a metallic background look.
Step 2: Pencil Tool
Now select the pencil tool and make a diagonal line like displayed below. Duplicate the layer and position it in such a way that it forms a V shape.

Step 3: Vectors
Now it’s time to add a little vector art to your image. You can download various vector images from shuttershock.com. Bring five to six vector art files to the canvas and arrange them within the V shaped layer, like displayed below.

Step 4: Duplicate Pattern
Once you are done with the arrangement, duplicate all the layers and merge them into a single layer. Once that is done, press ALT CTRL T. This will launch a tool similar to the free transform tool. Rotate the layer to form a particular pattern and when done, press enter.

Step 5: Basic Pattern
Repeat step 4, until you are satisfied with a particular pattern.
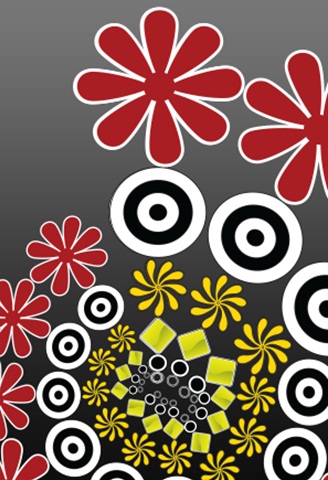
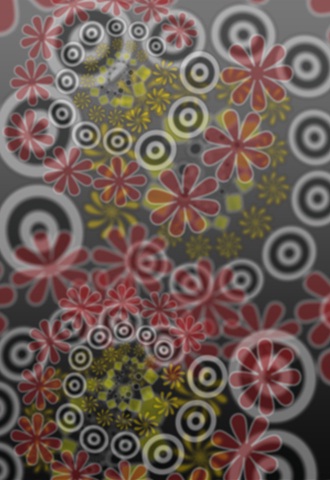
Step 6: Background Pattern
Now as you are done with your basic pattern, move all the layers into one group. Duplicate the whole group two to three times, each time reducing the opactiy of each group by 20%. Once done duplicate all the files and rasterize all the layers into one single layer. Go to Filter, Blur and choose the Lens Blur effect with a 40 px radius.
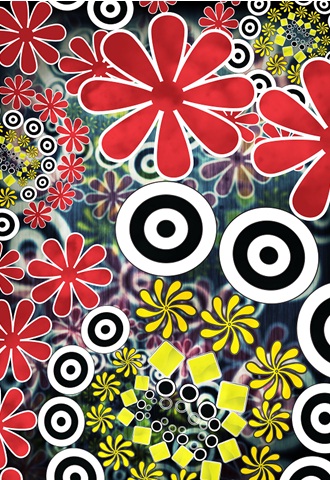
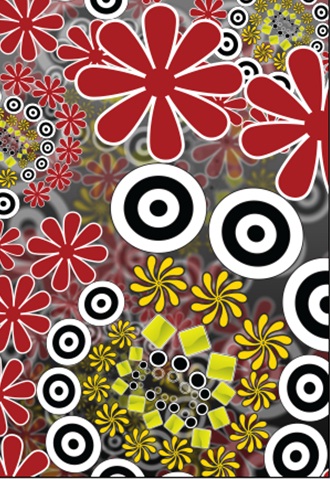
Step 7: Fill In the Canvas
Once the background is completed, fill the foreground with your basic pattern.
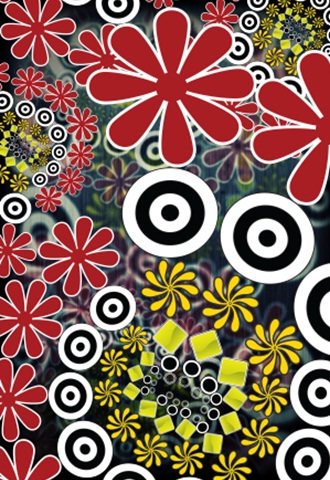
Step 8: Background Effects
Reduce the brightness of the background and sharpen the image. In this particular tutorial, I have made a separate layer for making black borders. In the blending options, the value has been changed to “Overlay” from its default “Normal” value. You can even add patterns and various other effects on your background. Be sure to sharpen your image and increase the contrast and saturation of the image.
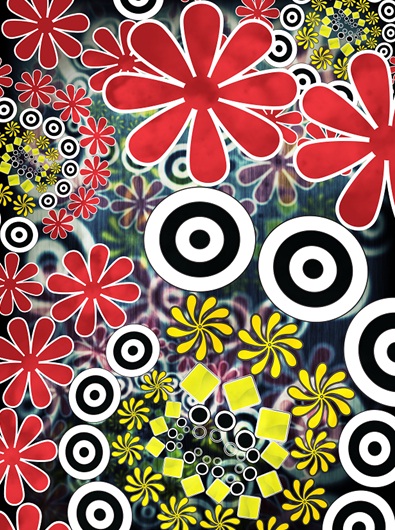
Step 9: Overlay
Add a new layer at the very top. Pick up the brush tool and apply it randomly over the layer like shown below.
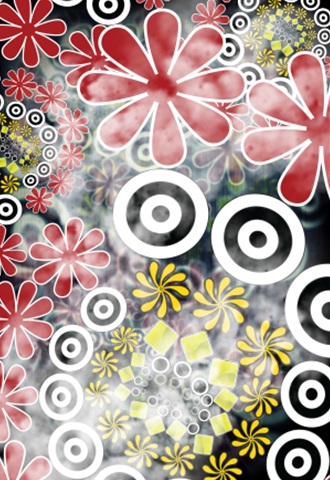
Step 10: Result
Once you are done with applying the brush tool, go to the blending options of that particular layer and change the default value from “Normal” to “Overlay”.
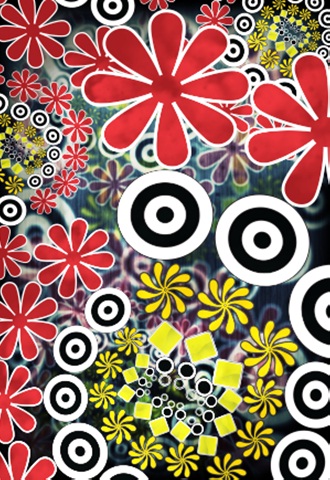
Step 11: Final Touches
There’s a lot you can do to add depth to your image. A number of effects and filters can be applied to add to the design. Once you are done with the entire design, follow the same steps mentioned in step 8. Basically, you would be applying the same effects for the foreground as you did for the background. That’s it!