Creating a Futuristic Illustration
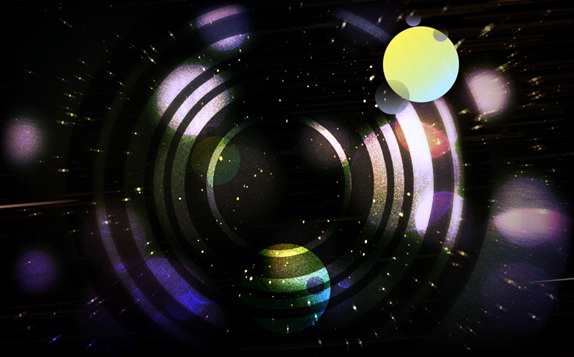
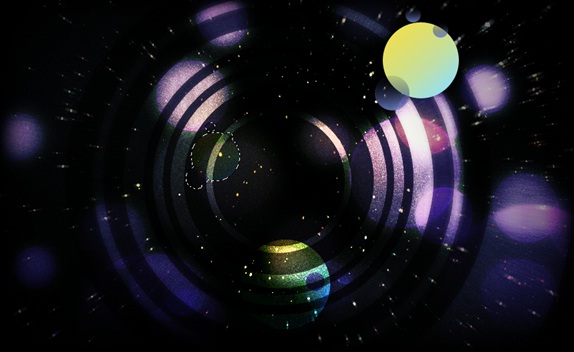
In this tutorial, you would learn how to manipulate various images, shapes and patterns to form a futuristic illustration in Photoshop as displayed below. Let’s get started.

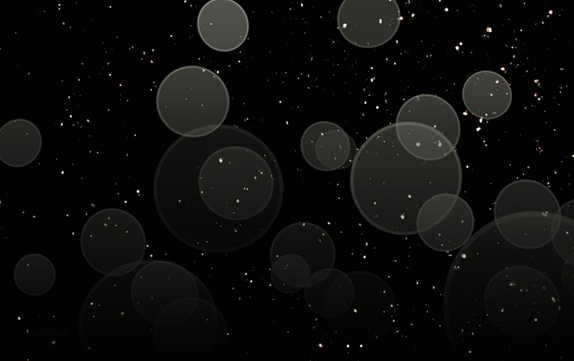
Step 1: Background
First of all, we would be starting with a basic background image. For this tutorial, we would use a star or galaxy background.

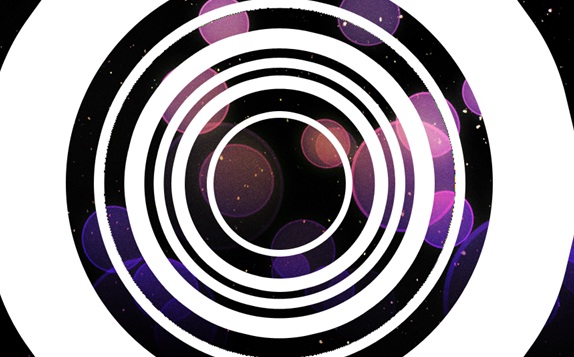
Step 2: Circular Pattern
Pick up the Ellipse tool and make a circle at the center of the canvas. Reduce the fill of the shape to 50%. Go to the layer style and choose the stroke option. Set the radius at 10. Fill the shape with a very light gradient. Now as you have your basic shape, duplicate the layers and make a pattern on your canvas.
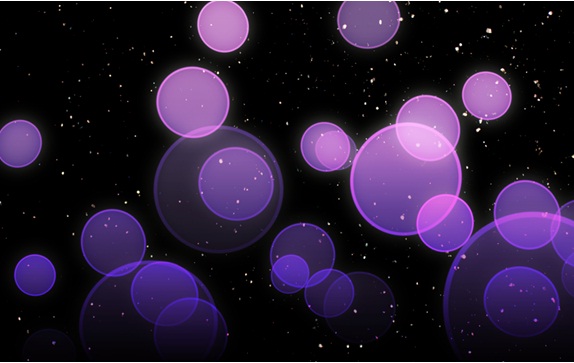
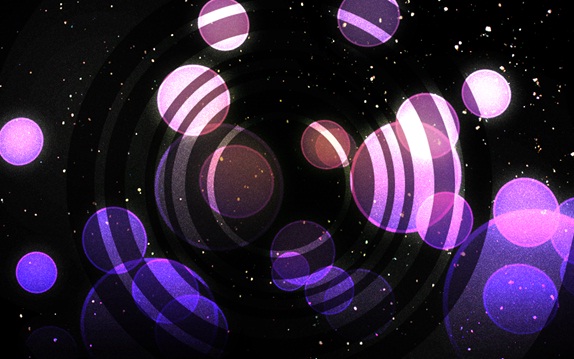
Step 3: Color
Duplicate all the layers for your pattern and merge them into a single layer. Duplicate the merged layer and color the pattern purple using the paint bucket tool. Change the blending options of the layer to Color Dodge. Both the layers would automatically merge into one another.
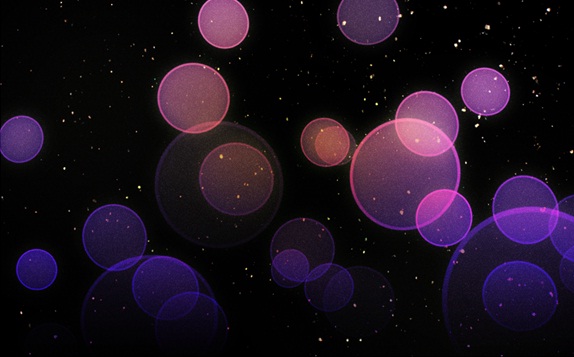
Step 4: Brush Tool and Adding Noise
Select the soft brush with 0% hardness and choose the orange color for your fill. Create a new layer, use a large radius that fills the canvas and apply the brush tool on the center of the canvas. Once that is done, change the blending options of that layer to Linear Burn. After that, create another new layer and fill the entire layer with black color. Once that is done, go to Filter, Noise and choose the Add Noise option. Choose the uniform option with 22% amount. Do remember to tick the check box titled Monochromatic. Now you are done with your basic background image.
Step 5: Complete Pattern
Keep repeating the same step every time, increasing the radius of the circle and the size of the stroke as well. Fill the canvas with this pattern.
Step 6: Vivid Light
Select all the shape layers and merge them into a single layer by pressing CTRL E. Once that is done, reduce the fill of the layer to 65% and change the blending options of the layer to Vivid Light.
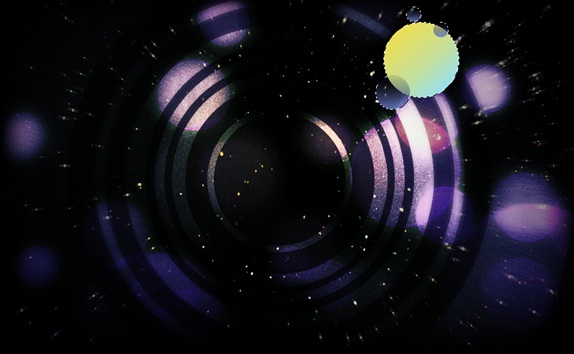
Step 7: New Circular Pattern
Pick up the Ellipse tool and make a pattern of circles like shown below. You can use any gradient for your pattern. Make sure to use different gradients for each circle. Reduce the opacity of the smaller circles to 50%.
Step 8: Duplicate Pattern
Duplicate all the shape layers and arrange them in a single group. Change the blending options of that particular group to Color Dodge.
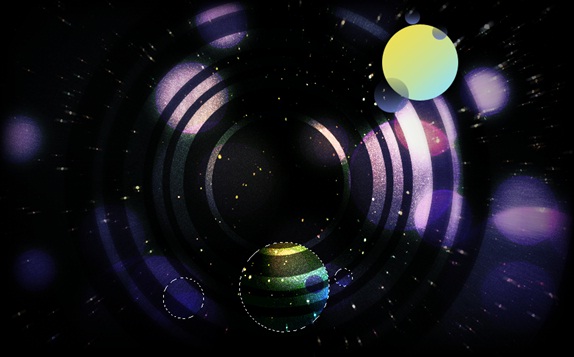
Step 9: Repeat
Repeat the same step again. This time change the blending options of the group to Vivid Light and reduce the opacity of the group to 25%.
Step 10: Final Touches
Now as you have made the basic pattern, it’s time to play with the colors a bit. Beauty of this design is that, you can play with the blending options and the output would surprise you. Create a new layer and use the soft brush tool to color some parts of the canvas bright yellow, red and orange. Use a variety of colors on different layers and change the blending options to Overlay, Soft Light and Color Dodge respectively. That’s it.