
Creating a coloring effect through a magnifying glass in Photoshop
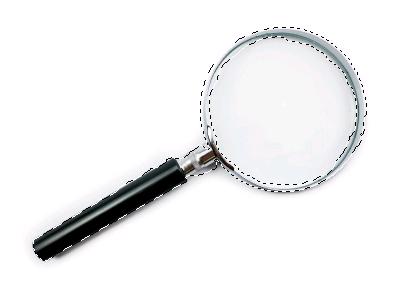
Hey friends! Today I have a beautiful color effect image with me. It’s very simple to achieve and fun to do. So let’s count the things we will need to make this beautiful image, an image of beautiful colored scenery (taken from bigstock) and an image of a magnifying glass with our Photoshop.
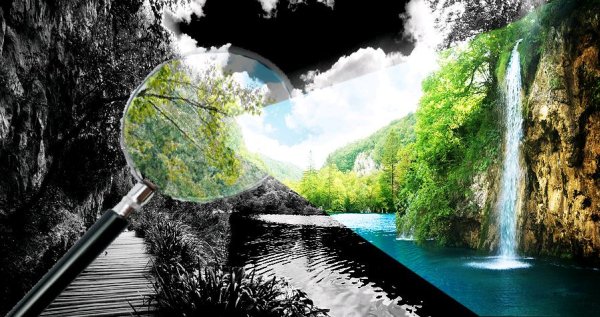
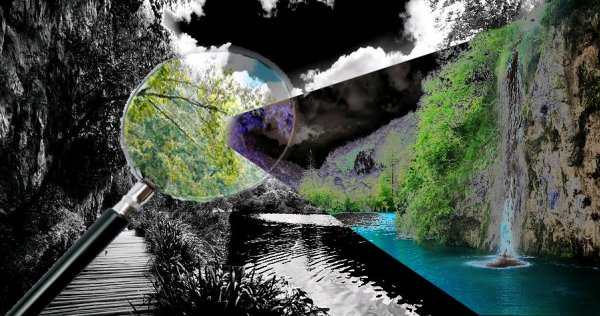
Have a look at the finished image before starting the tutorial.

Step1:-
Create a fresh document (size 900×476 pixels). Leave the document empty.

Step2:-
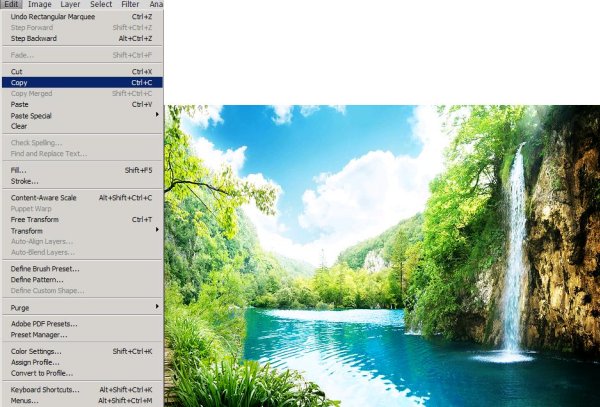
Now open the scenery picture in Photoshop, select the complete image go to Edit and click on Copy.
Step3:-
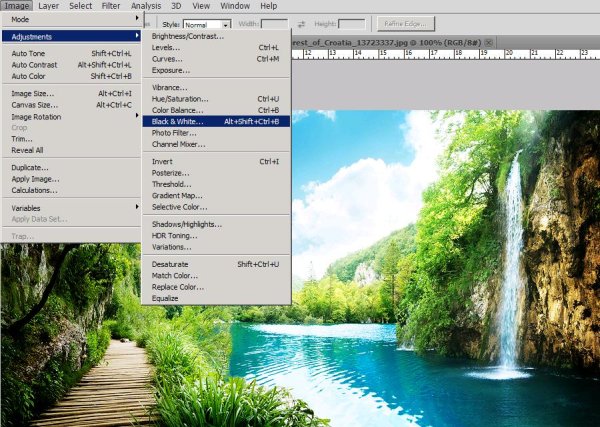
Paste the copied image to out empty background and then go to Image>Adjustments and select Black & White.
Step4:-
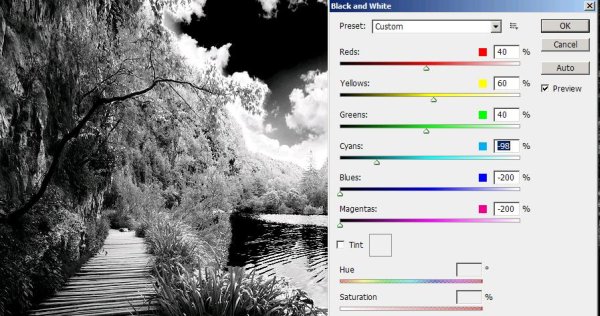
Set the colors according to the picture shown below.
Step5:-
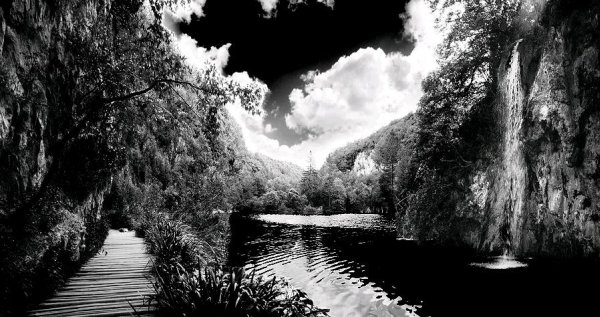
Now you should have an image similar to the picture shown below.
Step6:-
Open up the image of magnifying glass and select only the magnifying glass using Quick Selection Tool (leave the area of glass just select the outer frame.
Step7:-
Copy the selected image and paste it on our scenery. Re-size it a bit by pressing Ctrl+t. Remove the extra edges using Eraser Tool.
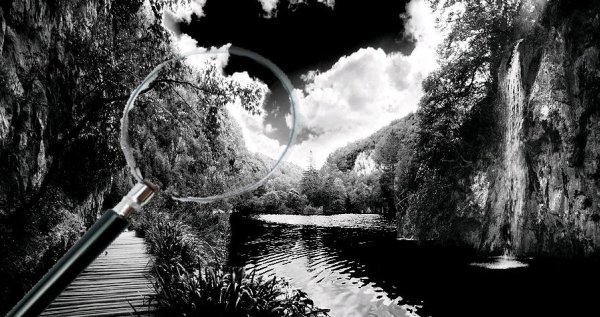
Step8:-
Go to the original scenery and cut a circular piece to fit in the place of the glass.

Step9:-
Paste the circular cutout piece on our image and place it in where the glass should be using Move Tool. Reduce the Opacity of this layer to 53%.

Step10:-
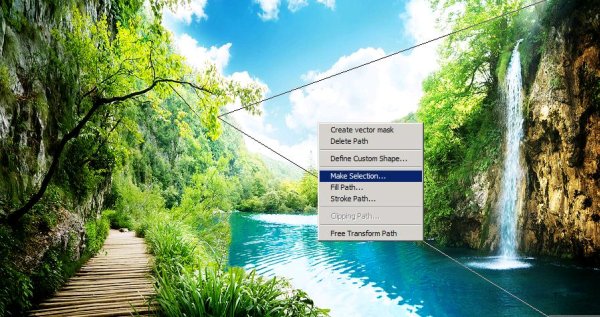
Okay now we are going to add colored layers to our image, for that go to the original scenery and Make a triangle using Pen Tool (take a big portion as shown in the picture below).

Step11:-
Right Click on the section and click on Make selection, copy it.
Step12:-
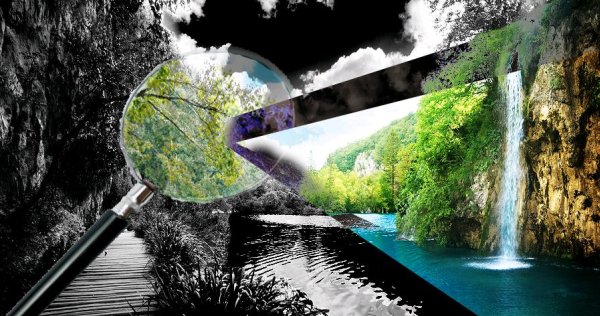
Paste it on our image and place it in a way that it would look like a projected beam going through the magnifying glass. Remove the corner in glass using soft rounded Eraser.
Step13:-
Set the Blend Mode of this layer to Exclusion and leave the Opacity to 100%.
Step14:-
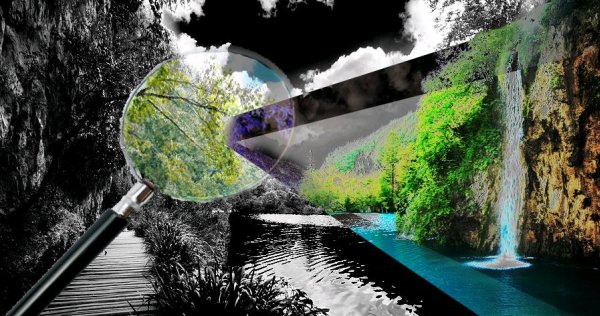
Now we are going to add another layer of color and for that again go to the original picture and cut another triangle (a bit narrow this time) using Pen Tool (like step 10 and 11). Paste it on our working image and place it between the first triangular cut out.
Step15:-
Set the Blend Mode of this triangle to Linear Light and reduce the Opacity to 46%. You should have now an image similar to the one shown below.
Step16:-
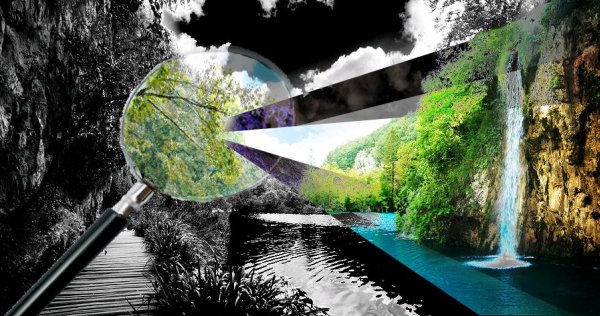
Again go to the original image and cut out a third triangle (narrower than the first and second). Paste it on our image and place it between the 2nd projected beam.
Step17:-
Make the settings of Blend Mode to Normal and Opacity 100%.
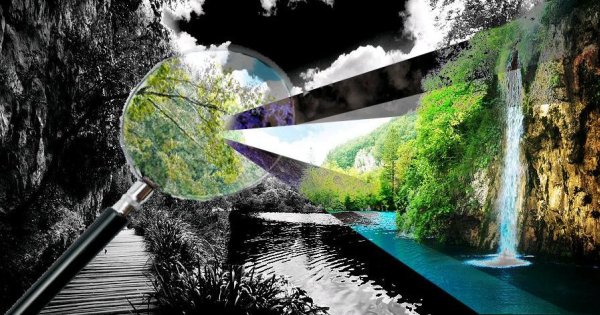
Here we are with our complete colorful image. Hope you had fun. Do try it and share your thoughts. I’ll be back with another fun image till than you take care.


