
How to great a fiery gaming background in Photoshop
Hello guys! Today we are going to make an amazing looking fiery background which you often have seen in games. Sounds interesting? Yes I know it is, that is why we are going to create it. This wonderful background image includes some very interesting yet simple techniques of Photoshop. Not only you’ll create a beautiful image, but also learn some very useful tricks in Photoshop, which you can use to create your own images. So let’s see what are the things we’re going to use for this picture, first we’ll need our Photoshop and that will be all. Yes guys we’re going to make this image from the scratch using only Photoshop.
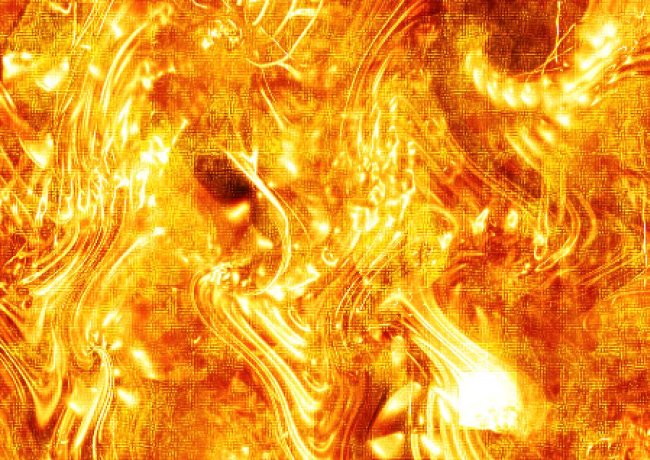
Take a second and look at the final result before moving on with the tutorial.
Step1:-
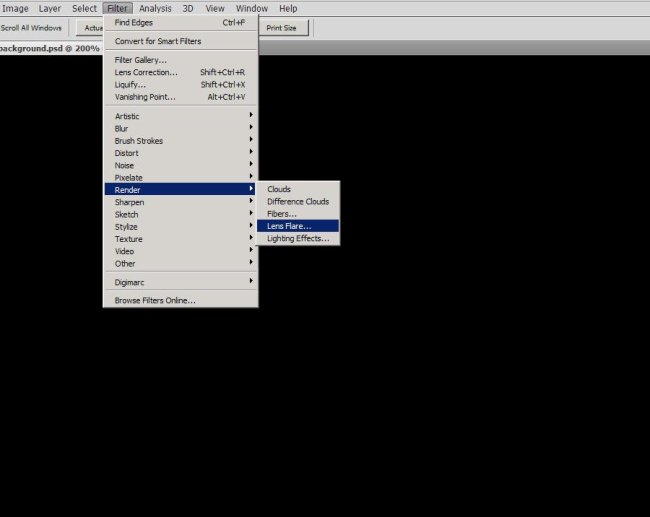
Let’s start by creating a new document in Photoshop of size 900×600 pixels. Fill it with Black color #000000 and then go to Filter> Render> Lens Flare as shown in the picture below.
Step2:-
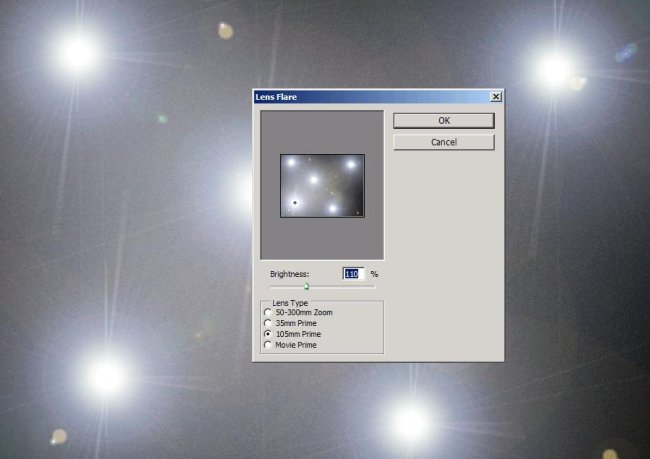
Make 5 glowing flares over the black background keep the brightness 110% and lens type will be 105mm Prime.
Step3:-
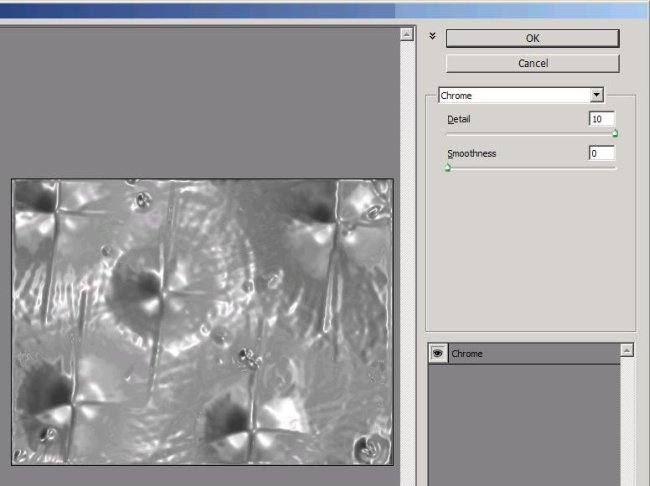
Now go to Filter again and select Sketch >Chrome. Set the detail 10 and smoothness 0 as shown below.
Step4:-
Now go to Filter> Distort> Wave and set it according to the picture shown below.
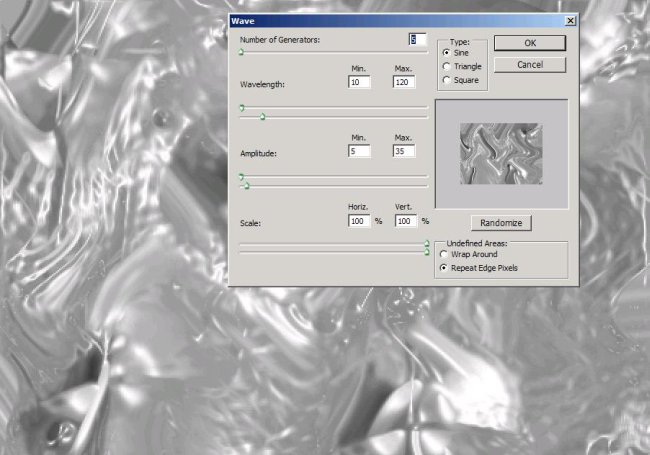
Step5:-
Duplicate the layer and repeat the process of step4 then again duplicate the top layer and repeat the process of step4. Duplicate the top layer again and repeat the process of step4.
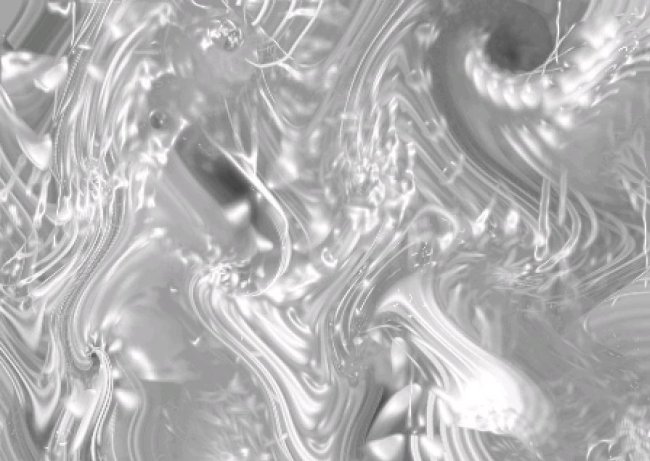
Step6:-
Now to change the color go to Image> Adjustments> Selective color. Set the colors to White first and make the settings of Cyan “-100%” and yellow “100%”. Then change the colors to Neutrals and make the same settings for Cyan and yellow. Then again change the colors to Black and keep the same settings of cyan and yellow as before.

Step7:-
Create another layer; fill it with black color #000000. Select a patterned brush of size 35px (size is up to you basically) with white color #ffffff and draw on the layer so the whole layer turned grey white no black left on the layer.
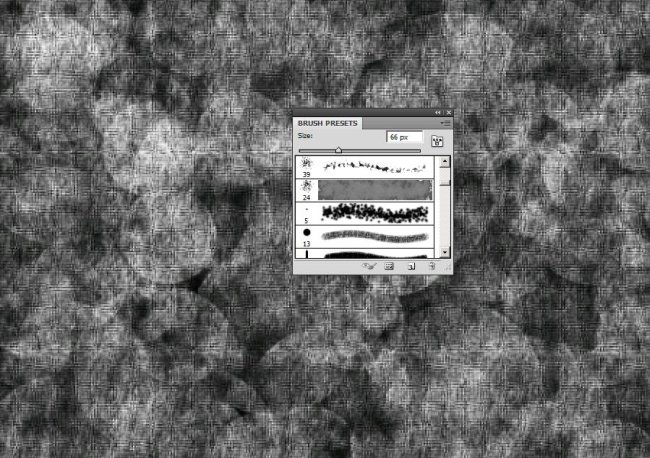
Step8:-
Set the Blend Mode to Overlay and Opacity 100%.
Step9:-
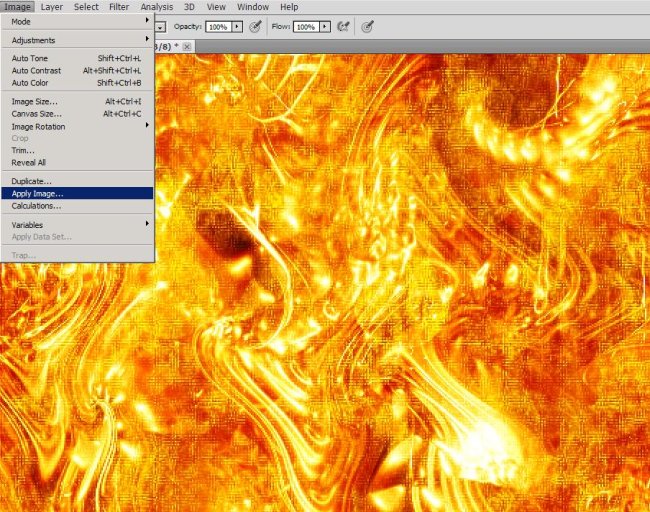
Now create another layer then go to Image> Apply Image.
Step10:-
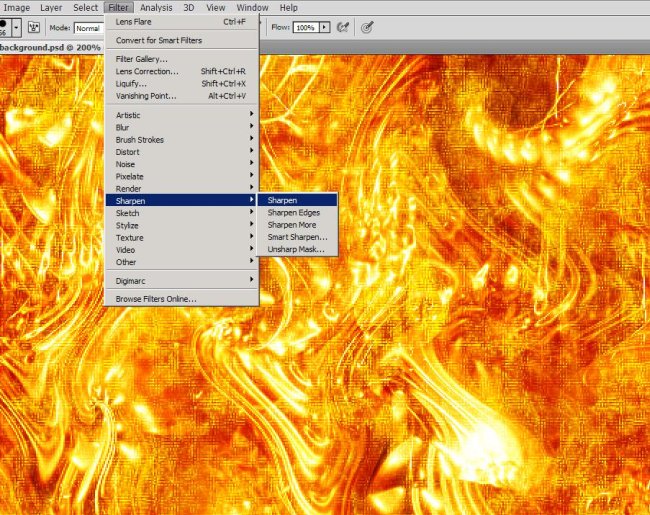
Now go to Filter> Sharpen >Sharpen to make the pattern more visible in the image.
Step11:-
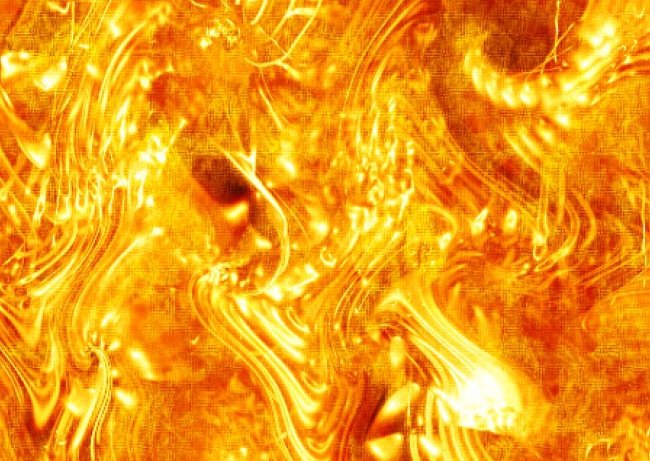
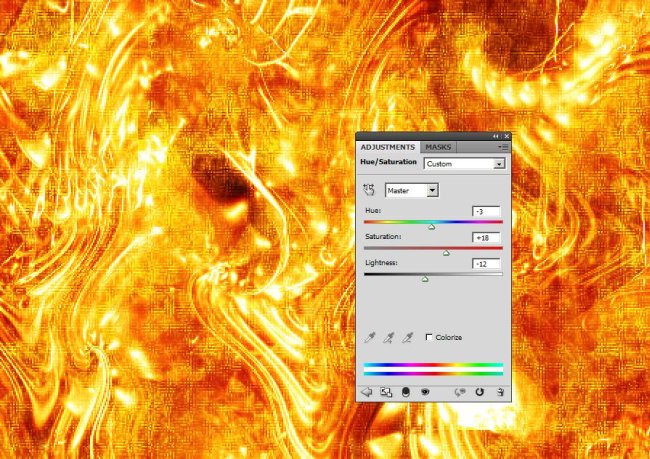
Now go to Image> Adjustments> Hue/Saturation and adjust the hue, saturation and brightness according to the picture shown below.
Step12:-
Now you have complete fiery background image.

There you go. Hope you have enjoyed this tutorial and learned some new tricks of Photoshop. Do share your side of stories. I’ll be back with more fun tutorials, till then have fun with your creative instincts.


