Creating 90′s Design in Photoshop
In this tutorial, we would be learning how to manipulate a basic image into a grunge composition using various textures, fonts and basic shapes.

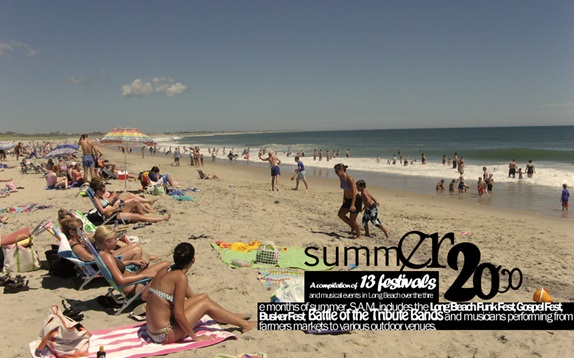
Step 1: Basic Image
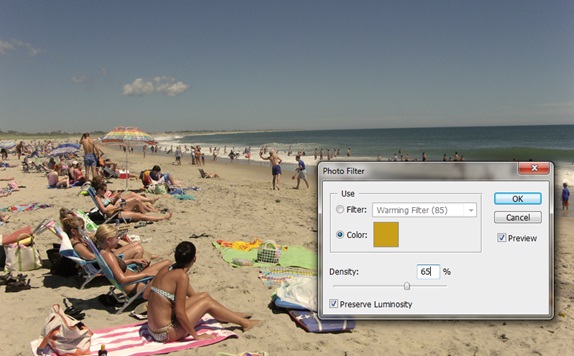
First of all, you would need a photograph of the beach.
Once downloaded, bring the image on the canvas. Go to Image, Adjustments and choose the photo filter option. Use the following details.
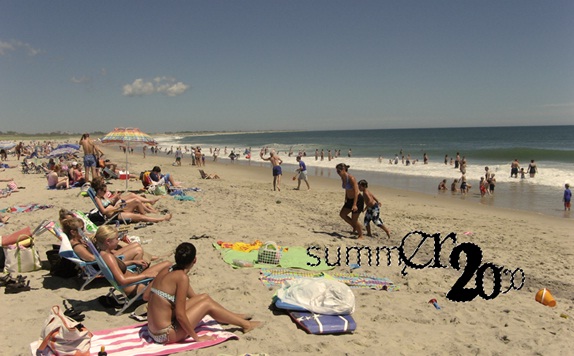
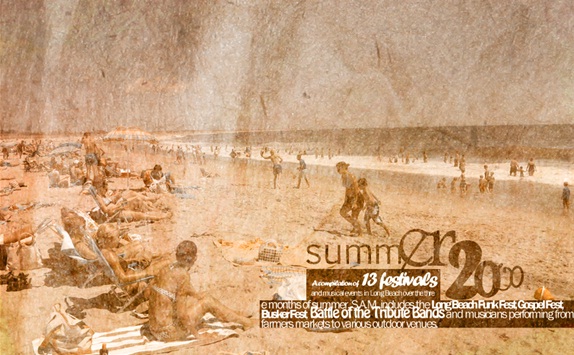
Step 2: Text Tool
Pick up the text tool and go crazy. Run your ideas on the canvas and play around with the fonts. Use different fonts for your wordings and add a little funk to your image.
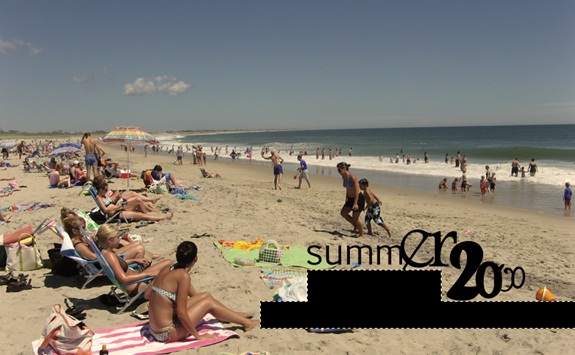
Step 3: Shape Layer
Use the Rectangle Tool and make two shape layers around your text like shown below.
Step 4: Newspaper Layer
Again pick up your text tool and start using different fonts for your text. Keep your text within the shape created in the previous step. You can even use different font sizes to highlight the main points in your text.
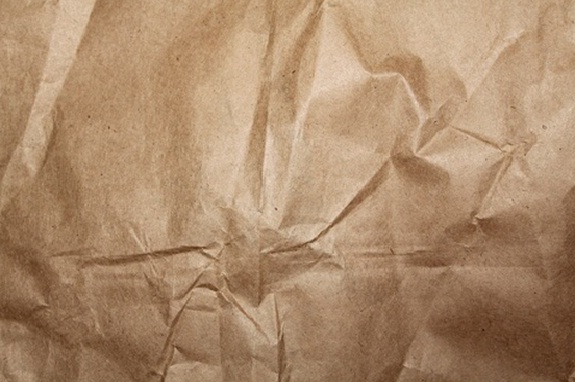
Step 5: Wrinkled Paper Texture
Now you would need a wrinkled paper texture.
Step 6: Blending Options
Bring the image on the canvas and resize the image by pressing CTRL T. Reduce the opacity of the layer to 80% and change the blending options of the layer to Hard Light.
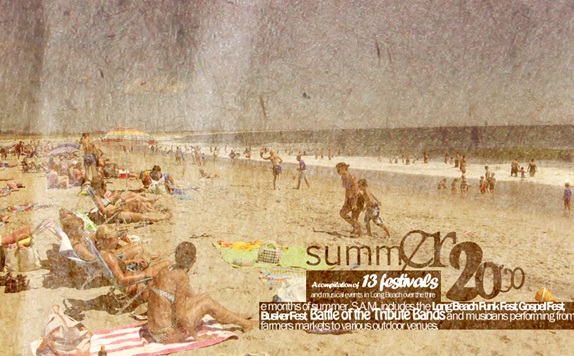
Step 7: Soft Light
Duplicate the texture layer. Set the opacity to 100% and change the blending options to Soft Light.
Step 8: Apply Hue
Duplicate the texture layer once more and change the blending options to Hue. Keep the opacity of the layer to 100%
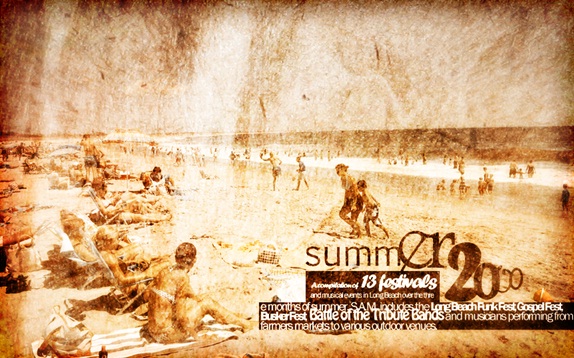
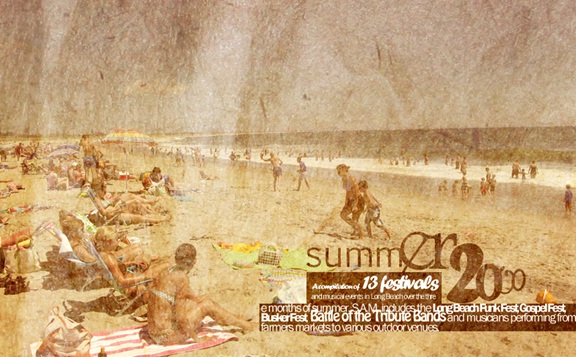
Step 9: Final Touches
Duplicate the layer once more. Now pick up the soft brush tool with 0% hardness. Apply the brushes around the edges. Press CTRL U and increase the saturation of the image to 80. You can use various other filters and effects to increase the sharpness of the image. Once you are done, change the blending options of the layer to Overlay. That’s it.