How to make your text sparkle
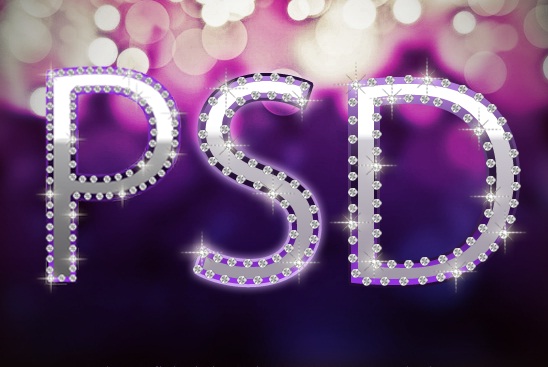
This particular tutorial is designed to show you how to create the diamond effect on a text. After you are done with this tutorial, you should be able to come up with something, which along the lines of what’s displayed underneath.

Step 1: Diamond Figure
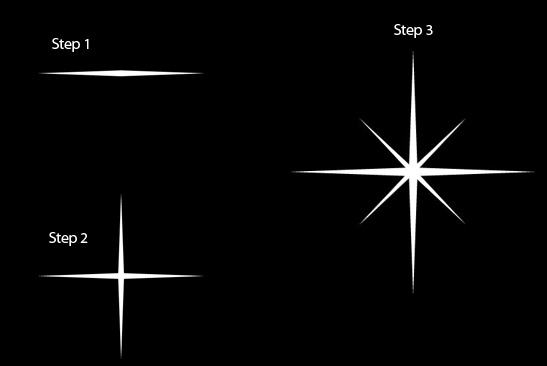
First of all, we would start with the creation of the actual diamond figure. For this, we would be using the Polygonal tool. Once selected change the sides to “18” and set it to Shape Layers mode. Now it’s time to make a polygon, as illustrated in Step 1. After that you must make another polygon right in the middle of what you made in Step 1 (as illustrated in Step 2). After that you would need to grab the pen tool and by selecting anchor points you would make the shape as illustrated in Step 3. After making the first overlay shape, you can continue making copies of the same shape until the whole polygon has been filled. Be sure to give different color shades to each and every shape on the polygon. Once your diamond has been prepared, set it aside as we would be needing it later.

Step 2: Text
Now you have to select the text tool and start typing. For this particular tutorial we would be using the font “Myriad Pro” with font size 200pt. After tying in the text second click on the layer and choose the blending options. Once in the blending options window, check the gradient overlay box and select the following colors.

Step 3: Stroke
In the blending options, there is another feature known as the stroke. Once you are in this feature, select a gradient for the stroke instead of a solid. The moment you have done that select the gradient color for the text as illustrated in the screen shot below.

Step 4: Color Overlay
Now press control (or CTRL) on your keyboard and left click with the mouse on the layer. This would automatically make a selection of the layer. Now you have to go to the “Select” option and from there to “Modify” and click on “Contract”. Once the new window pops up keep the radius to 5. With the new selection create a new layer and give it any color.

Step 5: Inner Gradient
Now you are done with creating the new layer, it is the time to give it some style. Open the gradient box in the blending options and use the following combination for your text.

Step 6: Diamond
Its time to bring back the diamond. Start placing them one by one on the borders of your text.

Step 7: Sparkle
Obviously with any shiny object you would need something for the sparkly effect. With your pen tool you can create your very own shape. Following step 1 you can easily create a basic shape. All what would be left is to duplicate that layer until you make something close to what’s displayed in step 3.
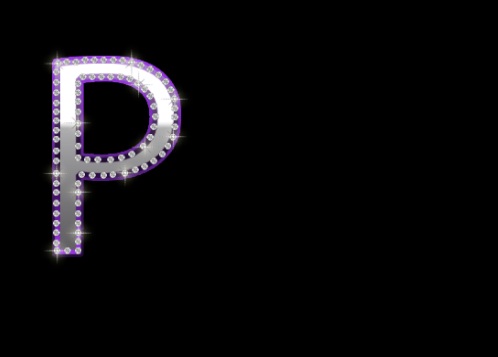
Step 8: A Complete ”P”
Using the diamonds and the glowing shape you should get something like this at the end. Play around with the placement and outer glow effect of the glowing shape to see which particular one suits your text best.
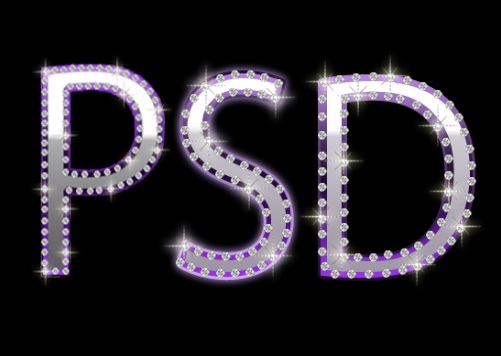
Step 9: Complete the text
Once you are completely satisfied with your first letter it is the time to complete the whole text following all the steps you used for the first letter.
Step 10: Background Image
Choosing a background image is very necessary. You should select one, which complements your text.
Step 11: Merging Text with background image
Simply put your text in front of the background image to properly jell in. Once you are done, you should have made something along these borders.