Technology Display Illustration
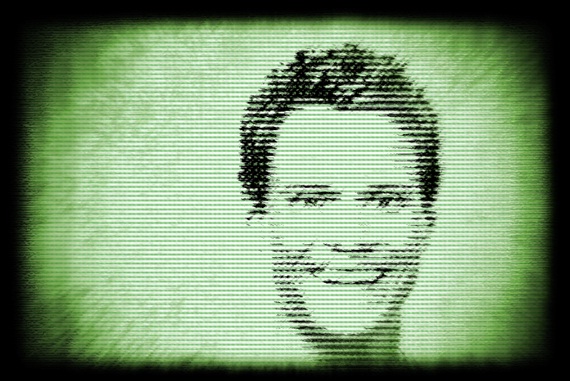
In this tutorial, we would be making a display like the one shown below, using a regular photo together with a number of effects and blending options in Photoshop.

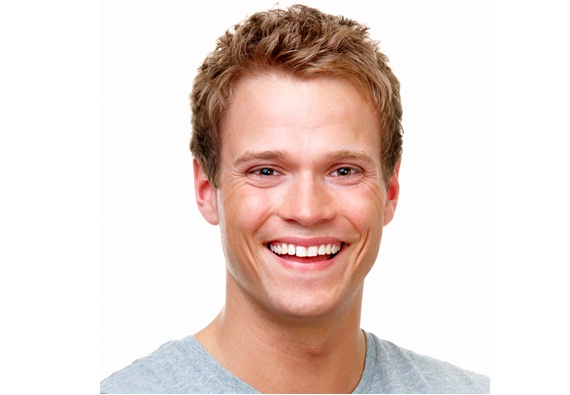
Step 1: Basic Image
Download any image of a person according to your choice.
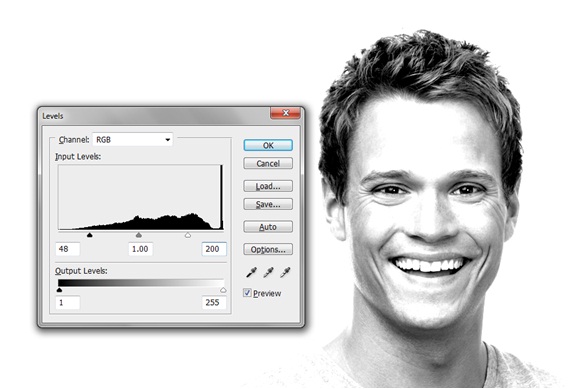
Step 2: Levels Adjustment
Simply, go to Image, Adjustments and choose the Levels option. Once the new pop up window opens, input the following details.
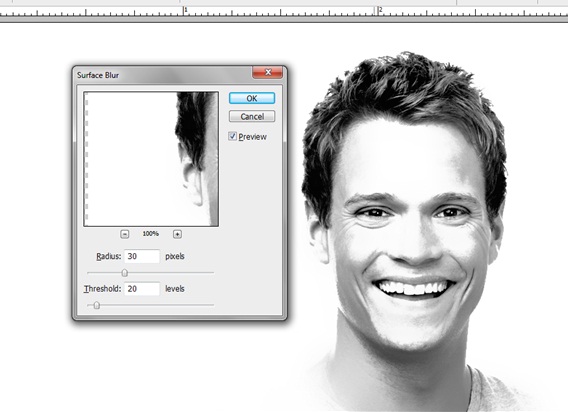
Step 3: Surface Blur
After that, go to Filter, Blur and choose the Surface Blur option. You can input the following details for the effect.
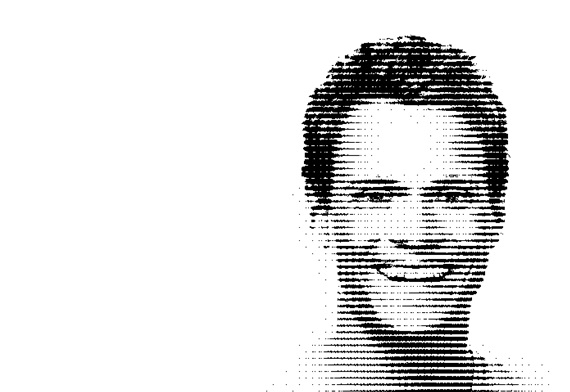
Step 4: Halftone Screen
Now go to Image, Mode and change it to Grayscale. Again you need to go to Image, Mode and this time you would be selecting Bitmap. Keep the output to 240 px and keep the Use option under Method to Halftone Screen. Once the new pop up window opens, set the angle to 0 and keep the frequency to 30. Once everything is done, you should have the following effect on your canvas.
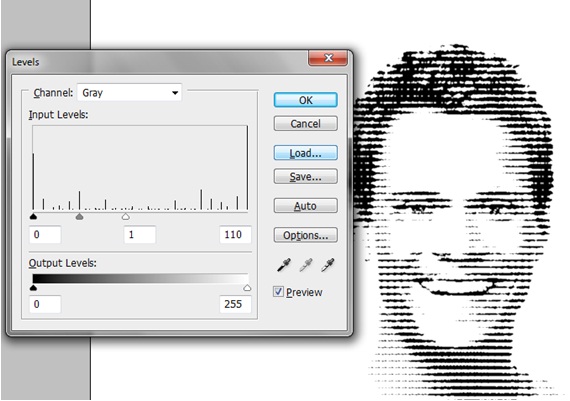
Step 5: Levels Adjustment
Again go to Image, Adjustments and choose Levels. Use the details given below.
Step 6: Background
Now we need to add a texture to the background. You can download as you like.
Once downloaded, bring it on to the canvas and press CTRL U. Tick on the check box titled “Colorize” and move the colors of the layers towards greenish tones.

Step 7: Overlay
Simply, put the textured image behind the model face and change the blending options of the layer to Overlay. Add a new layer and make the borders using the brush tool like shown below.
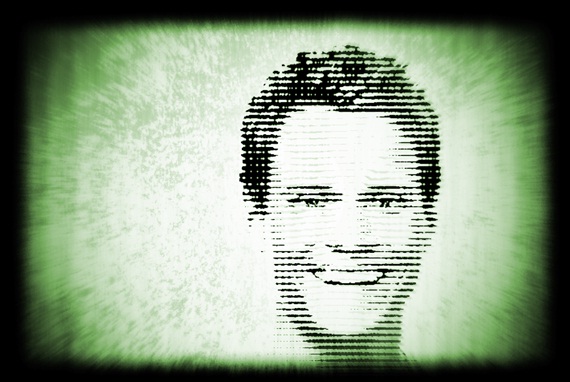
Step 8: Finishing Touches
You can add more linear patterns to the image like shown below. You can find such patterns on the internet or simply make them yourself using the pencil tool. Once done with the patterns on a new layer, change the blending options of the layers to “Multiply” and you will have something like displayed below.