
Play with the Lighting Effects in Photoshop
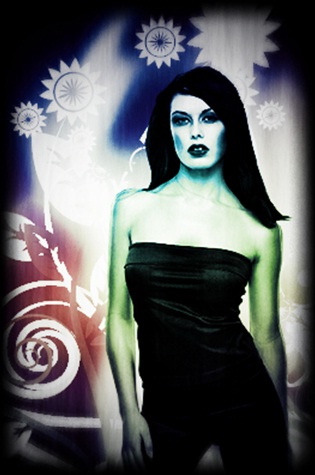
For this tutorial, you would need a picture of a model together with vector art, the combination of which (with the help of a few lighting effects) would look something like this:
Step 1: Basic Image
Import the image of a model on the canvas and use the lasso tool to make crop out the model from the background.

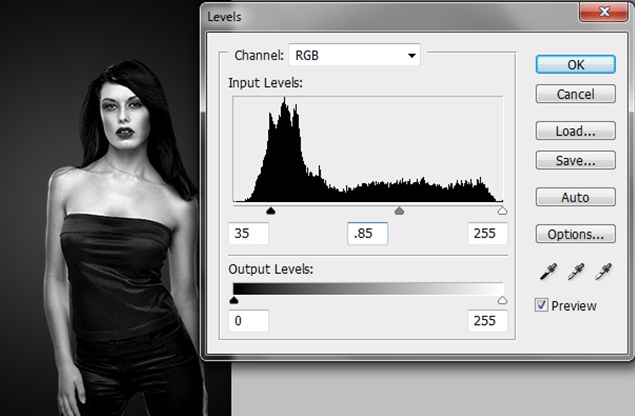
Step 2: Merging with the New Background
Make a new layer and use a radial blur from gray tones to black. After that, select the cropped out model layer, go to Image, Adjustments and click on Levels. Use the following details for merging the model with the background.
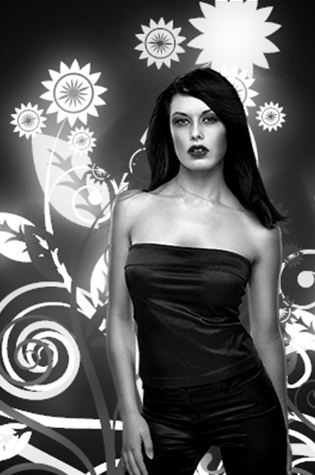
Step 3: Vector Art and Gaussian Blur
You can download various types of vector art online. Include any sort of vector art images to the background. Once you have completed the arrangement, duplicate the layer. Select the duplicated layer and go to Filter, Blur and apply the Gaussian Blur effect.
Step 4: Color Light
Create a new layer between the model and the vector art layer. Select the Elliptical Marquee tool and set the Feather option to 30 px. Fill the selection with purple color as shown below. Change the blending options of that layer to “Screen” and keep the opacity of the layer to 40%.

Step 5: Adding More Colors
Repeat the same step to add more colors to the canvas.

Step 6: Selection
Make a new layer and position it above the color light and behind the model. Make a rectangular selection as shown below and fill it with white color.

Step 7: Liquify and Smudge Tool
Select the newly created layer and go to Filter and choose Liquify. Randomly distort the image anyway you like and apply the filter. Once you are back on the canvas, select the smudge tool and apply on the filtered layer. The following effect would result.

Step 8: Finishing Touches
Make a new layer at the very top and using the brush tool, color the edges of the canvas to make a border effect. Keep the hardness of the tool to 0% and apply white color on the face of the model. Change the blending options of the layer to Overlay. Duplicate all layers and merge them into a single layer. Press CTRL U and increase the Saturation of the image to add sharpness to the image.


