
Learn how to create Underwater Smoke
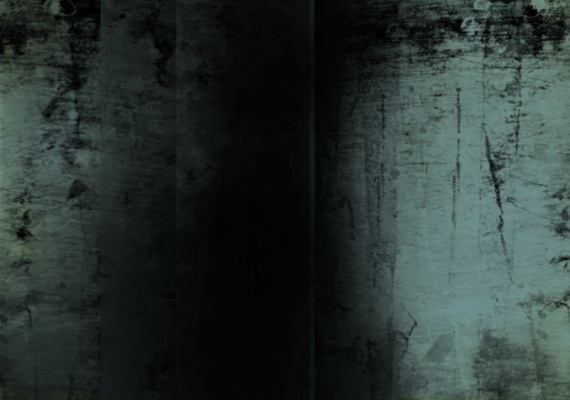
Before we get started with this tutorial, you would need to download the smoke brush. Using the smoke brush along with various other filters, your target should be to make something that looks a lot like the image displayed below.

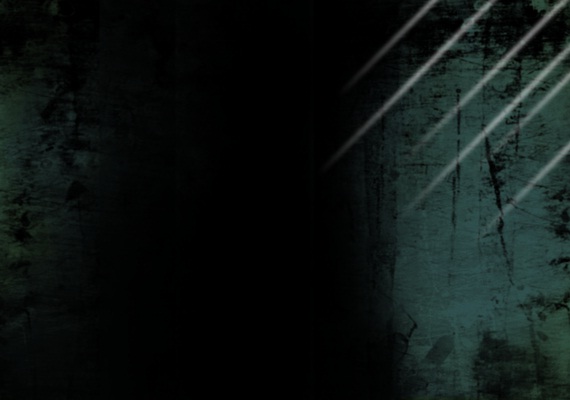
Step 1: Background
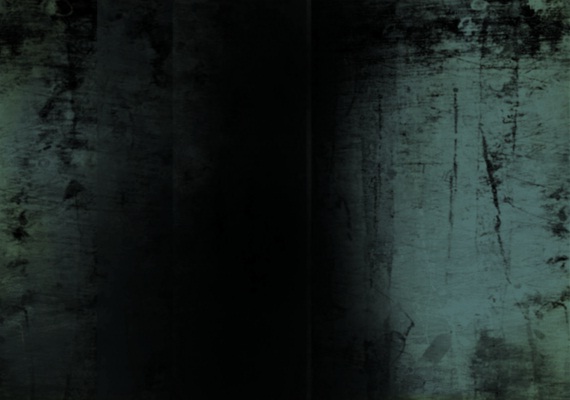
Download any grunge background to start with.

Step 2: Resize
Bring the backdrop image on the canvas and resize it according to your need.

Step 3: Color Correction
Go to Image, Adjustments and choose the Curves option. Go to Blue instead of RGB and use the graph to change the overall colors of the background, giving it a nice bluish fade.
Step 4: Black Layer
Make a new layer above the background layer. Use the paint bucket tool to color the entire layer black. Go to the blending options of that layer and change the default value to “Overlay”.
Step 5: Light
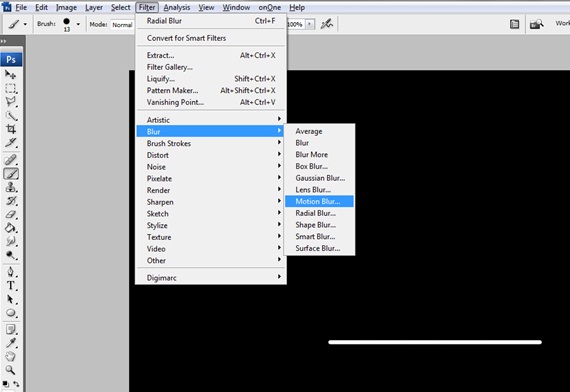
Now we need to make an underwater lighting effect. Use the brush tool to create a straight horizontal line as shown below. For this tutorial, 13 px brush size is used with 100% hardness. Once that is done, go to Filter, Blue and choose the motion blur option.
Step 6: Motion Blur
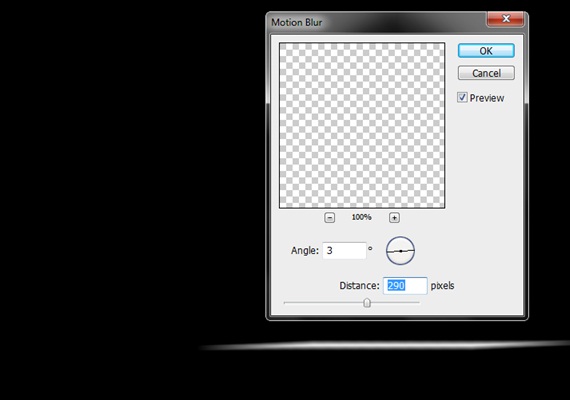
Once the motion blur option pops up, use the following details for this effect.
Step 7: Effect
Use the transform tool after applying the motion blur effect. Tilt the lines and duplicate them as many times as you want. Use the duplicated layers to make the following arrangement.

Step 8: Output
Merge all the layers into one and move the new layer in front of the background. Reduce opacity to 50%.
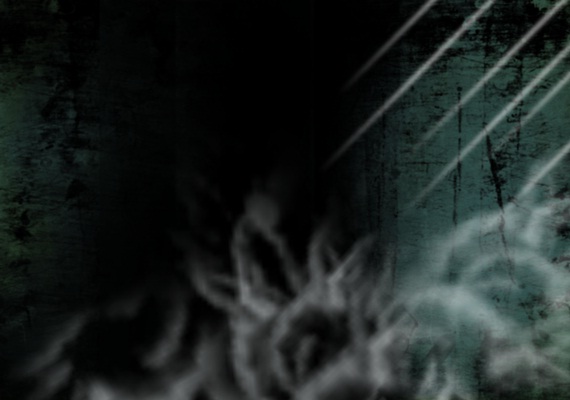
Step 9: Smoke Brush
Go to the brush tool and use the smoke brush. Make a new layer and apply the smoke brush tool on the new layer as shown below.
Step 10: Texture
Search any grunge texture and bring it on the canvas. Desaturate the image. Change the blending option of that layer to Overlay.
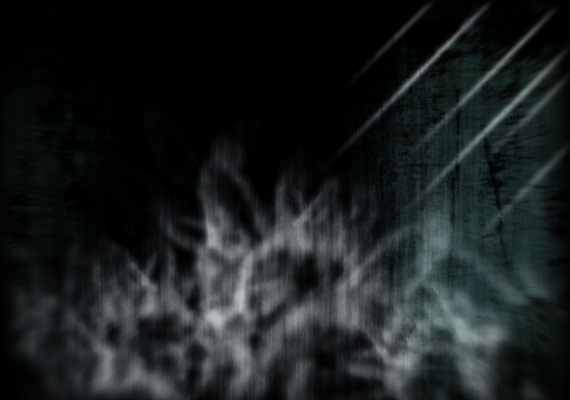
Step 11: Vivid Blending Option
Duplicate all the layers and merge them into a single layer. Change the blending options of that layer to “Vivid Light”.

Step 12: Dark Fade
Increase the Saturation of the image and use the sharpen tool on the canvas. To add a darker fade make a new layer, apply the black color all over the layer and change the blending options to Overlay.
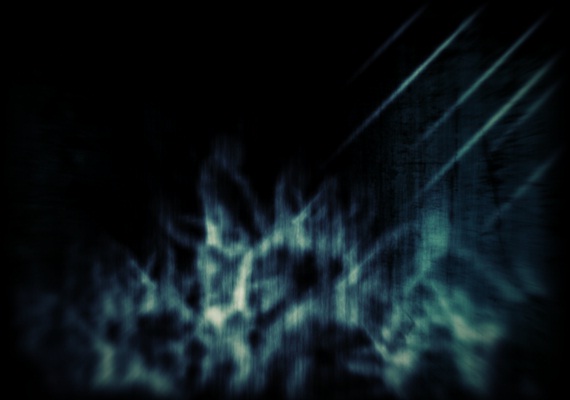
Step 13: Water Effect
Download the water splash brush tool and apply it on a new layer. Change the blending options of that particular layer and it would give you a nice underwater look. This would add dept to your image.


