
Learn how to create Harry Potter style text effect
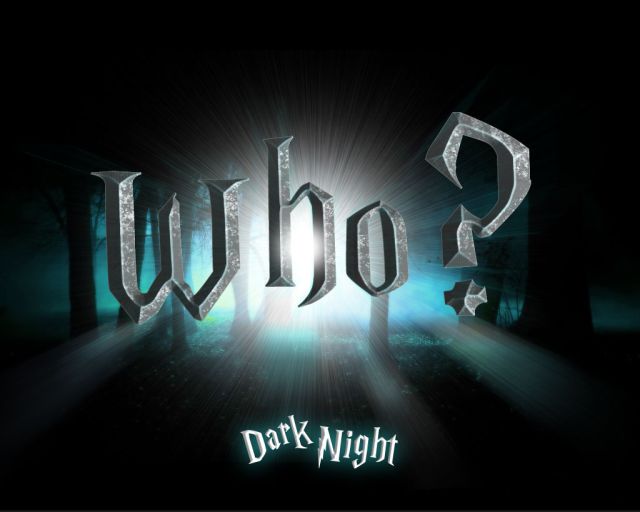
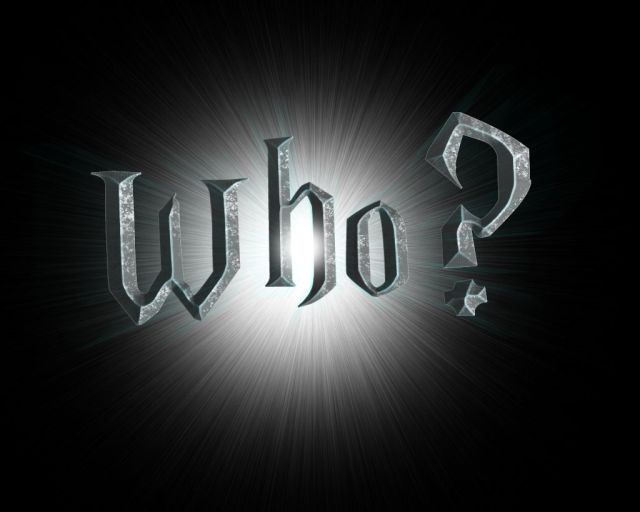
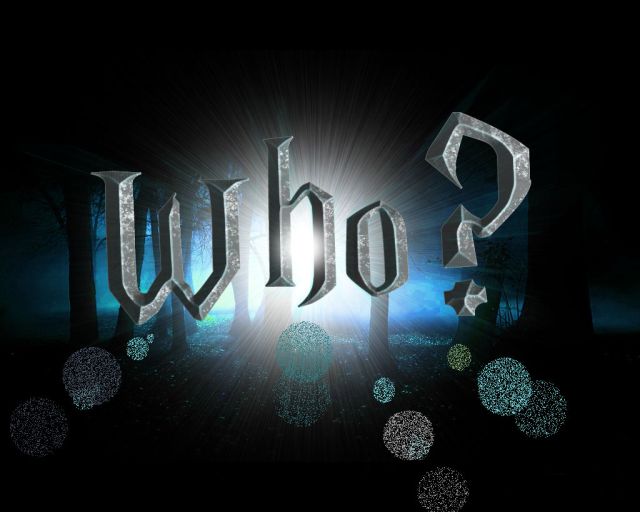
In this tutorial, we are going to create Harry Potter style text effect in Photoshop. Just follow few simple steps with me, and you will be able to create something along the lines what displayed below.
Step 1:
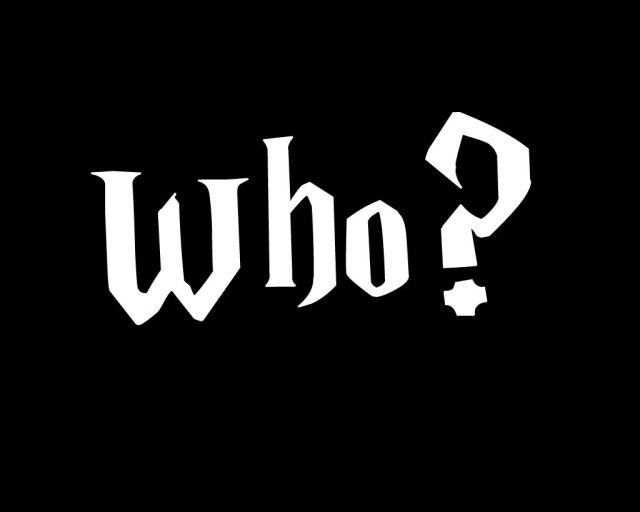
Open a document in Photoshop 1028×819. Set the background color to black. Type text using ‘Harry Potter’ font.
Step 2:
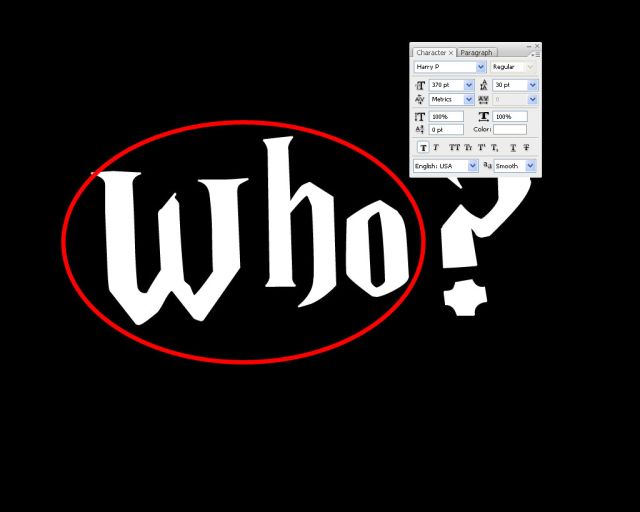
Set the font size as shown in the settings, 370px font size for ‘Who’.
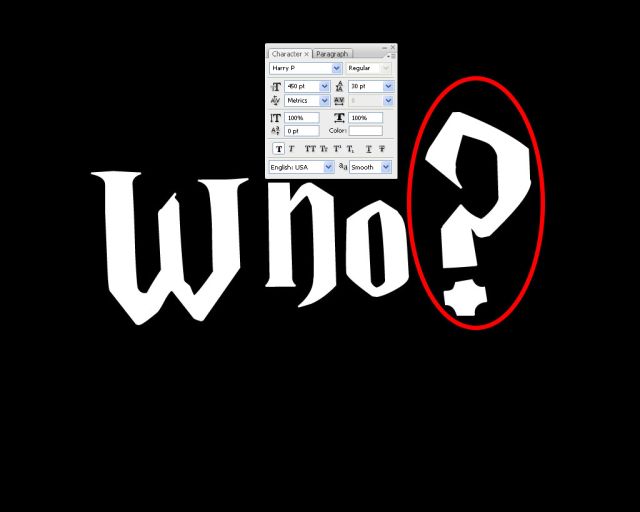
Use 450px font size for ‘? ’.
Step 3:
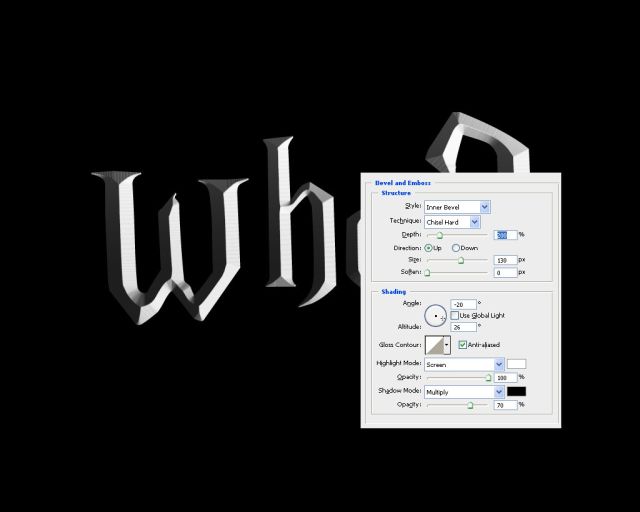
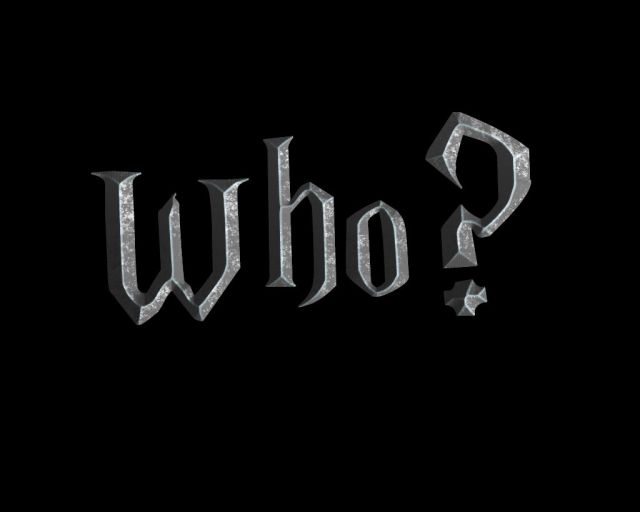
Select text and choose blending option, choose bevel and Emboss, use the settings shown below.
Step 4:
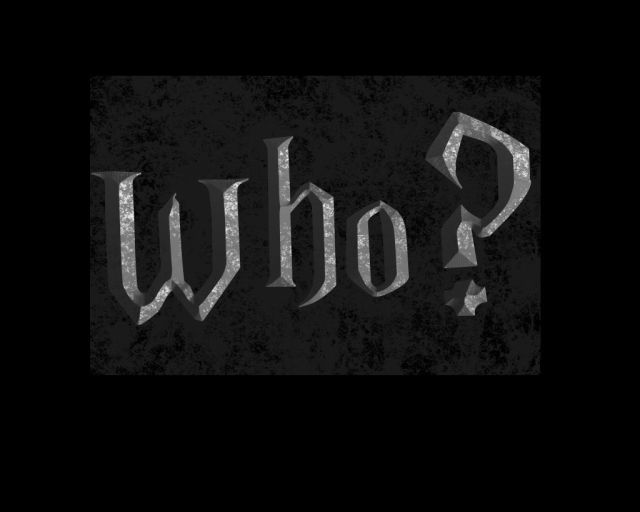
Select Texture Layer. Go to Image—> Adjustments—> Desaturate. Set the Opacity to 60%.
Step 5:
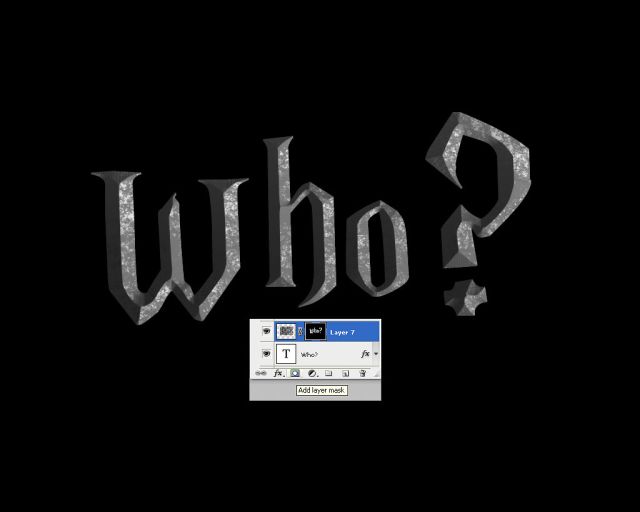
Put the texture layer to 100% opacity again. CTRL+ left click on the text layer and load its selection. Select the texture layer and create a layer Mask with the selected selection.
Step 6:
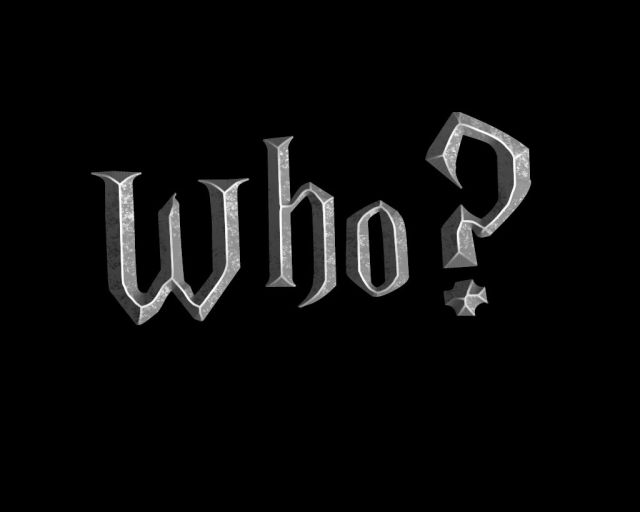
Create a layer above the texture layer and name it as glowing Edge. By Using the Pen tool, create a path along the bevel edge of text. After creating path, right click on the path selected and fill stroke with a 3px white brush.

Step 7:
Now right click on the layer, choose blending options. Select Outer Glow, select the mode to Color Dodge and color should be white and size of 10px. Do the same steps for all the texts.
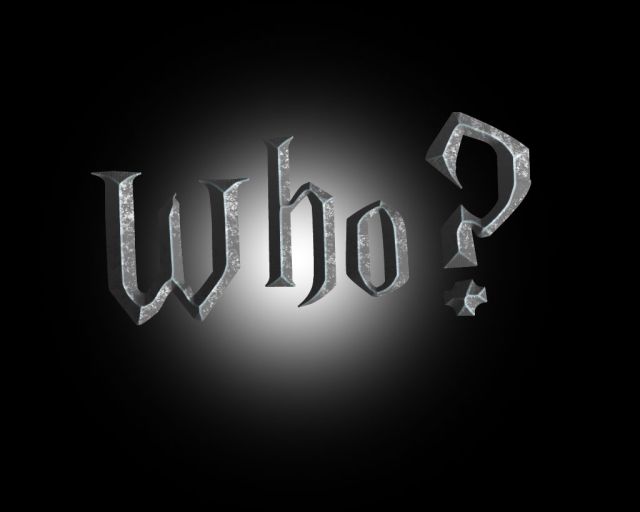
Step 8:
Take a new layer below the text layer and name it as Light glow. Use the Brush tool in Soft Brush mode, and size 200px, like displayed below.
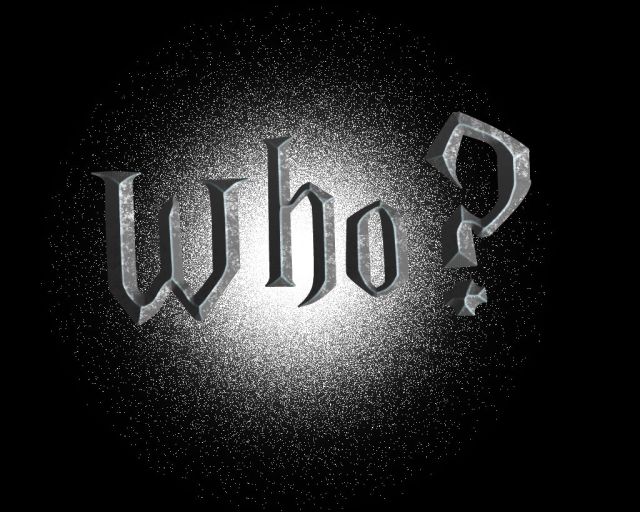
Step 9:
Copy the layer above the light glow layer and change to Blend mode to dissolve it.

Step 10:
Now merge together the Light Glow layer and the copied layer.
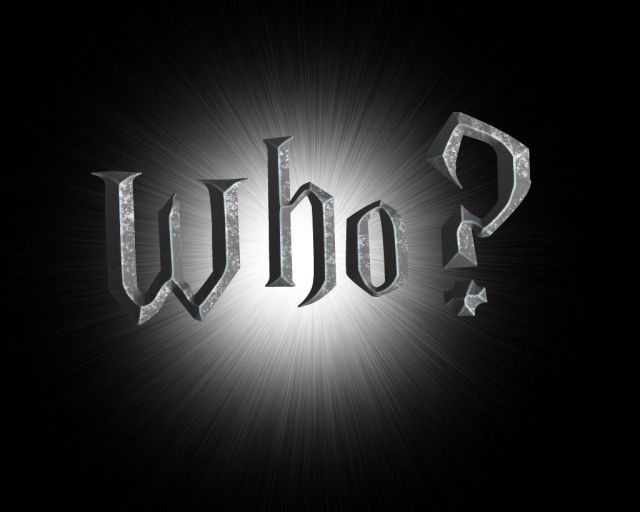
Step 11:
Select the merged layer.
Select Filter–>Blur–>Radial Blur. Zoom it to 100%. Repeat the filter, to get a smooth Light Glow effect.
Step 12:
Create a new layer above the texture layer. Select Brush tool in soft mode at 200px, draw a small dot at the center of the Light Glow.
Step 13:
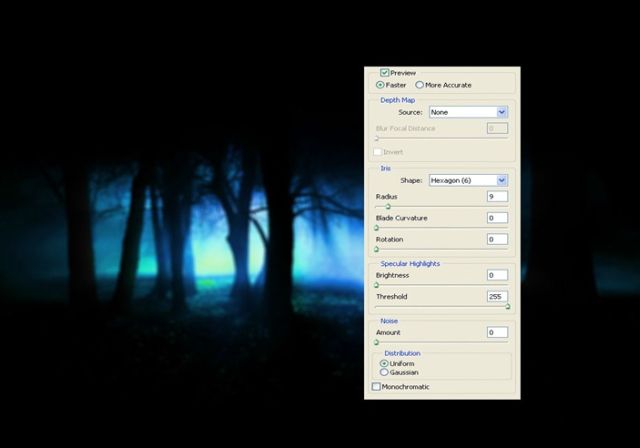
Find a good background image and place it as shown the image below.
Go to Filter–>Blur–>Lens Blur. Input the setting values as shown in the screenshot below.
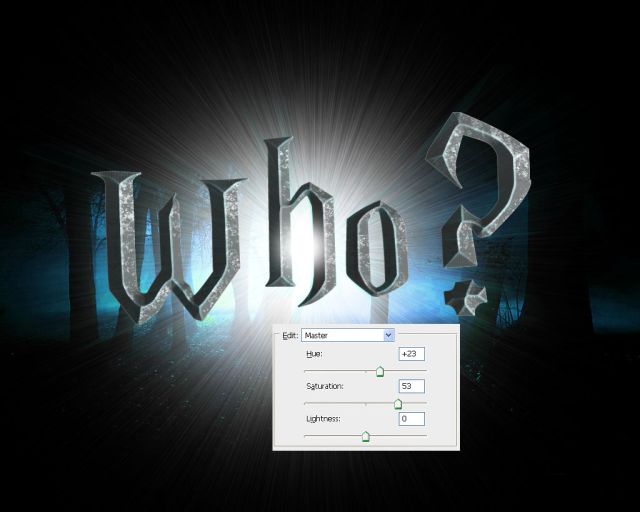
Step 14:
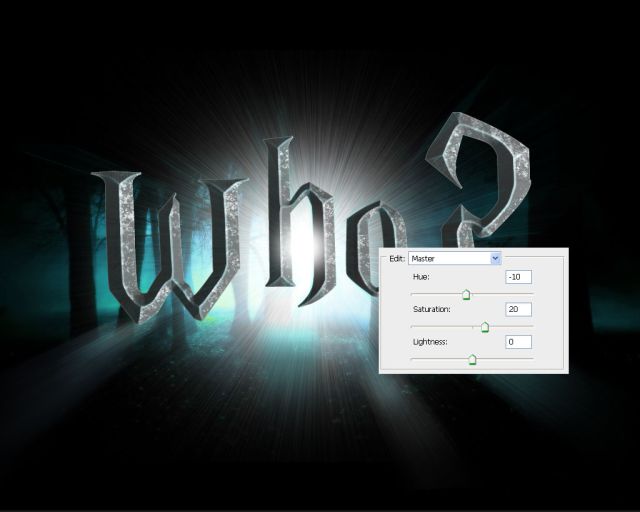
Now do the Hue/Saturation Adjustment and use the following settings for your background image.
Step 15:
Create a new layer and name it as sparkling circles. Now draw small circles using Ellipse tool with different colors.
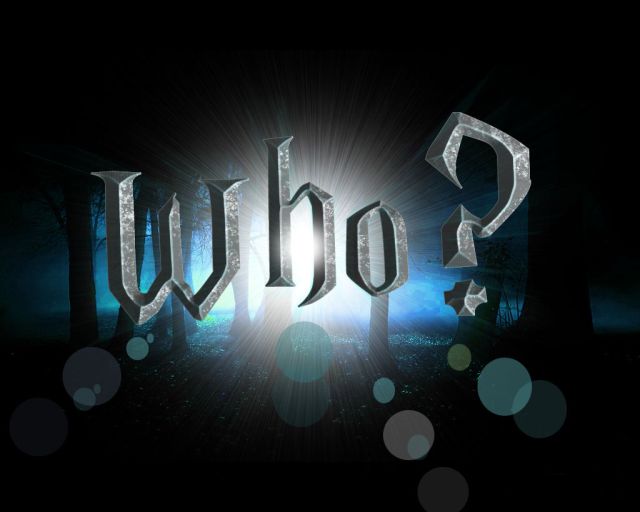
Now select Filter–>Blur–> Gaussian blur and make it blur like below.

Step 16:
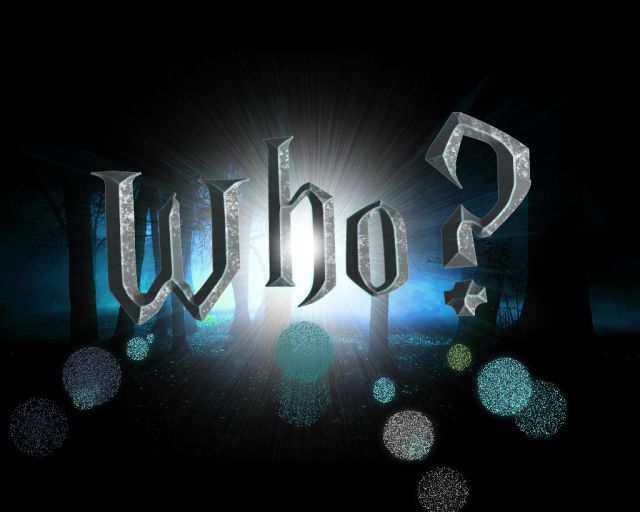
Just copy the layer above the sparkling circles layer and Keep the Blend mode ‘Dissolve’.
Step 17:
Next–> merge the sparkling circles layer and copied layer together.
Step 18:
Now Select Filter–>Blur–>Radial Blur. Zoom it to 100%.
Step 19:
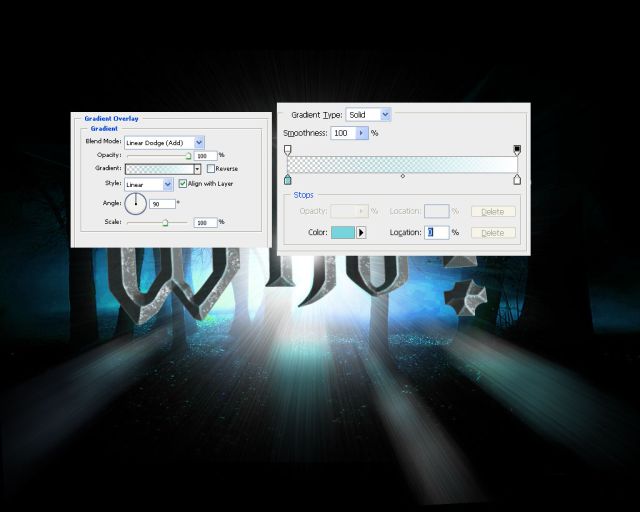
Then Go to the blending option and use gradient setting as shown below.
Step 20:
After the gradient setting, use Hue/Saturation Adjustment and change it as shown below.
Step 21:
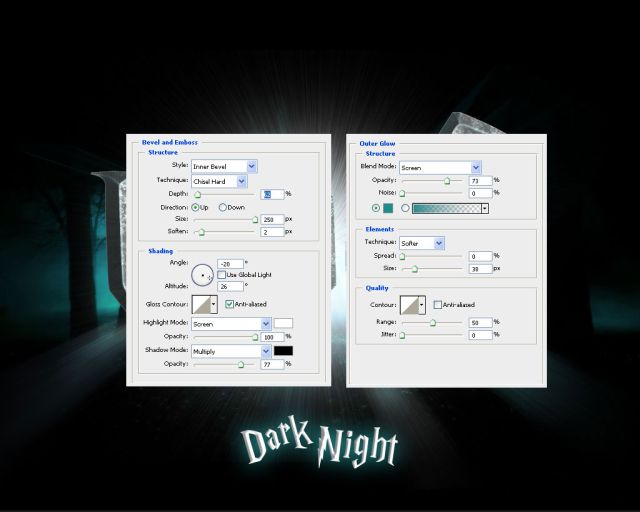
Create a new Layer and type ‘Dark Night ‘on it. Set the font ‘Harry Potter’.

Step 22:
Go to the blending option and use outer glow size 38px. Keep opacity at 73%. And Set bevel emboss setting as below.
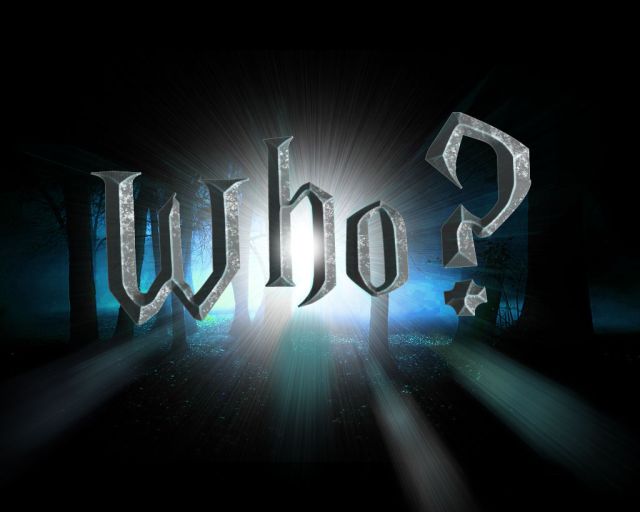
This is our Final output.


