
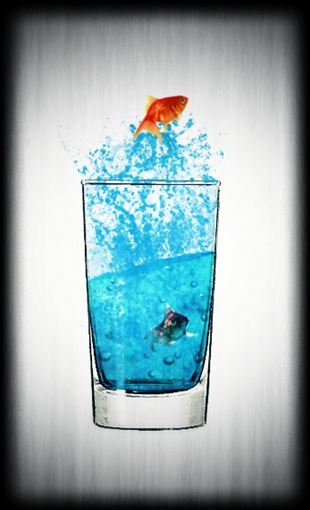
Learn How to create Water splashes effect in a glass in photoshop
In this particular tutorial, you would be learning various photo manipulation techniques, blending together various images, using different filters and applying brushes to create splashes. In this tutorial, we would be making a fish jumping out of the water.
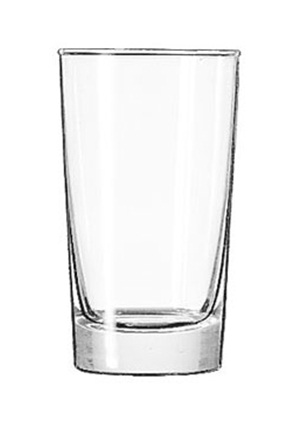
Step 1 – Find a suitable Glass
First of all, you would need a picture of an empty glass.
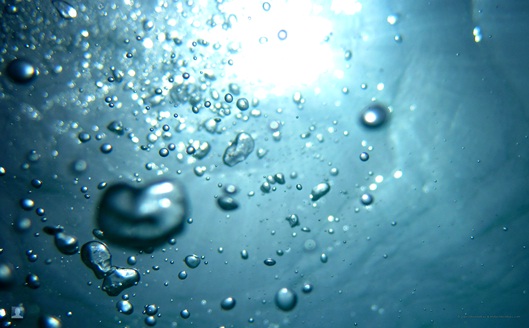
Step 2 – Water image
Now try to grab an underwater image, preferably with bubbles.
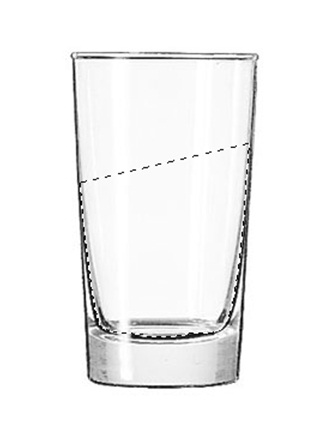
Step 3 – Selection
Now you have to make a selection within the boundaries of the glass like displayed in the image below.
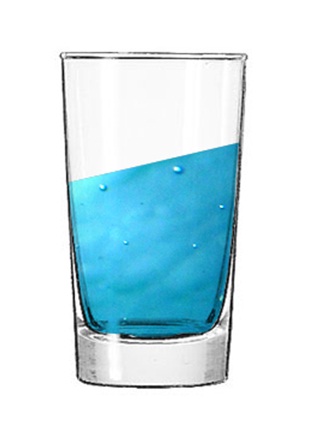
Step 4 – Filling up The Glass
Now you would be using the underwater image and mask the selection with that layer. The glass is now full of water but the image is still in its raw state.
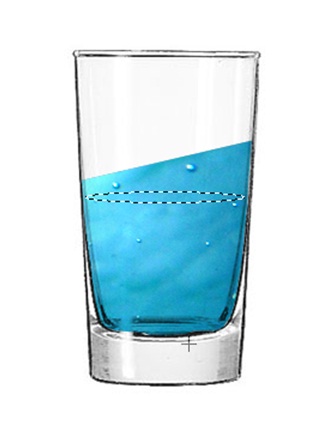
Step 5 – Giving a 3D look
Now it is time to give the water more depth. For this, simply make a selection of the water like displayed in the image below.
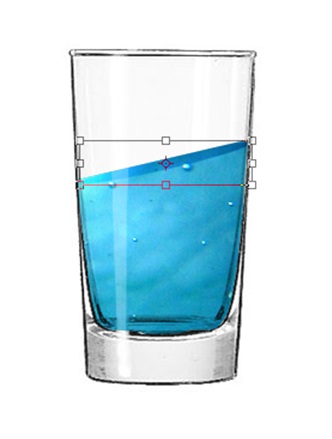
Step 6 - 3D Look – Continued
Once you have made the selection, duplicate it to a new layer. Transform the image, rotate it and move it right at the top. Once you are done, you can erase the excess part of the water using the eraser tool.
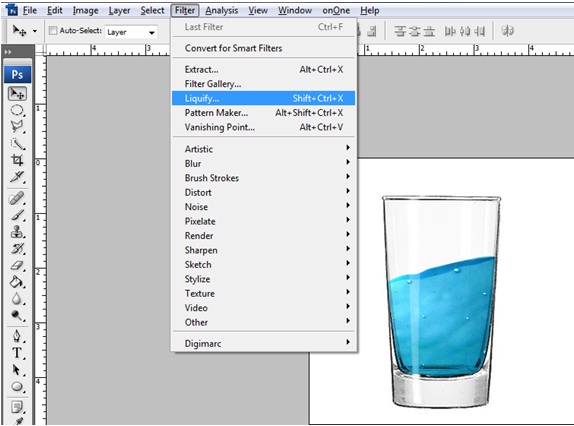
Step 7 – Liquify
Select transformed layer (which is used for the 3D effect), go to Filter and select Liquify. Once the new window opens, select the Warp Tool and reshape the layer from a perfect circle to an irregular shape.
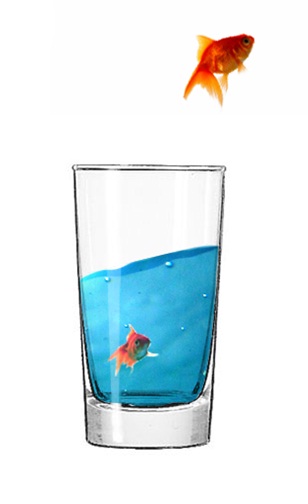
Step 8 – Add the Fishes
Now you need to add the fishes to the canvas. Download two images of gold fishes. Position one outside the glass and the other inside the water as shown in the image below.
Step 9 – Splash Brushes
For adding the splashes in your image, you need to download a brush tool.
After downloading the brushes copy the file and paste it in Brushes folder, which is located in the Presets folder in the Adobe Photoshop directory. Once installed, you can use the brushes to create the splash effect as shown below.
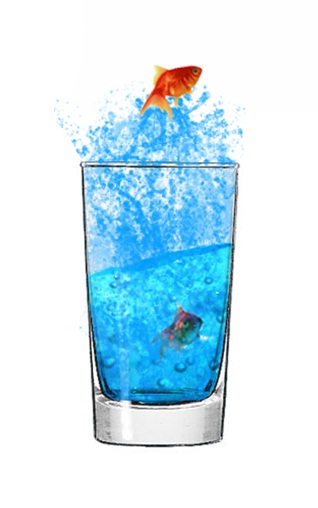
Step 10 – Final Touch
Download a textured background and include that in the canvas. Change the blending options of that layer to “Overlay”. You can use several other effects for the background as well and you are all done.


