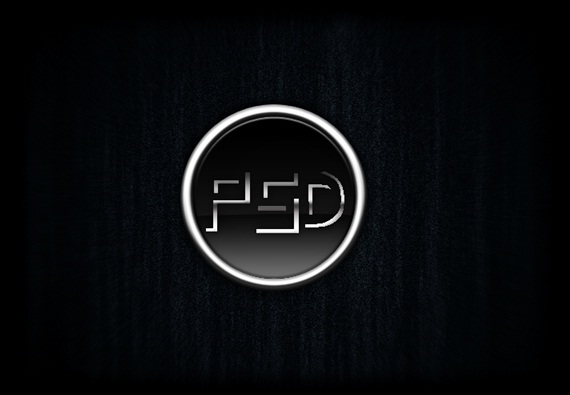
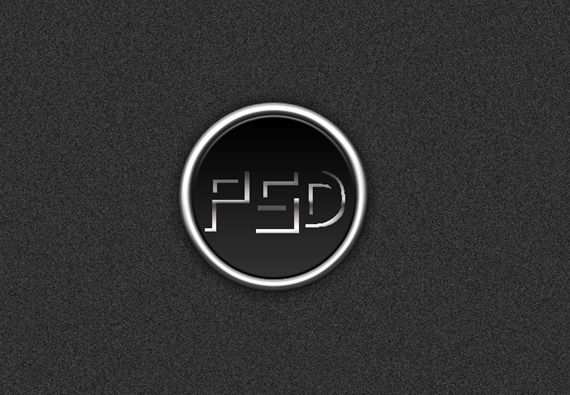
Learn how to create a Metallic Button
In this tutorial, we would be using a basic shapes and layer styling effects to create a metallic button just like the one displayed below.

Step 1: Background
Fill the background layer with gray color. After that, go to Filter, Noise and choose the Add Noise option. Use the following details for the pattern.

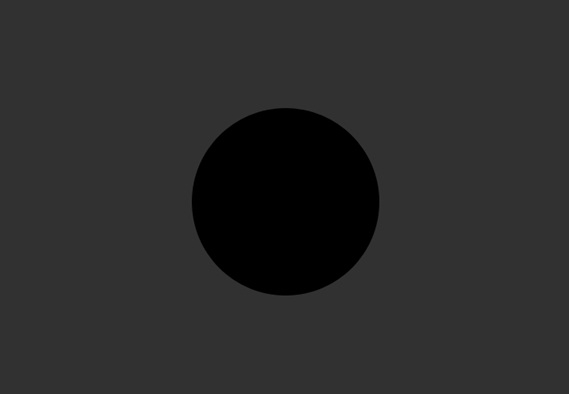
Step 2: Circle
Select the Ellipse tool and make a circle shape in the center of the canvas.
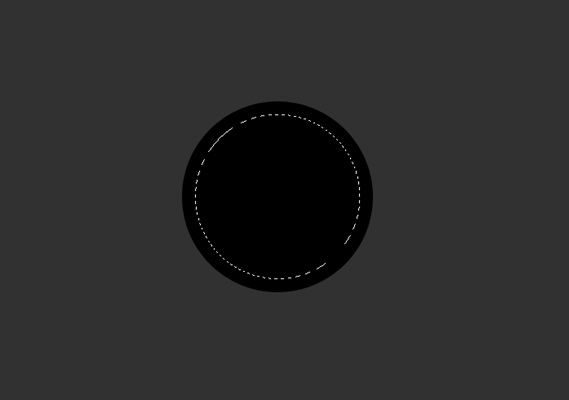
Step 3: Second Circle
Duplicate the shape layer and resize it into a smaller circle. Position it in the center of the previous shape layer. Press CTRL and right click on the smaller circle to automatically load the selection.
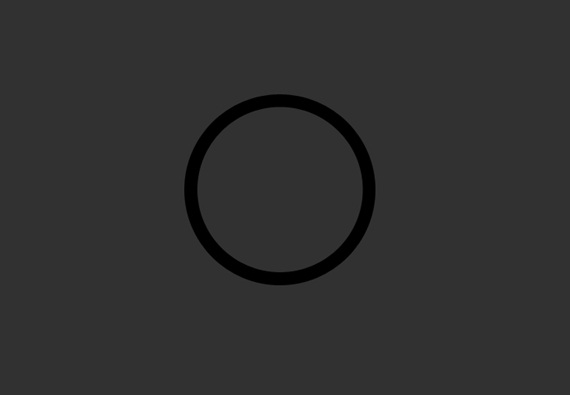
Step 4: Ring
Go to the previous shape layer and rasterize the image while the selection is still on. Hit delete and hide the layer on top.
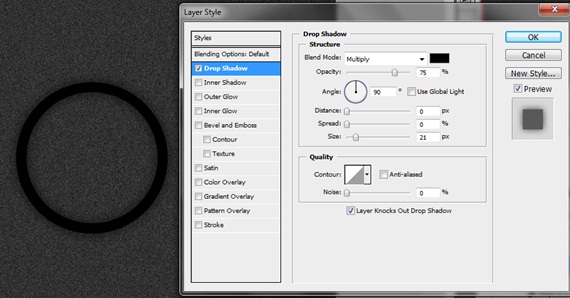
Step 5: Drop Shadow
Go to the Layer Style options and choose the Drop Shadow option. Use the following details.
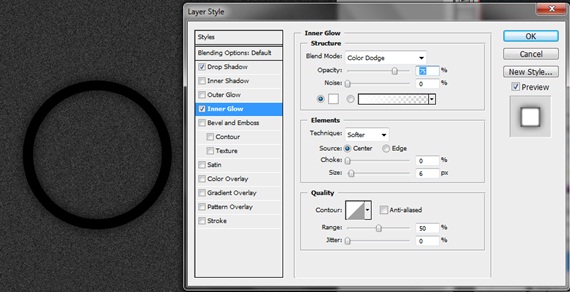
Step 6: Inner Glow
After that, select the Inner Glow option and use the following details.
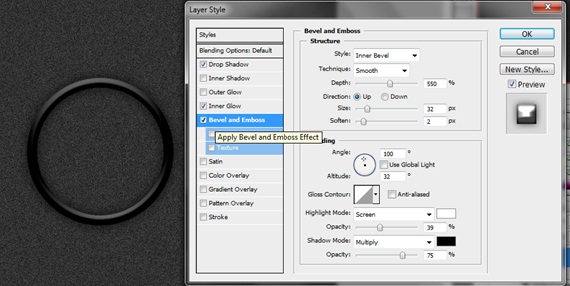
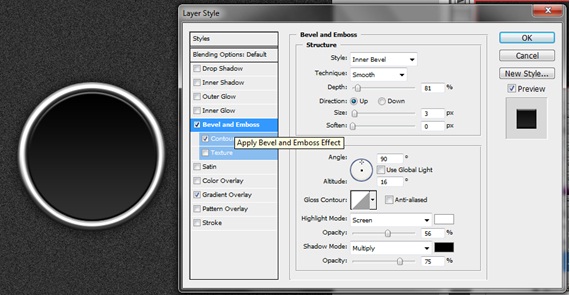
Step 7: Bevel and Emboss
Tick the check box titled Bevel and Emboss. Input the following:
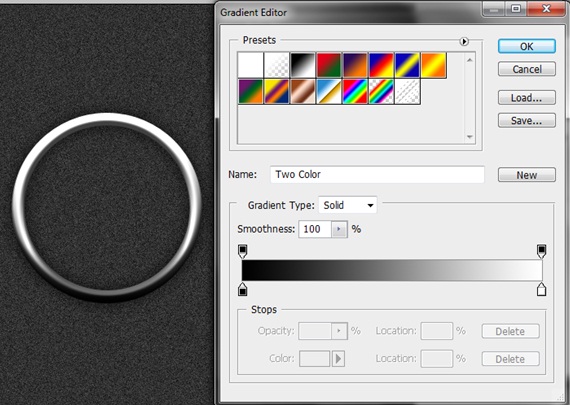
Step 8: Gradient
Lastly, choose the gradient option and apply the following gradient. Now your outer layer of the metallic button would be complete.
Step 9: Inner Circle
Unhide the inner circle layer and go to Layer Style. Tick on the Bevel and Emboss option along with Contour. Input the following details. Apply a slight gradient from Black to Dark Gray as well.
Step 10: Text
Select the type tool and type your text using the font “Illusion”. Apply the same Layer Style as in Step 9 except for the gradient. For the font, we would be using a Gray to White gradient.
Step 11: Final Touches
To add depth to the image make a new layer and choose the brush tool. Keep the hardness to 0% and apply the brush using black color all over the canvas except for the area where the button lies. Change the blending options of the layer to Soft Light and we are all done.