
How to Whiten Teeth in Photoshop
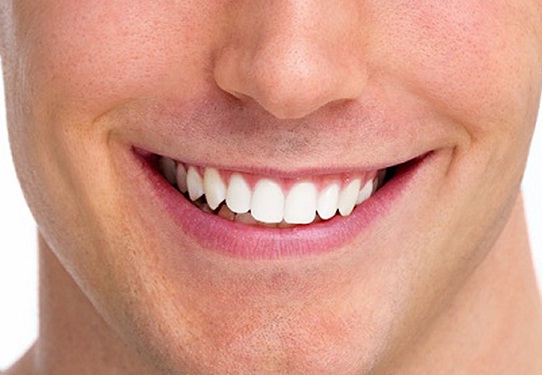
Final Image
Retouching an image so he can look best and still uphold a natural look can be a real test. This tutorial will teach you ‘How to whiten and brighten your smile in Photoshop’ and achieve this in an easy way.
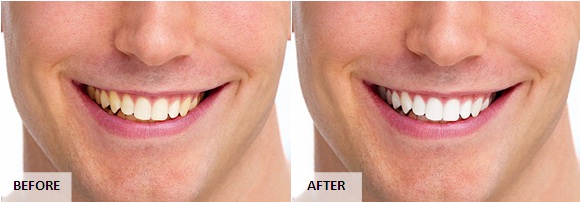
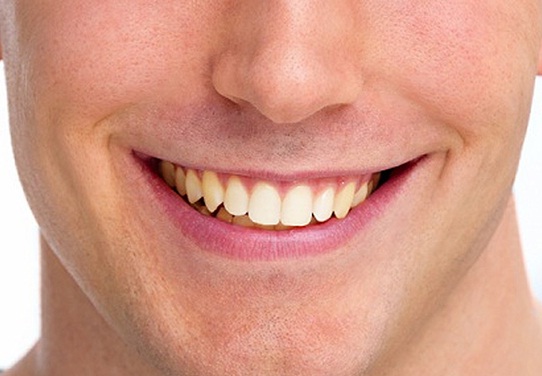
This Image has a setback, the yellow teeth.
Step 1
Make a new document of size 800x 400 and bring in the desired picture (smiley teeth).
Step 2
1. Now duplicate this layer, and name it as teeth.
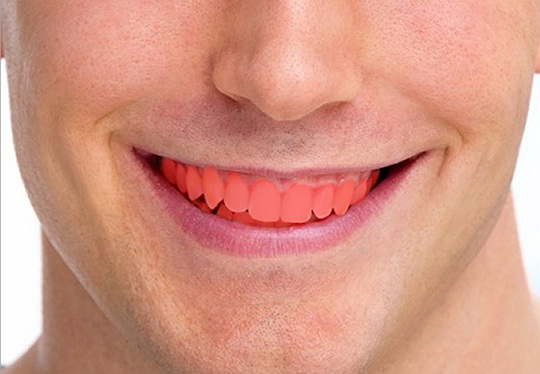
2. Now make a selection of the teeth with the help of Quick Selection Tool.
3. To get into Quick Mask Mode, just click on the lower most icon in the tool bar which is Edit in quick mask mode (Q).
This mode will help you to make a precise selection using the brush tool.
That way you can create the selection one time only and try an assortment of adjustments, without the necessity to go over the selection process again and again.
Step 3
For the start, choose a smaller hard brush (100% hardness) and start drawing above the duplicated layer. Mostly you want to draw over all the teeth, and don’t touch the lips or the area of gums.
When you are through, click Select, and go to Save Selection and save your quick mask for further use. Turn to Standard mode now (left button of the two enclosed ones) and click Select, go to Inverse.
You now have the teeth selected and feathered.
Step 4
1. Now go to Image, go to Adjustments and select Hue / Saturation. Select ‘Yellow’ in the edit.
2. Reduce saturation 80 and hit ok. Now go to dodge tool and keep the ‘Range: Midtones’ with ‘Exposure: 15%’.
3. Make the brush big enough to cover the whole, selected, area, and more.
Step 5
To make the teeth whiten, just do some clicking with the extra-large brush into the chosen area; every click should brighten the selection a bit more. When you get your desired result, deselect (Ctrl+d) everything.
After you are finished, pick up dodge tool (hardness of around 80%) and a very small brush; cautiously lighten the slits between the teeth and you are done!


