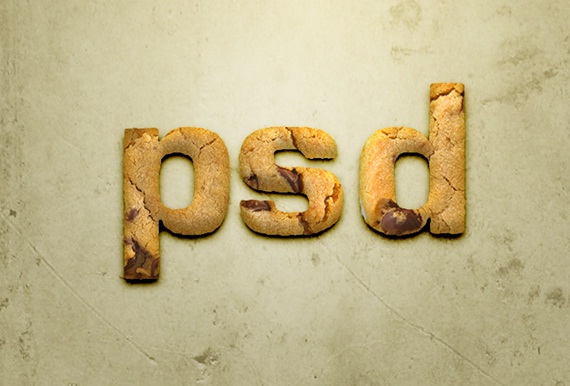
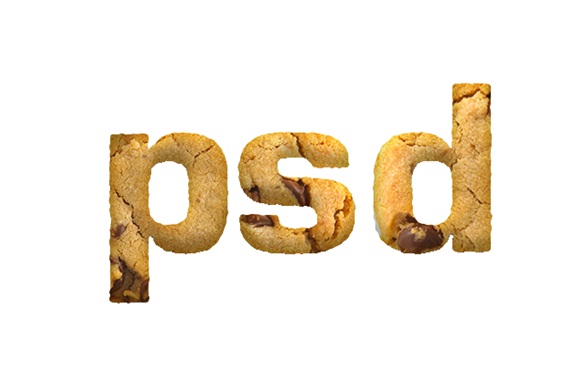
How to make Cookies Typography
In this tutorial, we would be making a really cool typography effect using images and layer mask techniques in Photoshop. Below is displayed what we are aiming to create now.

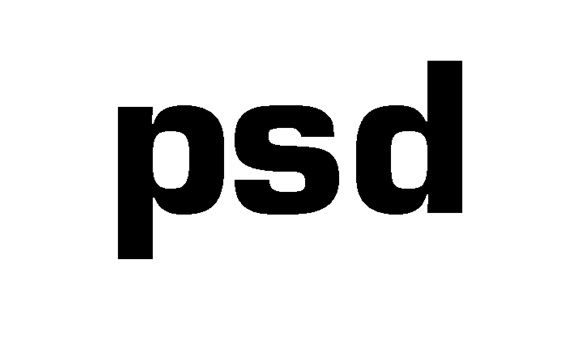
Step 1: Text
Pick up the text tool and type in your text using Eurostile Font.
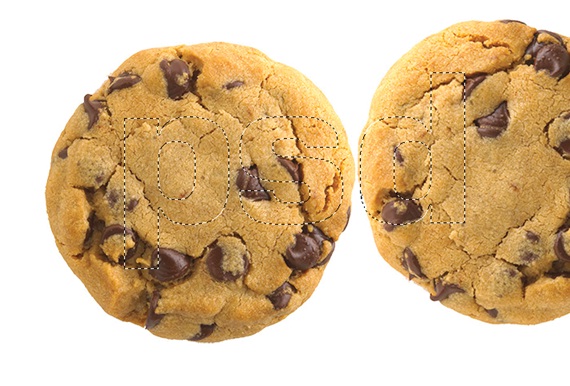
Step 2: Cookie Images
Import cookie images on your canvas. Rasterize your text image and press CTRL and right click on the text layer. This would automatically load the selection of your text.
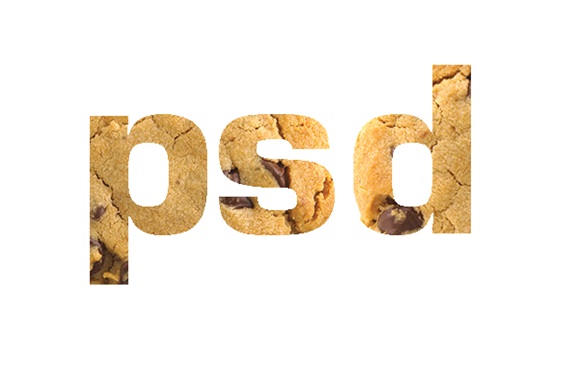
Step 3: Output
Once the selection has been loaded go to Layer, Layer Mask and choose the Reveal Selection option.
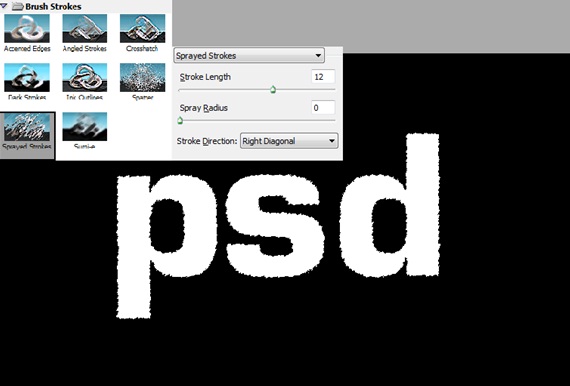
Step 4: Filter Gallery
Click on the Mask Layer to select it. After that go to Filter Gallery and apply the Sprayed Smokes filter with the following details.
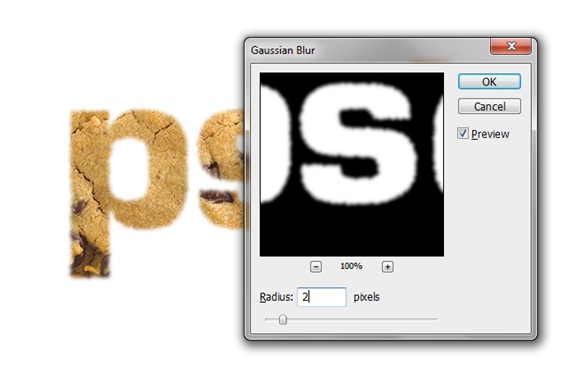
Step 5: Gaussian Blur
Once again choose the Mask layer. Now go to Filter, Blur and choose the Gaussian Blur effect. Use the following details.
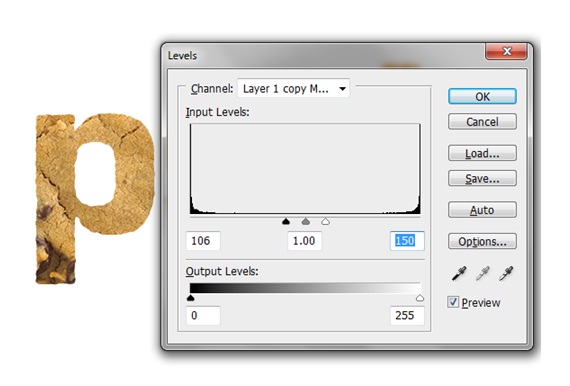
Step 6: Levels Adjustment
Select the Mask layer once more. This time go to Image, Adjustments and choose the Levels option. Apply the following details.
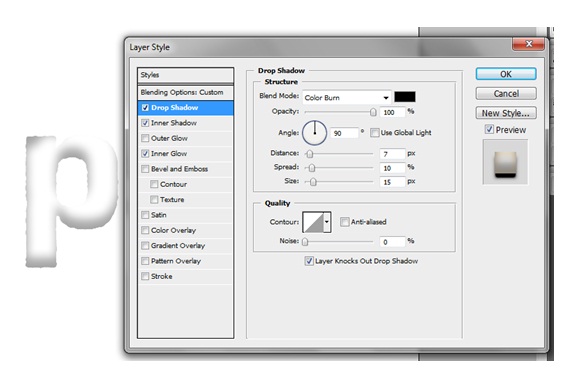
Step 7: Duplicate
Duplicate the layer and set the Fill to 0%. After that go to the Layer Style and choose Drop Shadow. Apply the following details.
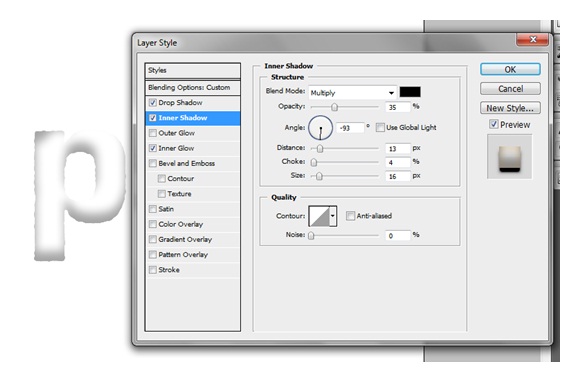
Step 8: Inner Shadow
Still in the Layer Style window, choose the Inner Shadow option and apply the following details:
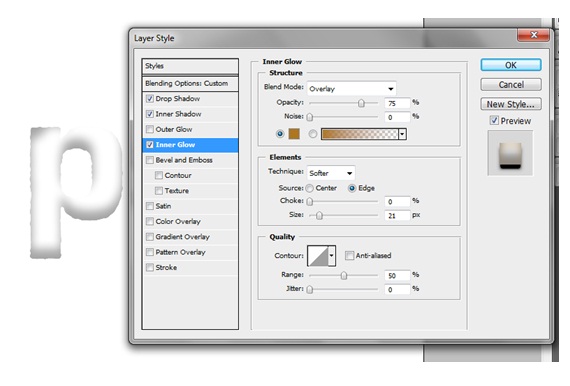
Step 9: Inner Glow
Choose the Inner Glow option and apply the following details.
Step 10: Mock up
Unhide the original text layer and place it behind the duplicated layer with the 0% fill. This is what your text should look like now.
Step 11: Final Touches
Add a simple texture to the background and this would help in adding more depth to your text. Add a new layer on top and reduce the opacity to 40%. Color the entire layer black using the paint bucket tool and change the Blending Options to Overlay. That’s it.