
How to make a 3D object in Photoshop
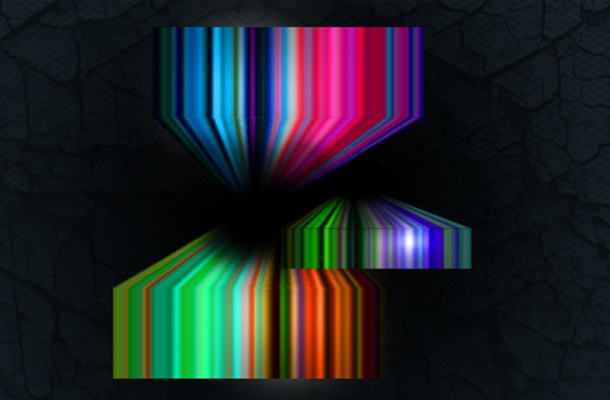
With this particular tutorial, we would be learning how to use a single line to make this entire 3D object shown below. This would help you to get the idea of the basic selection and effects tool in Photoshop.
Step 1: Find a Picture
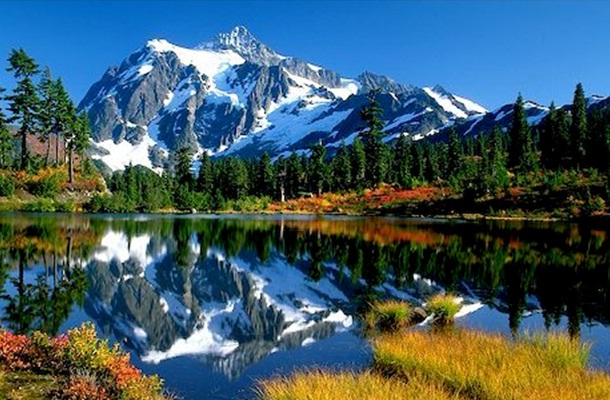
Find any picture with vibrant colors such as the one displayed below.
Step 2: Using the Crop Tool
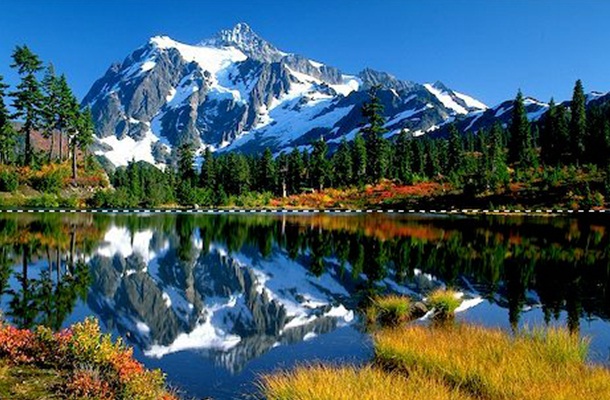
Now select the single line marquee tool and make a selection of the image as displayed below. Copy the selection on a new layer.
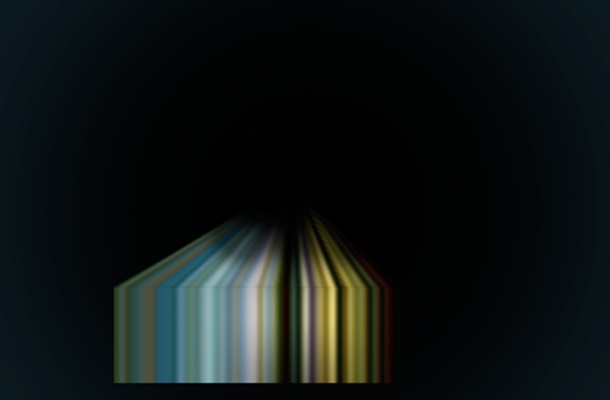
Step 3: Background
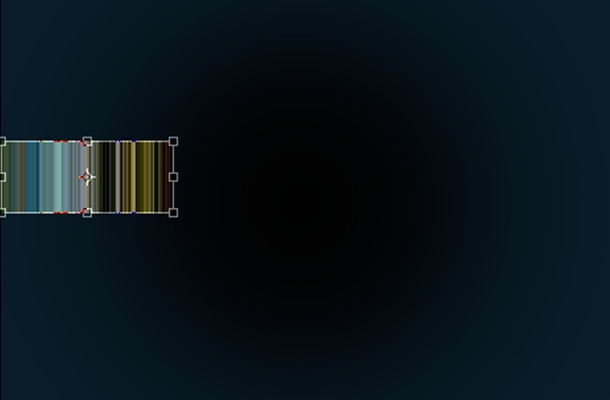
For the background, select any color you want. To add a little depth to the image make a new layer and select the brush tool. Reduce the hardness of the tool to 0%. Increase the size of the brush tool to 200px and apply it right in the center of the canvas.

Step 4: Resizing the Selection
Once you have made the background, it is the time to resize your selection. Select the layer with the selection and press control (or CTRL) T to transform the image. Stretch the image and transform it as shown in the image below.
Step 5: Introducing the Second Object
Once you are done with the transformation, copy the layer and stretch it like shown in the image below. After that second click on the selection and select “Perspective”. Change the perspective of the object to give it a more 3D look.
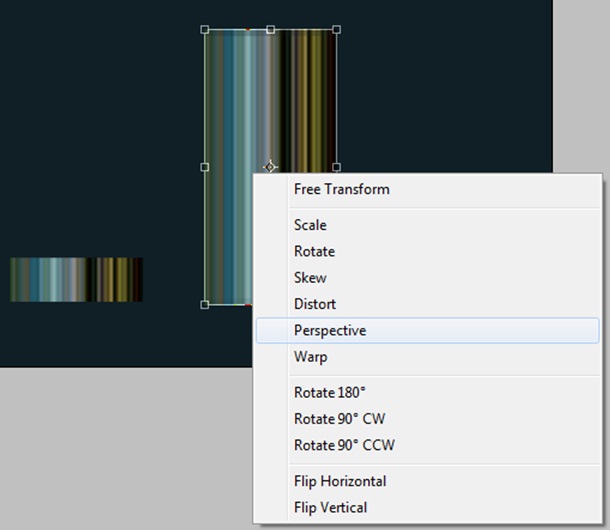
Step 6: Perspective
Once you are done with the transformation, arrange the layer with the previous layer to make it look like a 3D object.
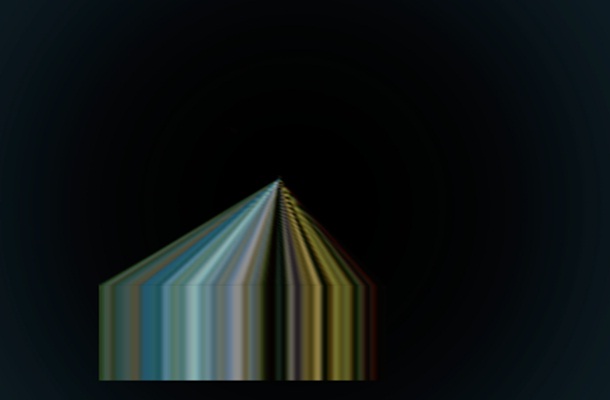
Step 7: Adding Depth
The object looks pretty simple and we need to add some effects to add depth to the object. For this purpose, you would have to create a new layer. After that, pick up the brush tool and make sure the hardness is set to 0%. After that, use the brush around the borders of the object as shown in the image below. This would add more depth to the object.
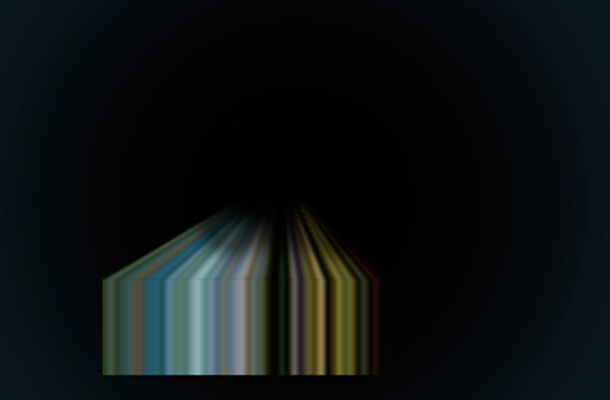
Step 8: Lighting Effect
To further add depth to the image we shall add a lighting effect to the object. For this, create a new layer and pick up the brush tool. Select the white color and use the brush tool as shown in the image below.
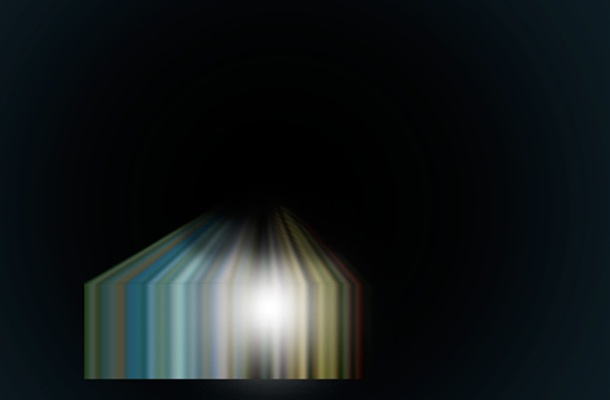
Step 9: Lighting Effect (Continued)
Now simply go to the blending options and change the option from “Normal” (which is it’s default settings) to “Overlay”.
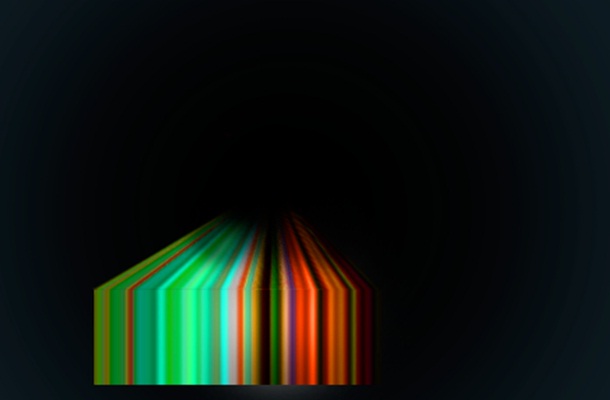
Step 10 : Changing the colors
To make the object more vibrant, you can change the colors. This process is very simple, as you only have to go to “Image”, “Adjustments” and select “Hue/Saturation”. Tick the check box titled “Colorize”, and play around with the colors and see which are more suitable.
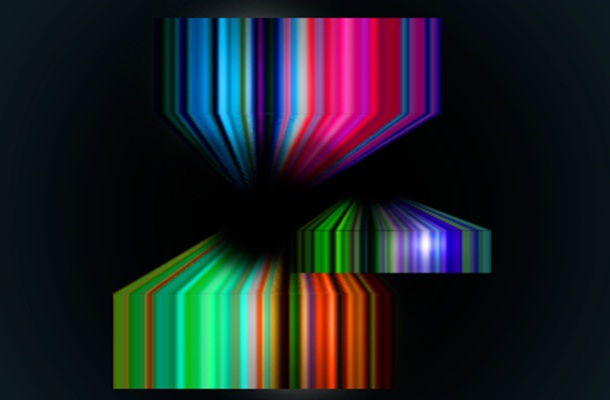
Step 11 : Adding more Objects
You can copy all the layers that make up the object and transfer them into one group. After that, you can copy the whole group multiple times and transform them as you want according to your design.
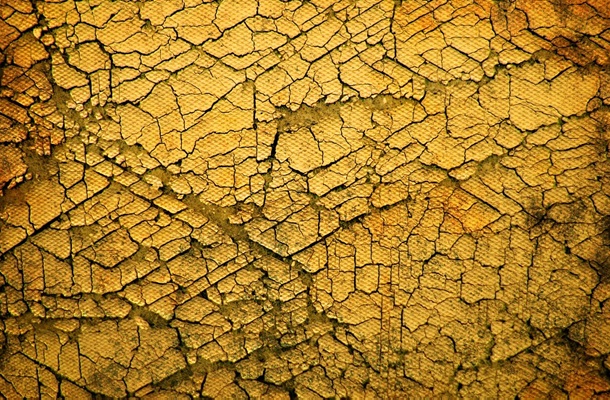
Step 12 : Adding the background
Adding a textured background is necessary for adding further depth to the image. For this tutorial, we would be using the image displayed below.
Step 13 : Merging the Background
To merge the textured layer with the background, first we have to desaturate the image. For that, you have to press control (or CTRL) U and decrease the saturation to -100. After that simply move the layer above the background and change the blending options of the texture from “Normal” to “Overlay”. Once done, the background you created would merge with the textured layer.


