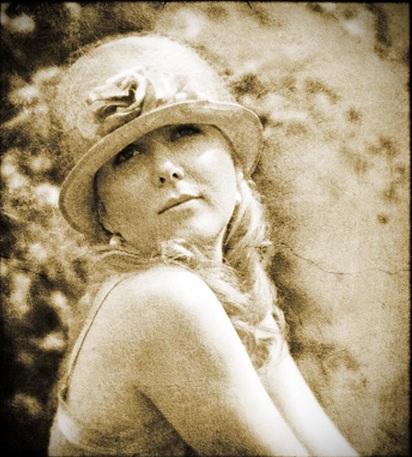
How to give your image an Antique Look
This tutorial is particularly useful for the beginners, who want to add a vintage effect to the photographs.

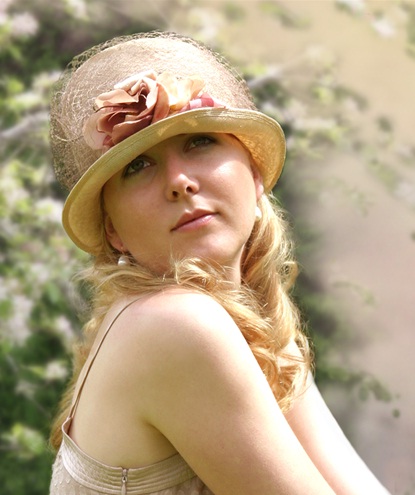
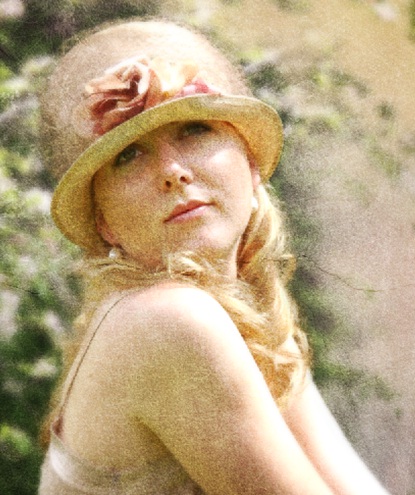
Step 1: Find a Picture
Pick any picture you want to edit and bring it on the canvas. For this particular tutorial, we would be using the following picture of a girl.
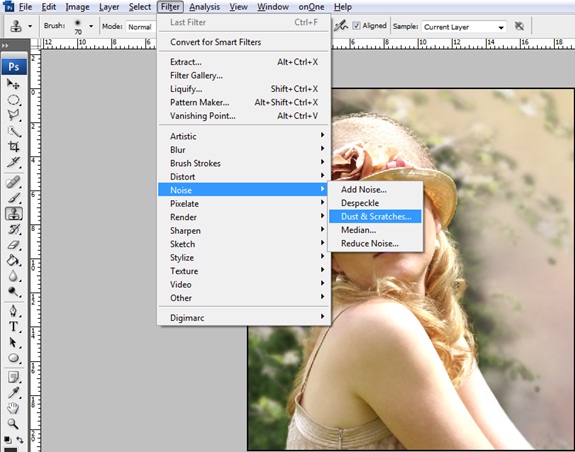
Step 2: Dust And Scratches
Now select the layer and go to ‘Filter’, ‘Noise’ and select the ‘Dust and Scratches’ option. Once the new window opens, keep the Threshold to zero and increase the Radius to 2.
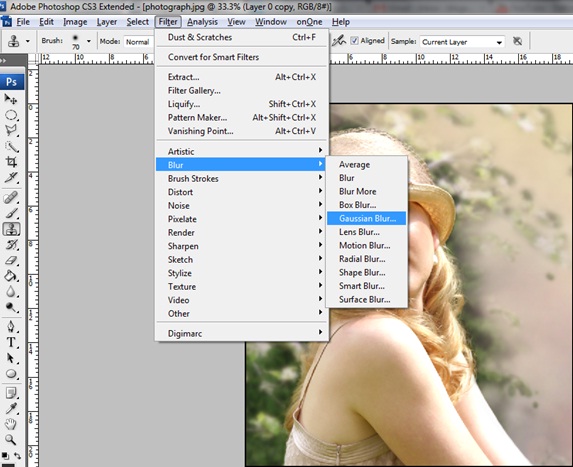
Step 3: Gaussian Blur
Duplicate the background. Select the new layer and go to Filter, Blur and choose the Gaussian Blur option. Once the new window opens, keep the radius to 4.
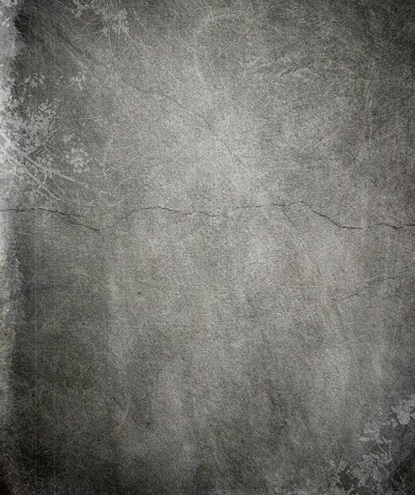
Step 4: Grunge Patterns
Now you would be needing a grunge pattern so download it. Once downloaded, bring it on to the canvas and resize it according to your picture. Desaturate the layer by pressing CTRL U and setting the saturation of this particular layer to -100. Once that is done, go to the blending options of the layer and choose “Overlay” instead of “Normal”.
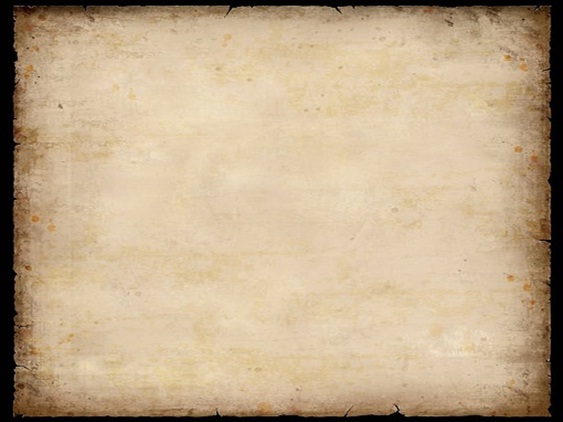
Step 5: Vintage Background
Once you are done with the grunge background, it is the time to add another background to your image to give it the grunge feel. I have used the background displayed below for this tutorial.
Once downloaded, bring the image to the canvas and resize it as you want. Go to the blending options of the layer and choose “Overlay” instead of the default setting.
Step 6: Outlook
Once you are done adding both the backgrounds, this is what your image should look like.
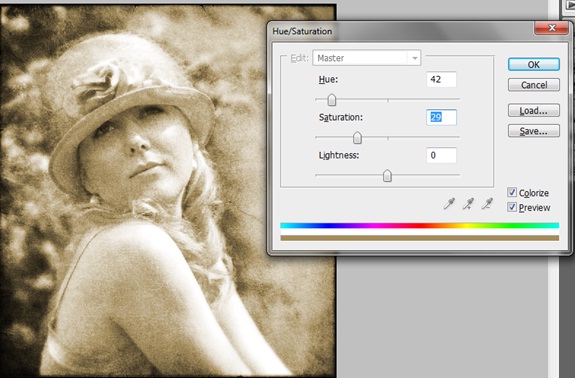
Step 7: Sepia Effect
Simply press CTRL U. Once the new window pops up, tick the check box titled “Colorize” and input the following values.
Step 8: Finishing Touches
Once you are done with the image, it would be better to do some final touches to add depth to the image. You can increase the sharpness by increasing the saturation or contrast of the image and you are all done.