How to create the Rainbow Effect on your image
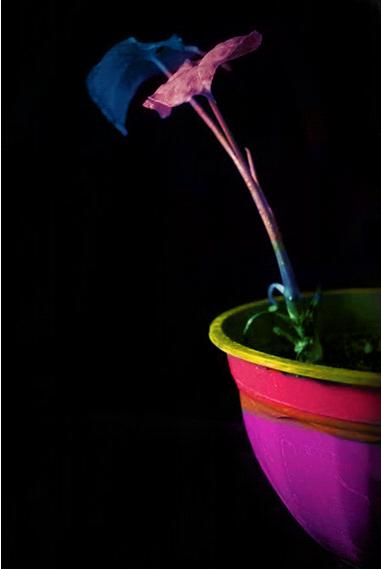
This tutorial would help you to learn to make a rainbow effect on your image. Just by following a few simple steps you can make an image, such as one displayed below, in no time.

Step 1: Selecting The Image
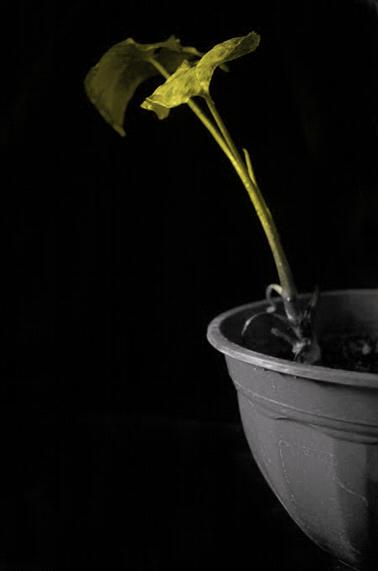
This particular effect works well with images, which have a solid object with a black background. For this particular tutorial, we would be using the image displayed below.

Step 2: Hue/Saturation
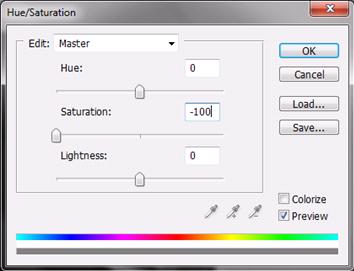
The first step is to desaturate the image. For this purpose, you can press control (or CTRL) “U” and the following window would pop up. Input the required fields as displayed in the image below.
Step 3: New Layer
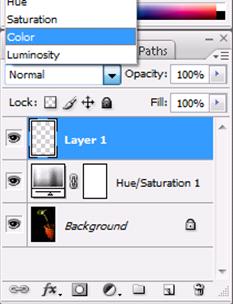
After that, you would have to create a new layer. Now you would be required to change the blending mode of that particular layer from “Normal” (it’s default settings) to Color as shown in the image below.
Step 4: Swatches
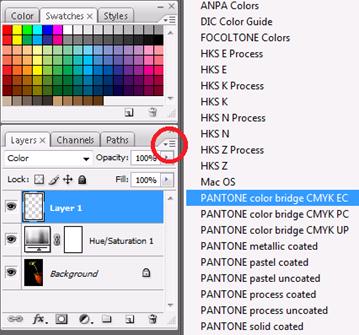
For the rainbow effect, it would be better to use the primary colors, i.e., magenta, cyan and yellow. For this, you would have to open the swatches panel. That can be achieved by going into “Windows” and choosing “Swatches”. Once you have opened the swatches click on the button specified in the image below and select the PANTONE CMYK EC option. Once you have selected that option, it will ask you to append or replace the swatch. What you need to do is to replace the swatch, and it would automatically replace the current swatch with the three basic colors.
Step 5: Coloring
Now select the brush tool and make sure that the hardness is set to 0% (its default setting is 100%). After that select any color and start applying the brush tool on the image. You would notice that the brush tool applies the color on the object.
Step 6: Finishing
Keep on coloring the image with different color tones. Play around the idea a little bit and see what you can come up with. At the end, you would have made something along these lines.