How to create stunning Text Effects
In this particular tutorial, you would learn how to turn a simple text into a beautiful design using gradients, various brushes and other filters in Photoshop.

Step 1: Text
Color the background Black and select the type tool. Use the font “Impact” and type whatever you want to in the middle of the canvas.

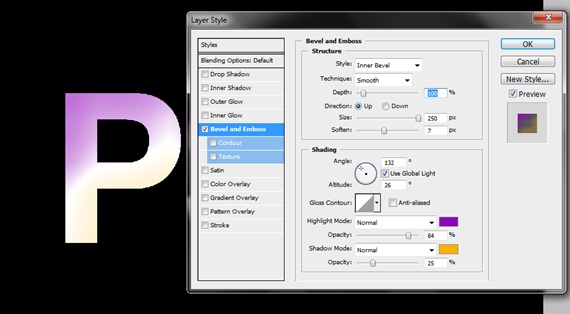
Step 2: Bevel and Emboss
Duplicate the text layer and rasterize the image. Go to the Layer Style options and choose Bevel and Emboss. Use the following details for your letters.
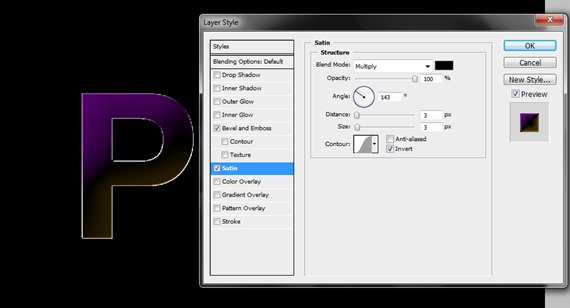
Step 3: Satin
Now click on the check box titled “Satin” and input the following settings.
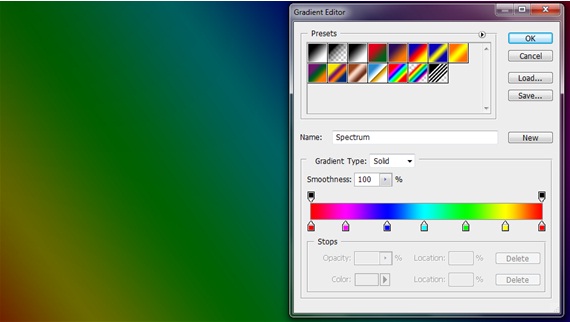
Step 4: Gradient
Select the background layer and go to the Layer Style options. Click on gradient and use the following gradient for your background.
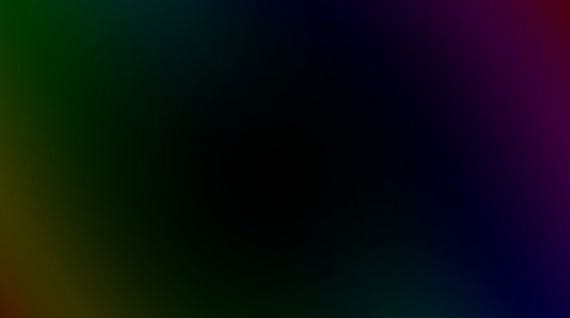
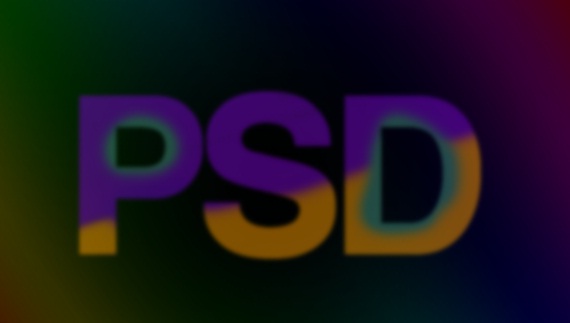
Step 5: Gaussian Blur
Duplicate the layer and go to Filter, Blur and apply the Gaussian Blur effect. Once done, reduce the opacity of the layer to 50%. Use the eraser tool with 0% hardness to remove the middle portion of the canvas where the text would appear.
Step 6: Expand and Glow
Duplicate the text layer and use the transformation tool to expand the text a little. Reduce the opacity of the layer. Go to Filter, Blur and apply the Gaussian Blur effect by only 2 px. Go to the Layer Style option and choose Outer Glow. Select the same color for the glow as the background color. Press CTRL and right click on the text layer to load the selection. Pick up the brush tool and randomly paint on the selection like shown below.
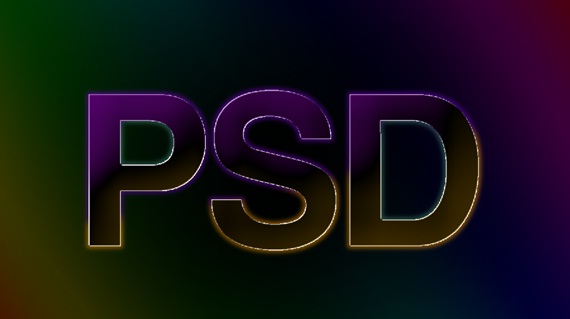
Step 7: Unhide the Text layer
Now unhide the original text layer and move it on top of the expanded text layer. You would see a fine outline created by the layer in the background.
Step 8: Brush Tool
Now you would need to download various brushes to add to you design.
Make a design pattern using these brushes in a new layer. You can use different brushes in different layers. That would allow you to apply various effects and colors to each brush.

Step 9: Blending Options
Once you are done with the background pattern, unhide the text layer. Press CTRL U and increase the Saturation of the image by 30. Now make a new layer and color the portion on the text with white color using the brush tool. Go to the blending options of the layer and select “Overlay”. Similarly make another layer and color the borders with black using the brush tool. Go to the blending options of that layer and select “Overlay”. Now duplicate all the files and merge them into one. Go to Image, Adjustments and choose the Brightness and Saturation option. Reduce the brightness and increase the saturation, till the point the image has completely darkened. Go to the blending options of that layer and choose “Linear Dodge Add”.

Step 10: Final Touches
Use the previously downloaded brushes to make a pattern on the text. Create a new layer and press CTRL right click on the text file to load the selection. Now select the brushes and make a pattern using white color. Go to the blending options of that layer and choose “Soft Light”. That’s it!