
How to create Paper Texture
In this tutorial, you would be learning how to make a simple paper texture in Photoshop within a few minutes. So, let’s start.

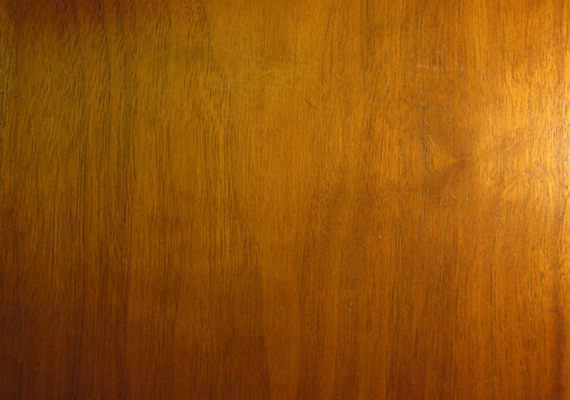
Step 1: Background
First of all, select a background for your image. For this tutorial, we would be using the wooden table texture.
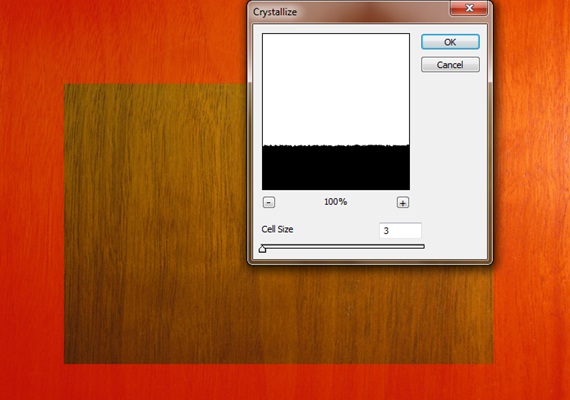
Step 2: Crystallize
Create a rectangular selection as shown below and make a new layer. Enter the quick mask mode and apply the Crystallize filter. For that, you would have to go to Filter, Pixelate and choose Crystallize. Use the following details and exit the quick mask mode. After that, fill the selection with white color.
Step 3: Texturizer
After that, select the newly created layer, go to Filter, Texture and apply the Texutizer effect. Set the Relief to 1 while keeping the Scaling option to 100%.
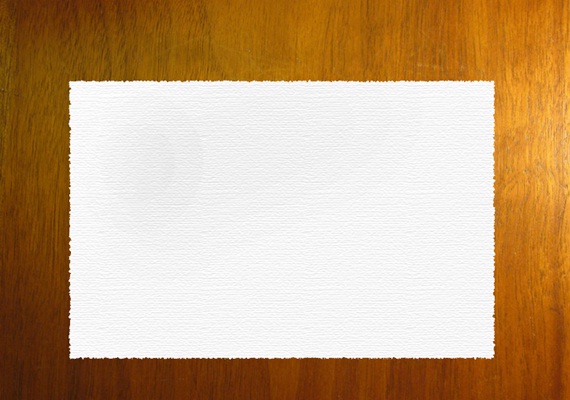
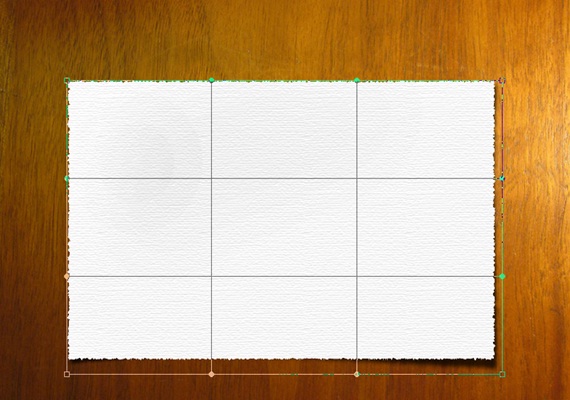
Step 4: Drop Shadow
Now go to the Layer Style option and click on Drop Shadow. Set the Blend Mode to Multiply while keeping the opacity at 75%. Change the angle to 120 and keep the Distance to 5px, Spread to 0px and Size to 5px. After that, second click on the Drop Shadow effects bar of the layer and choose the option of Create Layer. When the drop shadow is made into a new layer, press CTRL T. Second click on the selection and choose Warp. Transform the shadow so that it looks irregular and real.
Step 5: Gradient
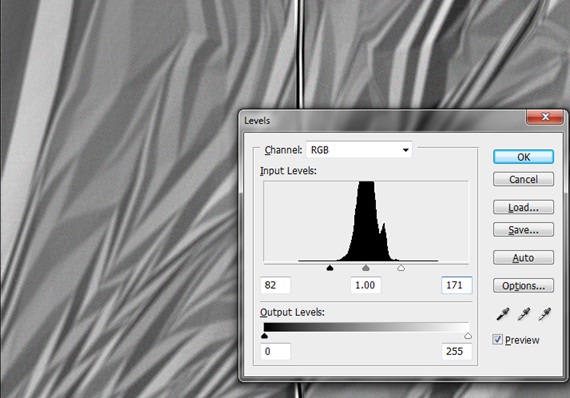
Select the gradient tool and choose the type “Linear Mode”. Just randomly apply the gradient on the canvas. After that, go to Image, Adjustments and choose the Levels option. Use the following details.
Step 6: Emboss
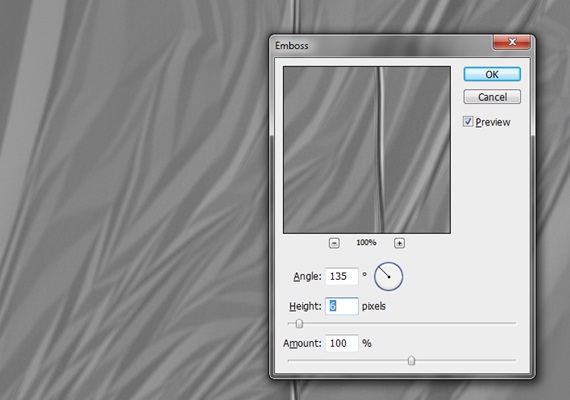
Now go to Filter, Stylize and choose the Emboss option. Use the following details.
Step 7: Overlay
Position the gradient layer on top of the paper texture layer. Second click on the layer and choose the “Create Clipping Mask” option. After that, change the Blending Options of the layer to “Overlay”. This would provide a realistic texture to your design. You can let out your creativity and play around with various effects for the background to get something unique.


