
How to create Flaming Effect in Photoshop
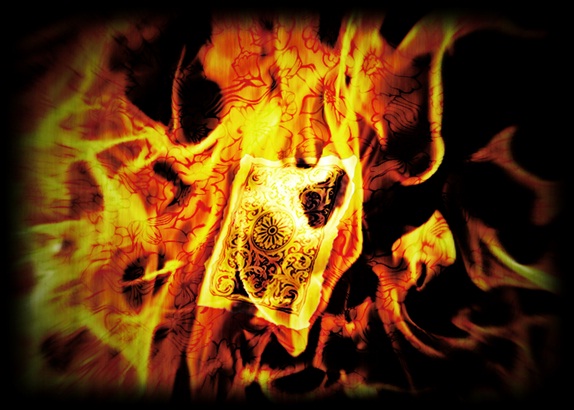
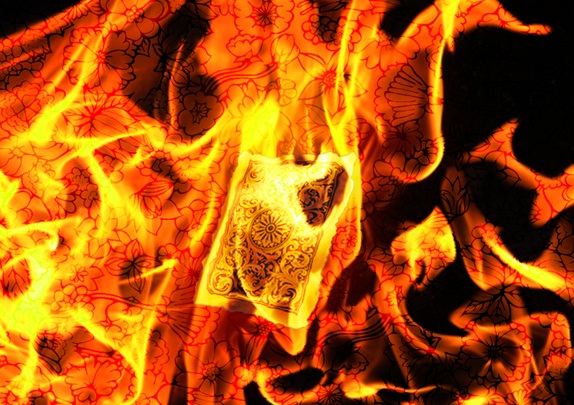
In this tutorial, you would be learning how to manipulate a poker card and use various filters to generate the flaming effect in Photoshop. Below is displayed what we are aiming to create.
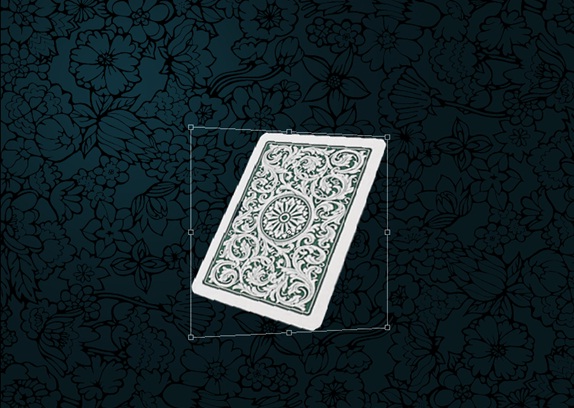
Step 1: Card Image
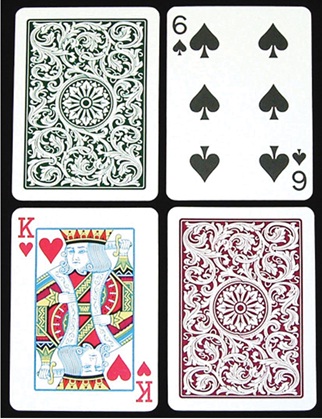
Download any card image from the internet and crop out the card using the lasso tool.
Step 2: Floral Background
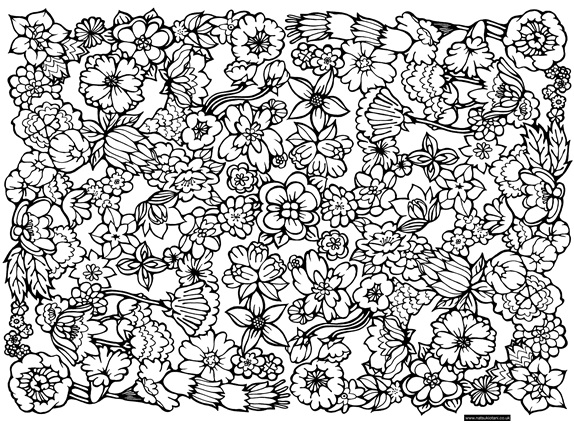
Next, we would need a floral background image. Bring the image on the canvas and crop out the pattern from the background.
Step 3: Background
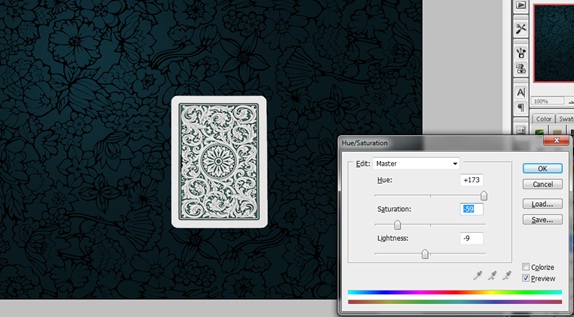
Once you have separated the floral pattern from the background, make a new layer and position it behind the pattern. Color the background dark green using the paint bucket tool.

Step 4: Poker Card
Bring the Poker Card layer on the canvas. Press CTRL U and tick on the check box titled “colorize”. Match the card with the background.
Step 5: Perspective
Right click on the card layer and press CTRL T. Then second click on the selection and choose the perspective option. Change the perspective of the card to add a little depth to the image.
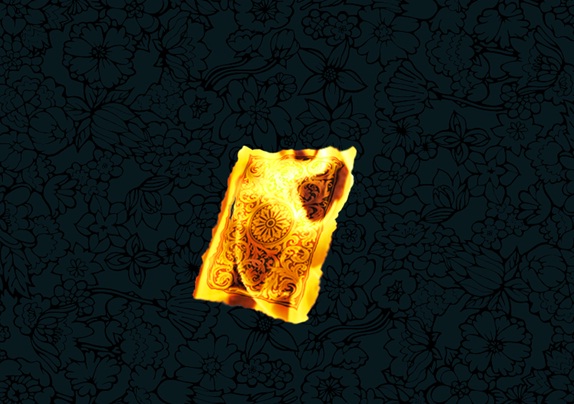
Step 6: Liquify
Once done with the perspective of the layer, go to Filter and choose the Liquify Option. Select the Turbulence Tool and apply it on the card to give it a melting look.

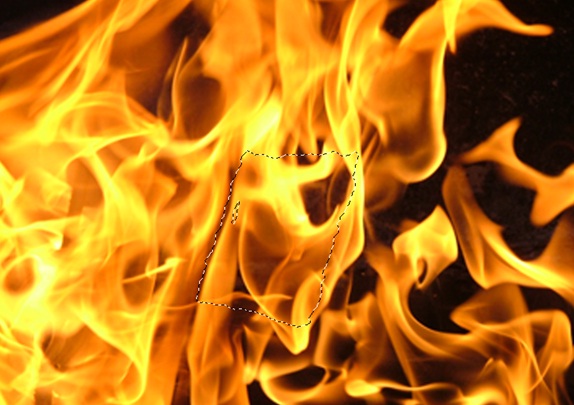
Step 7: Fire Image
Now bring the fire image on the canvas. Press Control and right click on the card layer to automatically load the selection. Then go back to the fire layer and simply press CTRL C and then CTRL V. This would copy paste the selection from the fire image.
Step 8: Blending Options
Once the fire card layer has been made, select that layer and change the blending options from Normal to Hard Light.
Step 9: Gaussian Blur
Copy the fire layer and go to Filter, Blur and select Gaussian Blur. Keep the radius to 50px and move the layer behind the card.
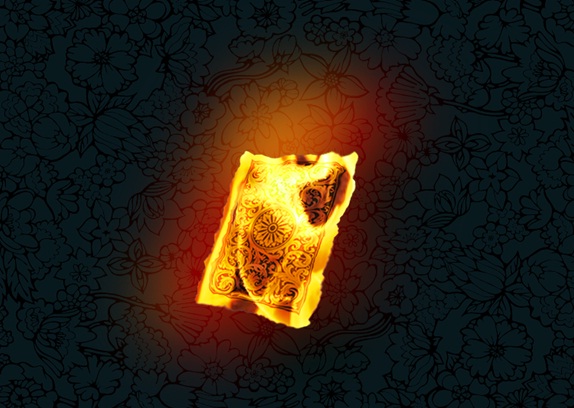
Step 10: Backdrop on Fire
Move the fire layer below the background layer and change the blending mode of the layer to Hard Light. Similarly select the backdrop layer and change the blending mode to Soft Light.
Step 11: Liquify and Final Touches
Select the background pattern layer and go to Filter and choose Liquify. Select the Turbulence Tool and apply it all over the pattern to give it a melting look. Once this filter is applied, make a new layer and color the borders black by using the brush tool. Now paint the area of the card white with 0% hardness. Go to the blending options of that layer and choose Overlay and you are done.


