How to create Fabric Badge in Photoshop
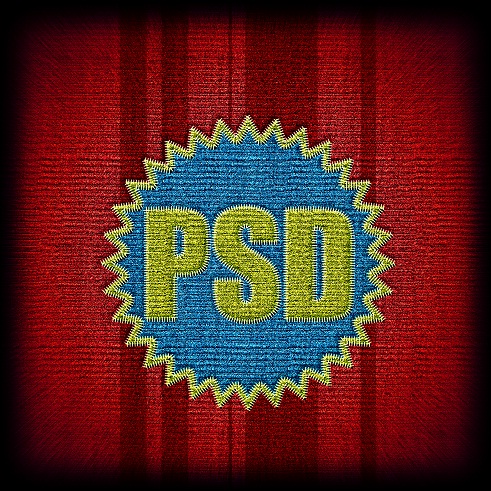
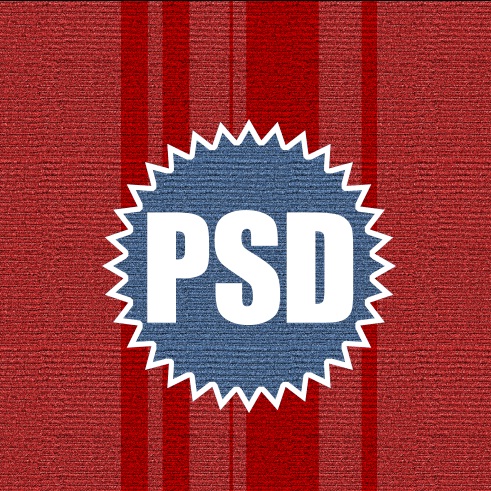
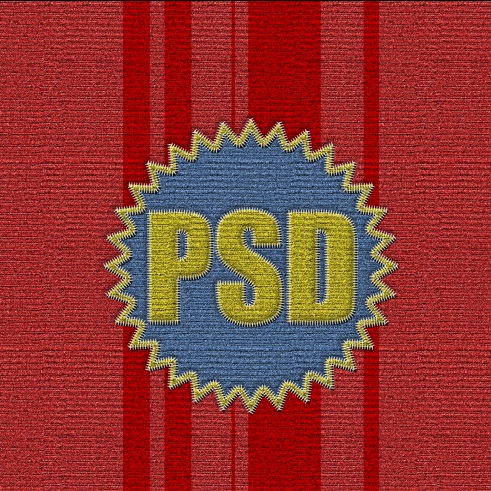
In this tutorial, we would be making a fabric badge like the one shown below. Let’s get started now!
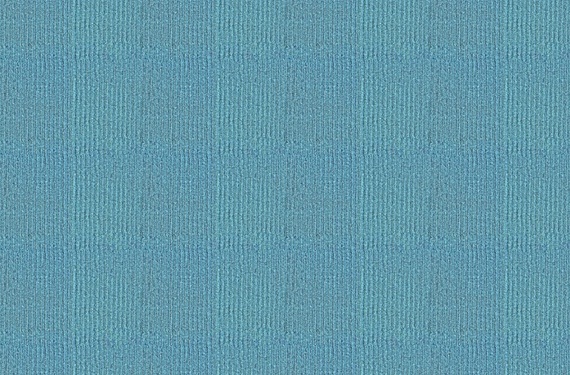
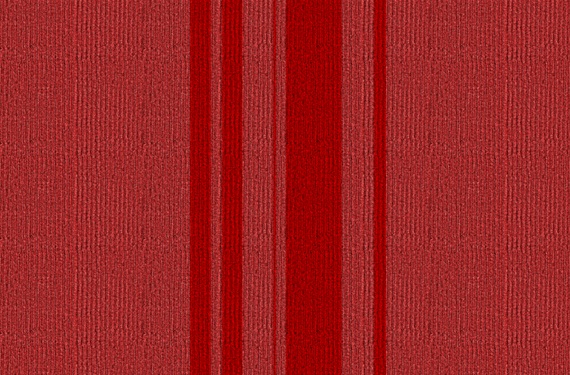
Step 1: Main Image
First of all, find any textured image like the one displayed below.
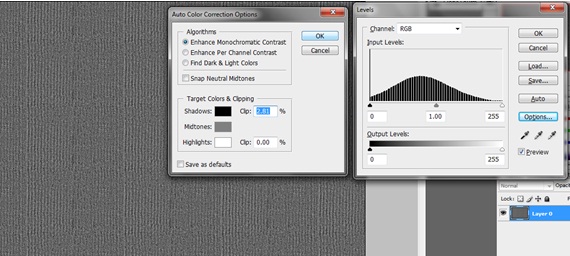
Step 2: Layer Adjustment
Desaturate the image and then go to Image, Adjustments and choose the following options.
Step 3: New Pattern Layer
Make a new layer and use the shape tool to make the following pattern. Merge all the shapes into one layer and change the blending options of that particular layer to Overlay.
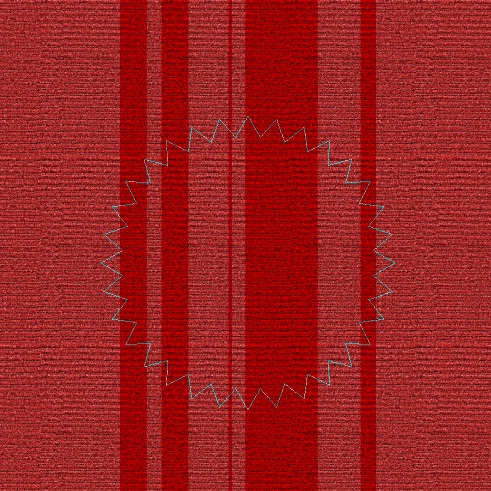
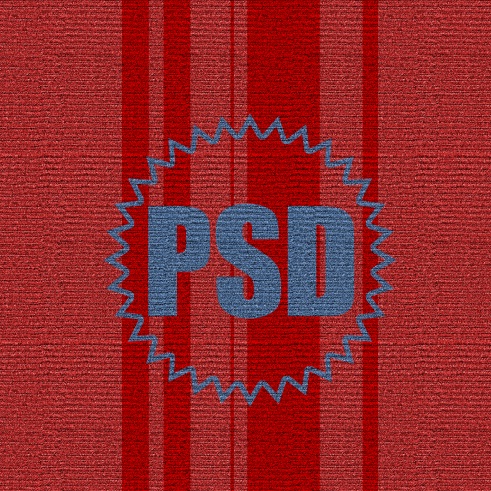
Step 4: Shape Layer
Select the custom shape and choose the Seal shape. Select Paths and make the following path right in the middle of the canvas.
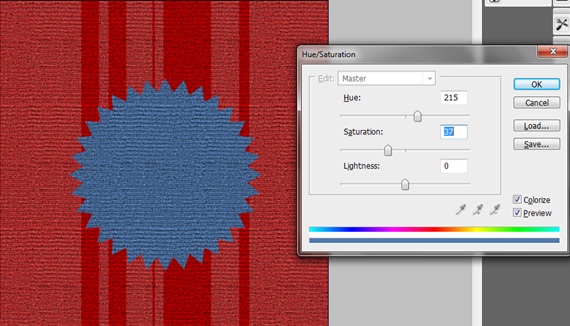
Step 5: Duplicate Image
Duplicate the original layer and copy it into a new layer. Go to the Hue/Saturation of that image and use the following details.
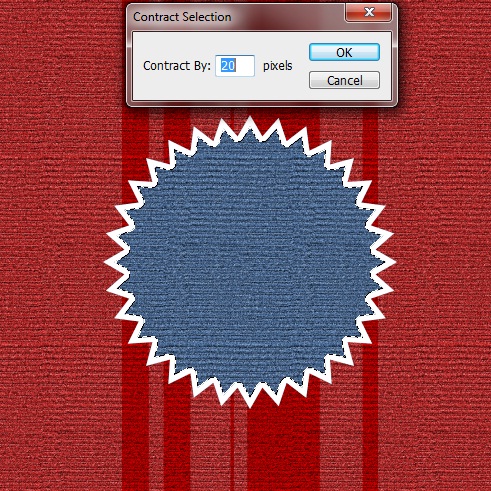
Step 6: Contract Selection
Press CTRL and left click on the seal layer. After that, create a new layer and fill the selection with white color. Go to Select, Modify and choose Contract Selection. Use the following details and press “OK”. After you see a change in the selection, hit the delete button.
Step 7: Text
Type in the text as you want it to appear on the seal.
Step 8: Merging Text with Background
Merge the text layer with the border layer. Press CTRL and left click on the layer for Photoshop to automatically load the selection. Go to the background layer and press CTRL C. Now make a new layer while the selection is still on and press CTRL V.
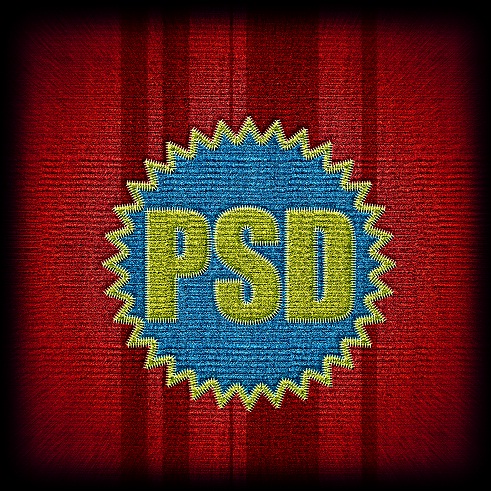
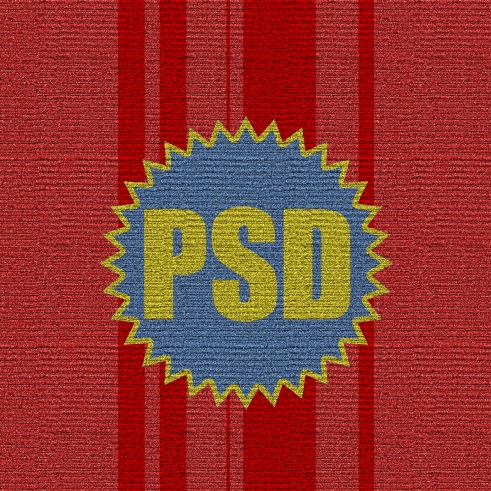
Step 9: Complete Seal
Simply, change the Hue and Saturation of the Merged layer and make the background layer of the seal visible.
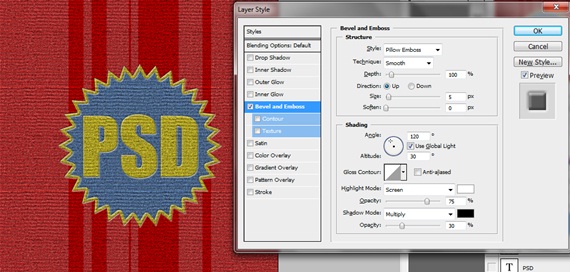
Step 10: Bevel and Emboss
Go to the layer style of the text layer and tick on Bevel and Emboss. Use the following details to add depth to the image.
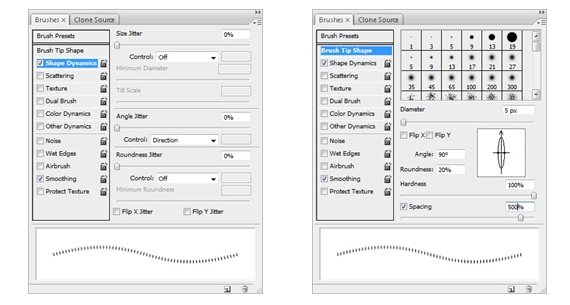
Step 11: Brushes
Now we need to make a sewing effect around the borders of the seal. For this purpose, go to the brush palette and use the following details
Step 12: Applying the Brush
You have to apply the newly created brush on to the badge. For this purpose, press CTRL and left click on the text layer. Create a new layer and keep the brush size to 2 px. Select the pen tool, second click on the selection and choose stroke path. Choose the option of Brush when the new window opens up and you would have this effect automatically created on the layer.
Step 13: Final Color Correction
Create a new layer and color the borders with black. Again create a new layer and position it between the final image and the border. Again color the image with black and change the blending options to Overlay. Go to Hue/Saturation and change the colors of the image, sharpening the image and adding depth to it.