How to create Colorful Lighting effect
In this tutorial, we would be covering basic blending options and other effects in Photoshop to create this colorful lighting effect.

Step 1: Rectangle Tool
Use the Rectangle Tool to make the following shape on the canvas.

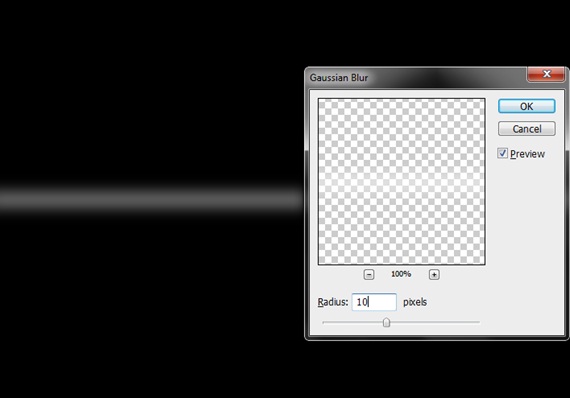
Step 2: Gaussian Blur
Rasterize the image. After that, go to Filter, Blur and apply the Gaussian Blur effect. Use the following details for this filter.
Step 3: Brush Tool
Use the brush tool and create a new layer. Keep the hardness of the brush tool to 0%. On the new layer apply the brush randomly around the line. After that, unhide the original shape layer and change the blending options of the layer to Overlay.

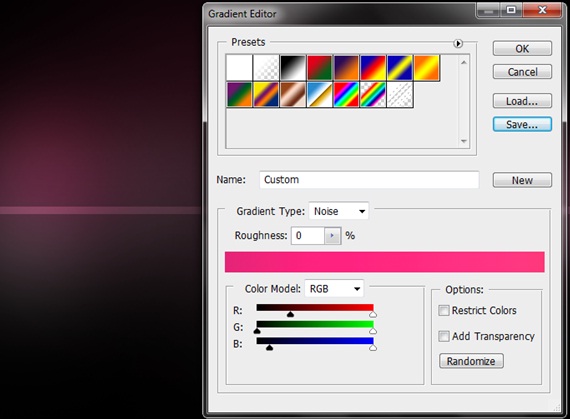
Step 4: Gradient
Duplicate the newly created layer. Apply the following gradient on the layer. After that, Change the blending options of the layer to Hard Light.
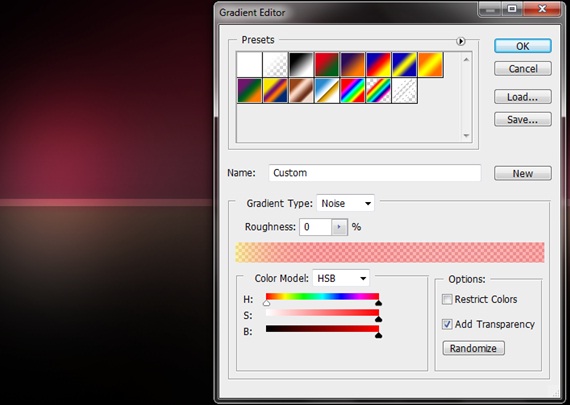
Step 5: Overlay
Duplicate the layer once more and apply the following gradient on the newly created layer. Change the blending options of that particular layer to Overlay.
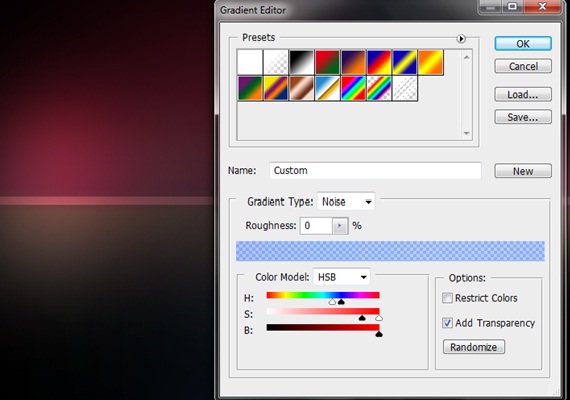
Step 6: Duplicate and Transform
Duplicate the layer once more. This time use the transform tool to tilt the image. Reduce the opacity to 30% and apply the following gradient. Make sure the blending options are set to Overlay.
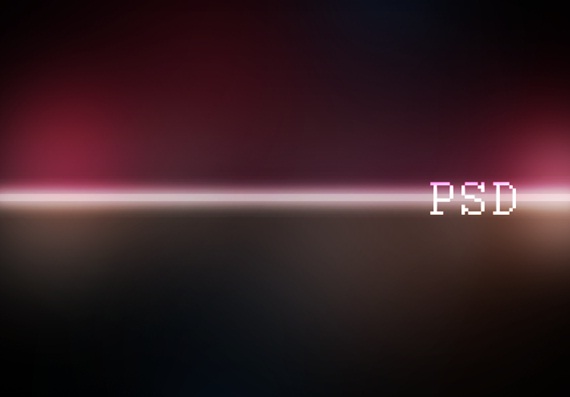
Step 7: Text
Include the text on the canvas. For this particular tutorial, the font Courier is used.
Step 8: Clouds
Keep the foreground color black and set the background color to white. Go to Filter, Render and select Clouds. After that, go to Filter, Blur and apply the Gaussian Blur effect.

Step 9: Blending Options
Change the blending options of the cloud layer to Soft Light.

Step 10: Finishing Touches
There are limitless boundaries to the number of effects that you can include on the canvas. Press CTRL U and increase the Saturation of the image to add more depth to it. Go to Image, Adjustments and choose the Brightness/Contrast option. Reduce the Brightness just a little bit to make the vibrant color more focused.