
How to create aqua text effect in Photoshop
Now I am going to give you the step-by-step instruction to make a nice aqua text effect in Photoshop. Simply follow the steps with me. Below is displayed what we are aiming to create.

Step – 1:
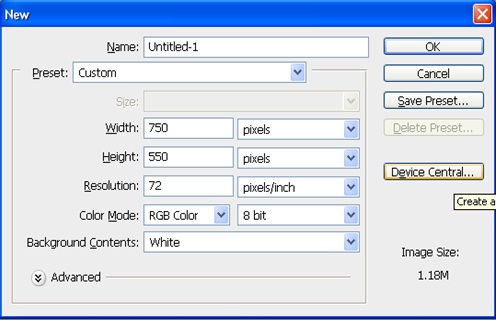
Create a new document of size 750px by 550px.
Step – 2:
Type a text with font the ‘times new roman’ with size 350 and color 00B5EA.

Step – 3:
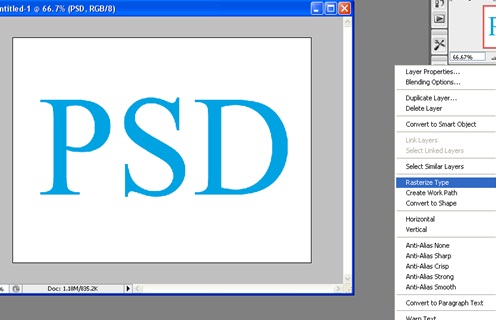
Now select the text layer in your layer palette and right click it and select “rasterize layer”.
Then duplicate the layer by right clicking the layer you have just rasterized and select “duplicate layer”.
Step – 4:
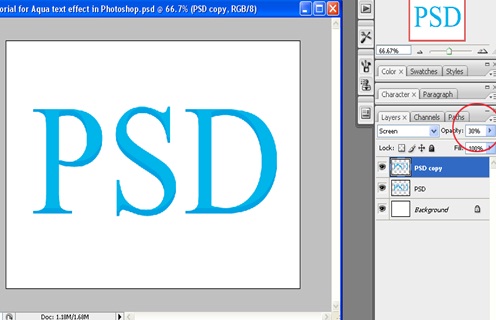
Now place your duplicated layer like the way it is shown in this screenshot.

Step – 5:
Then set opacity of duplicated layer to 30%.
Step – 6:
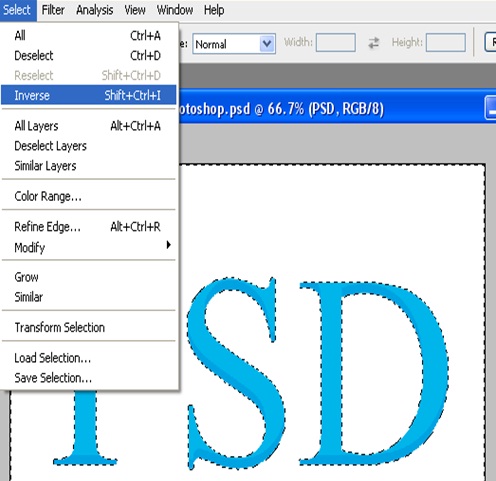
Now, Select outline of original text layer by holding Ctrl and clicking on it.
Then Click select>>inverse. After that, select top layer, and press ctrl + e for merging both text layers. Then you will see one layer instead of two shown earlier.
Step – 7:
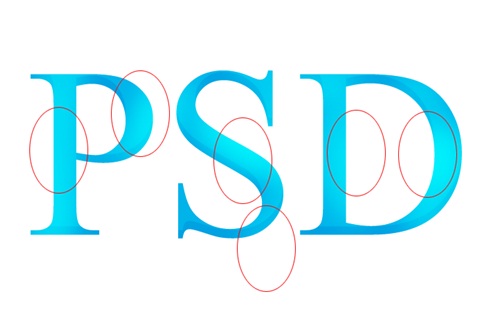
Now, select dodge tool and to give aqua feel lighten some portion of the text.
Lighten portion, which are marked round in the screenshot.
Step – 8:
Now your output should look similar to this as shown in screenshot.

Step – 9:
Now, hold Ctrl + click on top layer to select outline of the layer. As we again need this selection, so let’s save the section by choosing select> save selection. You can save it with any name you wish.
After you save it, next time whenever you need same selection, you can go to Select>Load selection and choose the name that you’ve given it earlier.
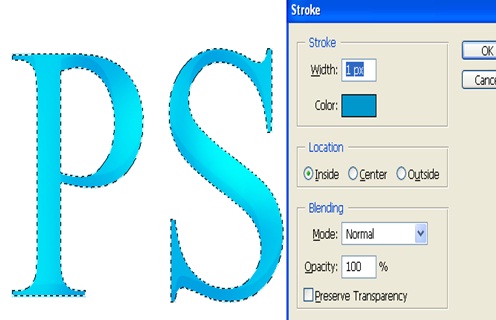
Now we are going to give stroke to the layer, of which you have made selection. Select edit> stroke. And use setting as shown in the screenshot. Color: #0099CC.
Step – 10:
Now your output should look similar to this as shown in screenshot.
Notice the outline.

Step – 11:
Now load the selection you have earlier saved from select>load selection and choose the selection name.
Then create another layer. New layer will be shown in the layer palette at the top above other layers.
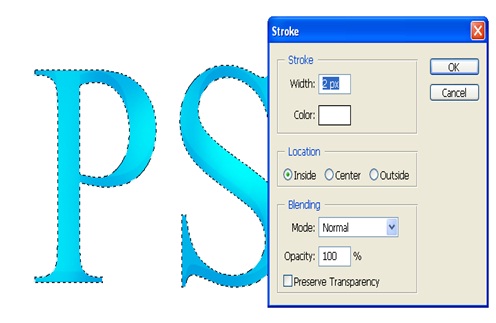
Now, from menu select the following:
click edit> stroke
width: 2 px,
Color: #ffffff (white).
Use settings as shown in screenshot:
Step – 12:
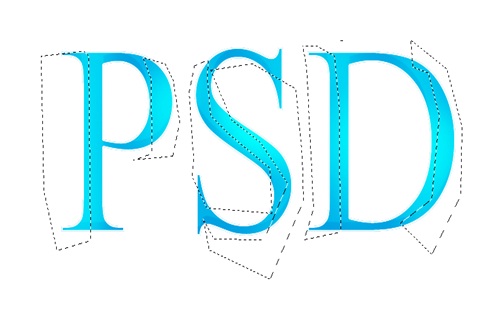
Now you will notice a white outline. Then we shall erase white outline from areas where light wouldn’t be reaching the text.
Let’s assume light is hitting from top left. Then in this case, we shall delete white outline located in left and right of each letter.
To delete outline, click the outline layer (the top one) and select polygon tool (selection), press delete. Make selection in each letter and delete it.
Step – 13:
Now your output should look similar to this as shown in screenshot.

Step – 14:
Then, move white layer to the right (slightly), so it looks as shown in the screenshot.

Step – 15:
Now we shall use eraser tool to smooth the edges. Just Zoom in (press ctrl and +) to zoom in and press space and drag to look around.
Then use erasor tool with flow-50% and smooth the edge. Do it to all letters.

Step – 16:
Now, select text layer (original) and to add little contrast darken few spots.

Step – 17:
Now, to give a white reflection and to make glossier, create new layer above all and load your selection (saved) and fill this new layer with white color.
Then lower its opacity to 10-15% and then move this layer to the little right.

Step – 18:
Now create new layer under the first layer, then load saved selection, fill it with dark blue (#00A4E2) and position it as shown in the screenshot.

Step – 19:
Then finally, select the last layer and from menu select filter> blur> Gaussian blur and set radius to 4 pixels.
Now your output should look similar to this as shown in screenshot.

Step – 20:
Now to make it more interesting, I have added duplicated layer on which we’ve just added Gaussian blur and rotated it a bit and its opacity is set to 15%.And we are all done!


