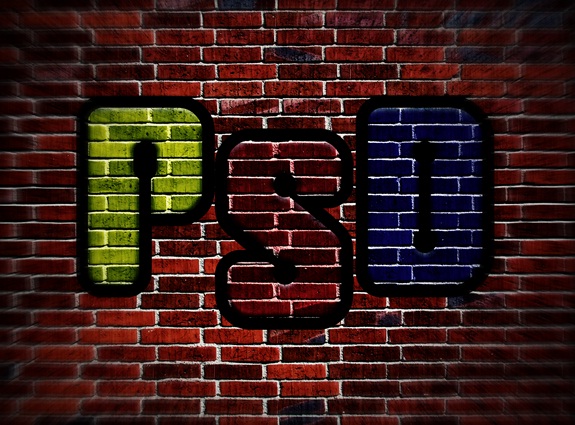
How to create a Wall Graffiti
With the help of this tutorial, you will learn how to make an abstract background like the one shown below. We would try to cover all the basics ranging from different shapes to the use of various blending options in Photoshop.

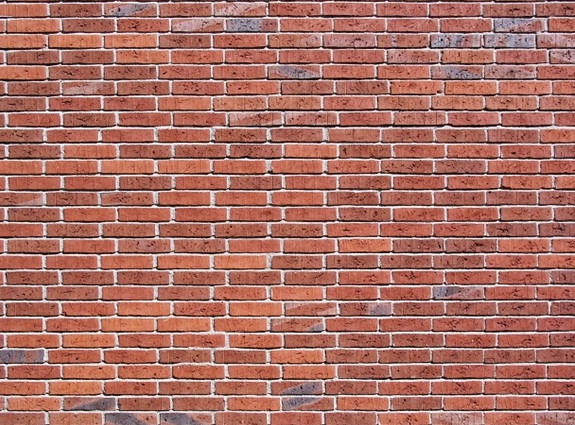
Step 1: The Background
Download any texture image of a wall and include it on your canvas.
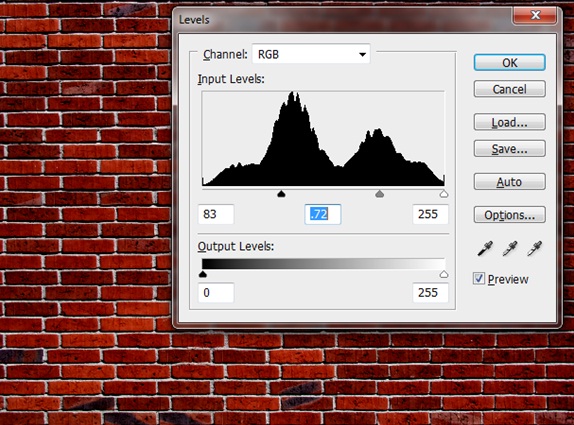
Step 2: Levels
Go to Image, Adjustments and select the option of Levels. Use the details given below.
Step 3: Text
Pick up the text tool and use the Clipe font. Write anything you want on your canvas.
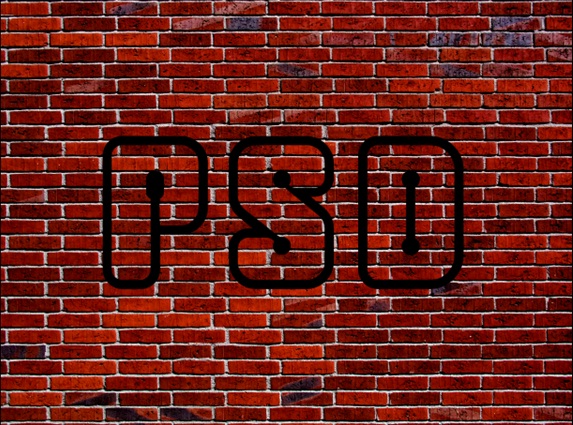
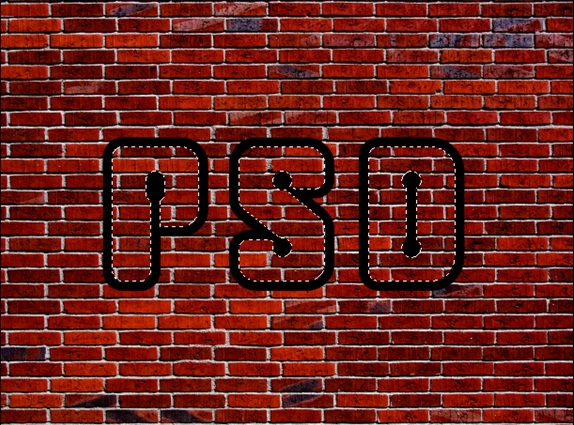
Step 4: Selection
Pick the magic tool and make a selection as displayed below.
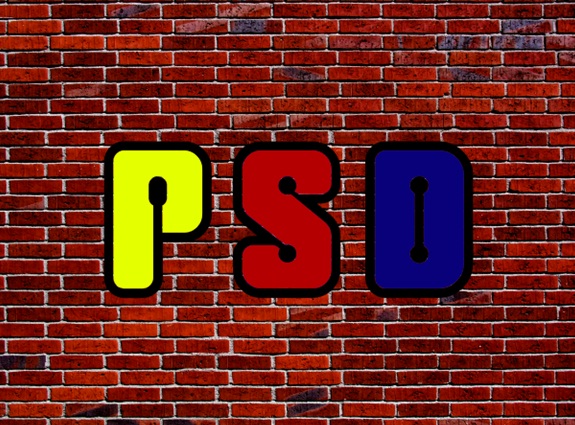
Step 5: New Layer
Create a new layer and color the selection as shown below. You can make a separate layer for each letter.
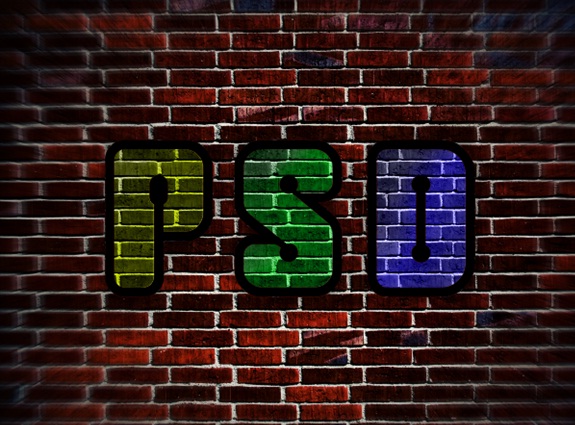
Step 6: Luminosity
Left click on the text layer (used for the color) to load the selection. Go to the wall textured layer and press CTRL C. Make a new Layer and press CTRL V. Once that is done, change the blending options from Normal to Luminosity.

Step 7: Color Correction
Add a new layer and color the borders white. Reduce opacity of the layers and use the Gaussian Blur effect. Change its Blending Options as Overlay. Use Hue/Saturation to change the colors of the canvas.
Step 8: Adding Depth
Duplicate all the layers and merge them into one. Desaturate the layer and reduce its brightness. Go to the layer’s blending options and change default value to Exclusion.
Step 9: Final Touches
Add a fresh layer and color the entire layer dark brown. You can use the color picker to choose the color of the bricks. Use the erase tool and choose a radius as big as the canvas. Apply the eraser tool in the middle of the canvas.
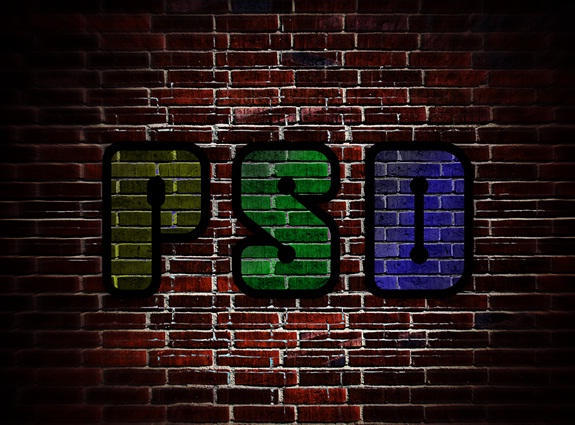
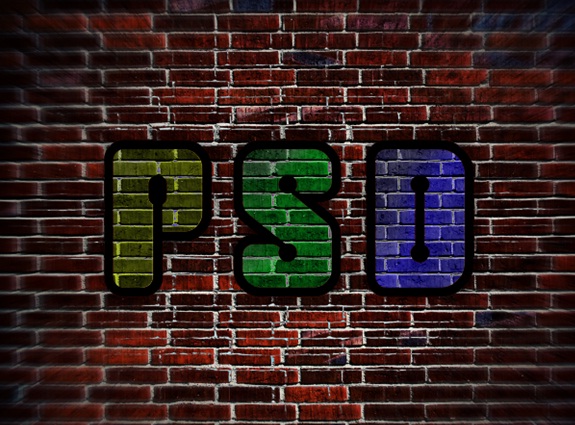
Step 10: The result
Apply the Gaussian blur effect and decrease the opacity of the layer. Now move to the blending options of the layer and change it from Normal to Overlay. This is to add more focus to your text. That’s it!