
How to create a Retro Poster in Photoshop
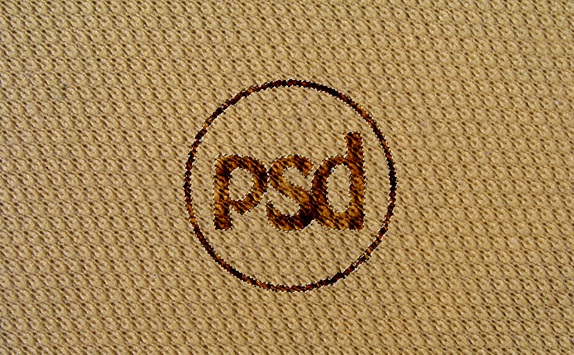
In this tutorial, we would be implementing the displacement tool and the burn tool on simple textures and completely manipulating two different images into something else. Below is displayed what we are aiming to create now.

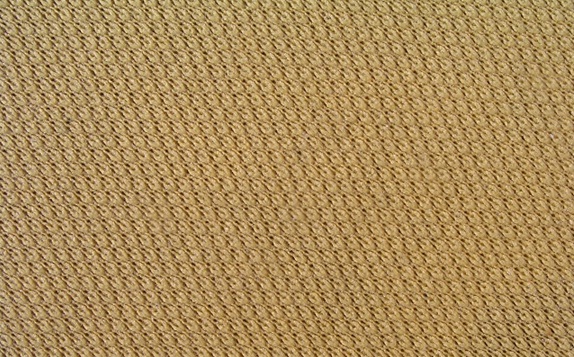
Step 1: Basic Image
First of all, you would need a fabric background.
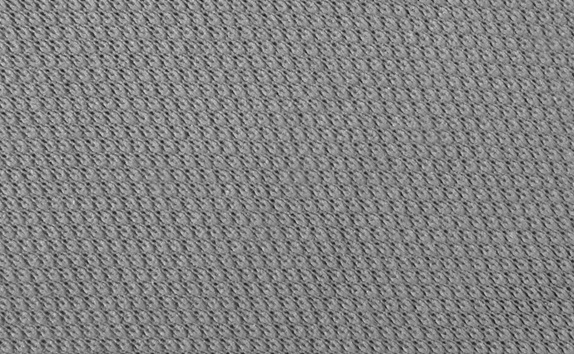
Step 2: Displacement
Desaturate your background layer by pressing CTRL U and setting the saturation value to -100. Save the file separately and name the file “Displacement”.
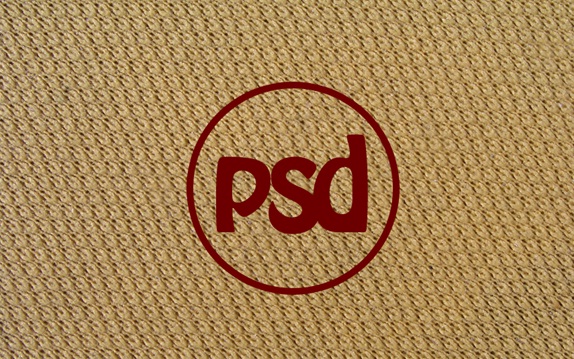
Step 3: Text And Shape Tool
Grab the Ellipse tool and make a circular shape at the center of the canvas. Reduce the fill of the circle to 0% and go to Layer Style. Apply the stroke filter and set the radius to 10px. After that, write your text in the middle of the circle using the text tool. For this particular tutorial, we would be using the font Hobo BT.
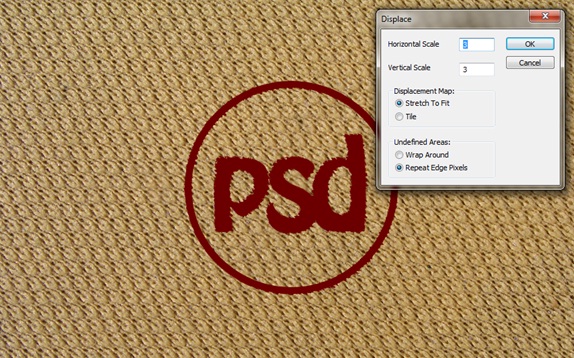
Step 4: Displacement Output
Duplicate all the shape and text layers and merge them into a single layer. After that, select the merged layer and go to Filter, Distort and select Displace. Once the new window pops up, use the following details. After clicking okay, select the Displacement.psd file that you had saved earlier. Once that is done, your image would obtain this irregular shape.
Step 5: Burn Tool
Press CTRL and click on the image layer. Once that is done, go to the background layer and select the burn tool. It is better to duplicate the background layer to try out different burn patterns. Apply the burn tool on the background layer using the selection.
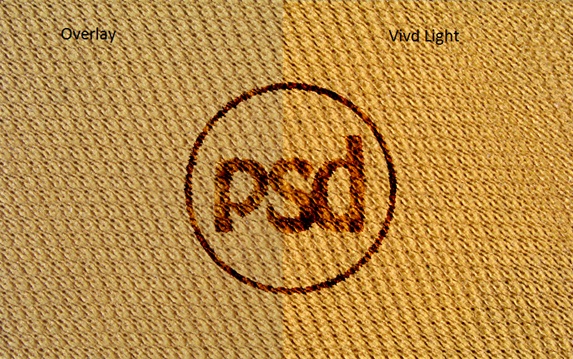
Step 6: Blending options
Duplicate the background layer twice (one on which the burn tool has not been applied). Move these two layers right at the top. Reduce the opacity of one layer to 40% and change the blending options to Overlay. Reduce the opacity of the other layer to 25% and change the blending options to Vivid Light.
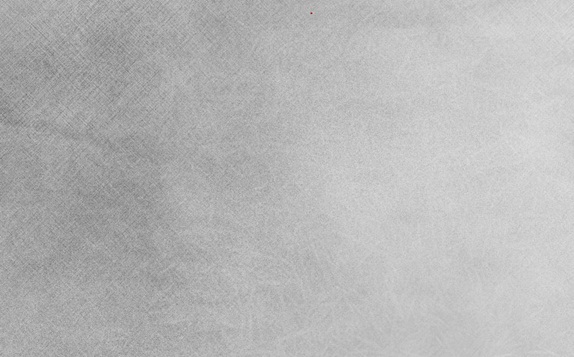
Step 7: Paper Texture
Download any paper texture and bring them on the canvas. Desaturate the image and change the blending options to Darken.
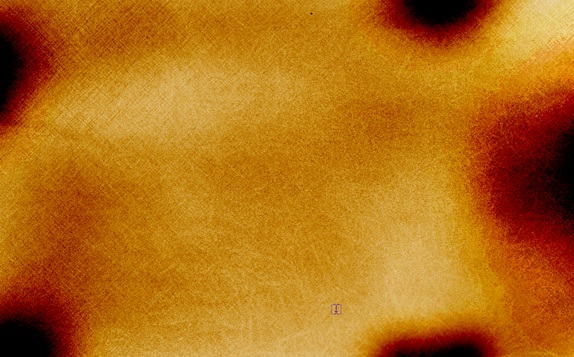
Step 8: Darker Color
Duplicate the paper texture layer and press CTRL U. Click on the Colorize option and play around with the hues. After that, use the burn tool on the image and change the blending options to Darker Color.
Step 9: Linear Light
Duplicate all the layers and merge them into a single layer. Apply the soft brush (using black color) around the borders. Press CTRL U and increase the saturation of the image to give it more depth. Darken the image and increase the contrast. You can play around with as many effects and filters as possible. Once done, change the blending options of the layer to Linear Light and we are done.


