How to create 3D Crystal Icon in Photoshop
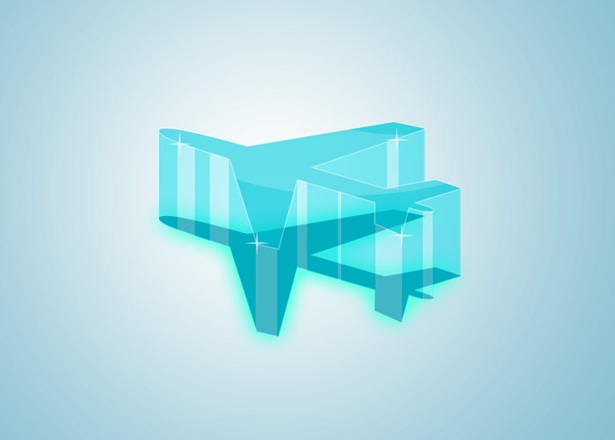
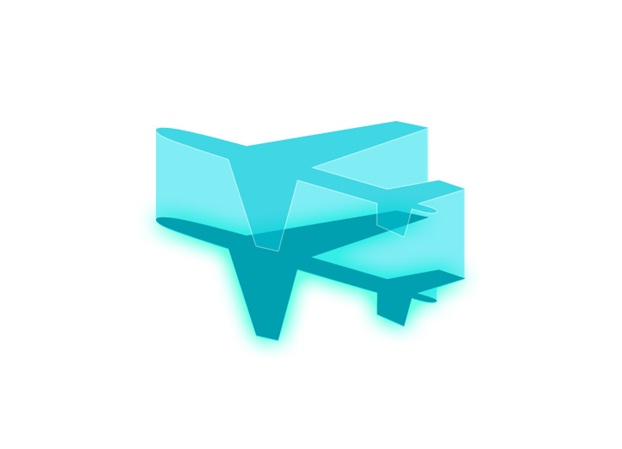
In this tutorial, we are going to learn how to create a 3D crystal icon in Photoshop. We are aiming to produce something along the lines displayed below. Let’s get started!

Step 1:-
Make a fresh document (size 750×550 px) with white (#ffffff) background.
Step 2a:-
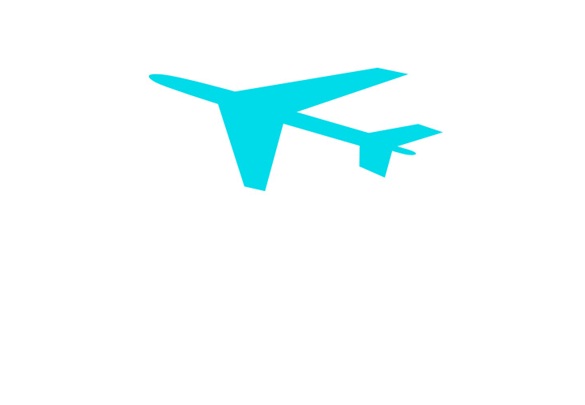
1. Choose the “Custom Shape tool” and select the Jet Symbol.
2. Now draw a path like it is in the picture.

Step 2B:-
1. Make a new layer naming it as “apex face”.
2. Now go to the “Paths tab” and choose the Work Path you have just made.
3. Click on Load Path (as Selection button).
4. Go back to the Layers tab, fill up the selection with blue color (#497923)
on “apex face” layer.

Step 3:-
1. Now hide the apex face layer and Make a new layer below “apex face” and name it as “structure”.
2. Repeat the process of 2nd step here and fill up the selection with slightly pale blue.
3. Reduce the opacity of “structure” layer to 40%.
Step 4:-
1. Choose the “structure” layer then press (Ctrl+A) to select everything.
2. Now choose the Move tool and press (Ctrl+Alt+T).
3. Now Press the Down arrow one time (for shifting the alteration down just 1px) and press Enter.
4. Press (Ctrl+Alt+Shift+T) for repeating the alteration. Keep doing it till you have the thickness you want.
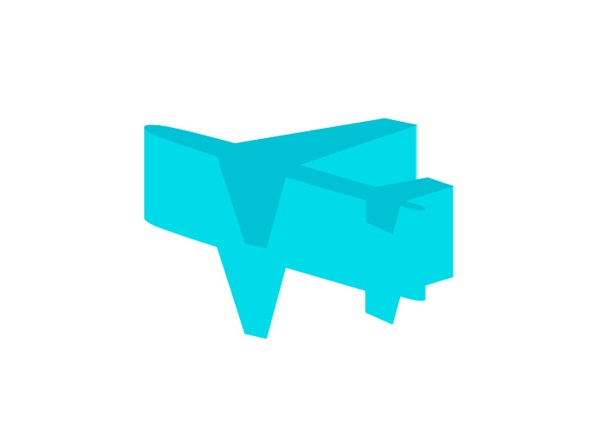
Step 5:-
1. For adding apex face unhide the apex face layer and set its Blend Mode to Overlay and reduce the Opacity 50%.
2. Do Right-click on this layer and select Blending Options.
3. Choose Outer Glow; Keep the Blend Mode to “Lighten” with color white and Opacity 100%.
4. Keep the size 5pixals.
Step 6:-
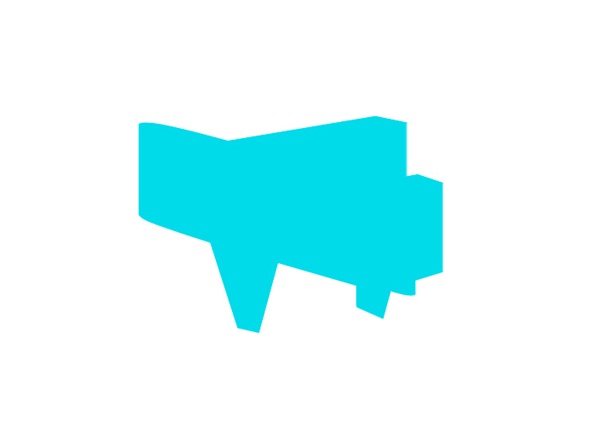
1. Make another layer to add a bottom to our shape, naming the layer as “bottom”.
2. Reorganize this layer to be under “apex face” and “structure”.
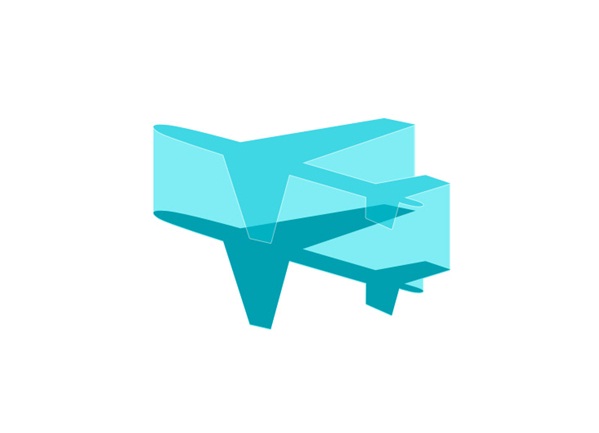
3. Repeat the process of 2nd step. However; fill up the selection with dark blue.
4. Now adjust the place of the “bottom” so it looks same as the picture below.
Step 7:-
1. Now duplicate the bottom layer renaming the fresh one as “glow”.
2. Reorganize the “glow” layer to be under bottom.
3. Choose glow layer, go to Filter, go to Blur and then select Gaussian Blur. Keep the settings of the radius 10 pixals.
Step 8:-
1. Make another layer on top of the rest naming it as “Gloss”.
2. Create a large spherical selection with the help of Elliptical Marquee Tool. Choose the Brush tool, and select the Airbrush Soft Round of size 300px. Paint crossways, somewhat outside, at the bottom of the spherical selection.
3. Reduce the Opacity to 60%.

Step 9:-
1. Make another new layer beneath apex layer naming it as “Shine”.
2. Make multiple vertical selections according to your shape with select tool.
3. Color them white with brush tool, set opacity to 50% and blend mode to overlay.
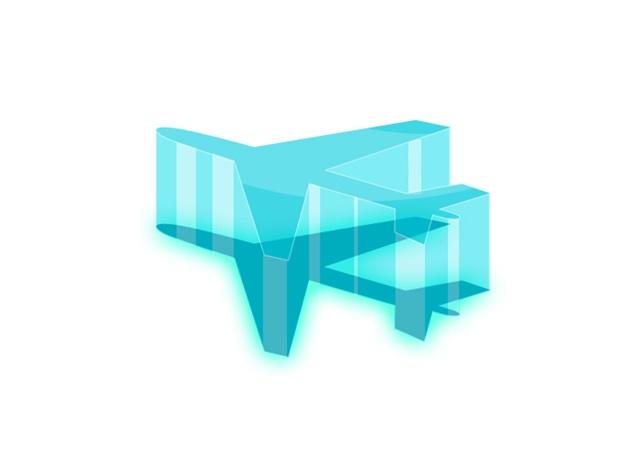
Step 10:-
Apply any background you want or else you can create color gradient as the background of your crystal icon and you are done!