Floating city photo manipulation
In this tutorial, we are going to learn how to create a floating city photo manipulation in Photoshop. Let’s have a look at our final result before we start.

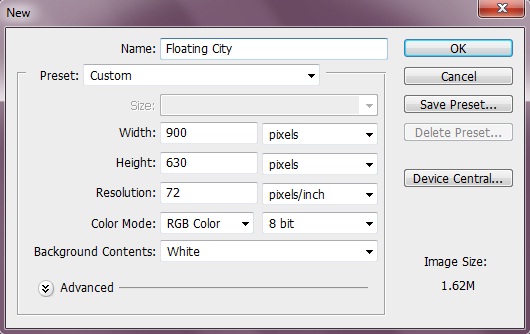
Step 1:-
First of all, create a new file with the following dimensions, 900px width and 630px height.
Step 2:-
Now create a new layer, so click on Layer> New> Layer.
Step 3:-
After that, use any island image, which you want to manipulate and paste it on our file.

Step 4:-
Open the city image and select the buildings.
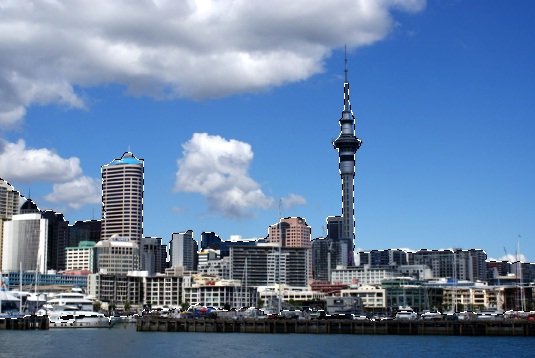
Step 5:-
Now paste the buildings image selection on our island.

Step 6:-
After that, select the Ellipse Tool and create a big circle with color #ffffff. Now select the eraser tool and remove the lower half. Then change the blending mode to “Soft light”.

Step 7:-
Now create another layer and fill it with #000000. Then change the blending mode to “overlay” and we are done.