
Creating Fog Effect in Photoshop
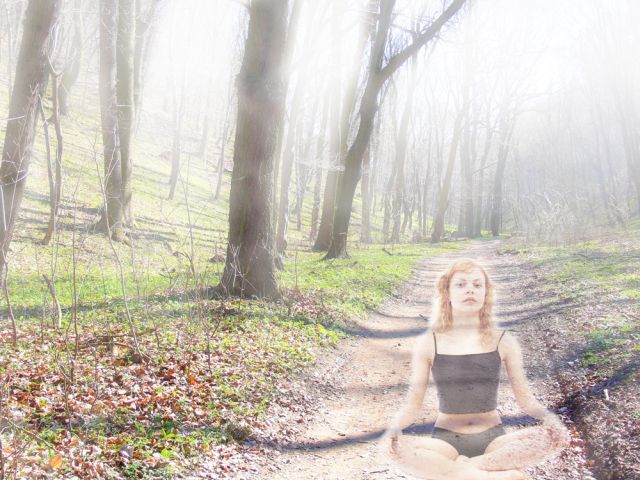
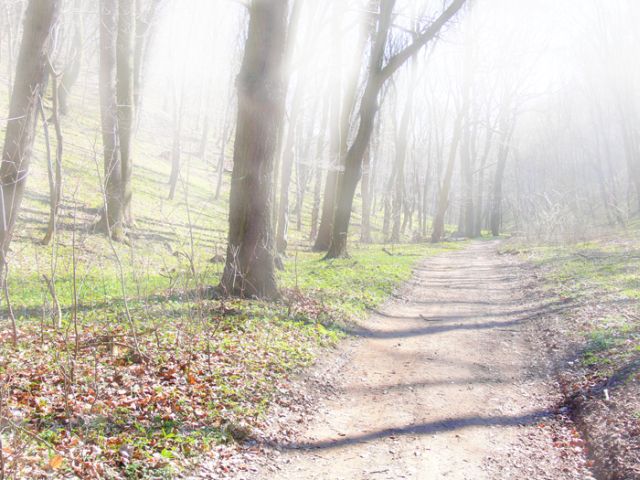
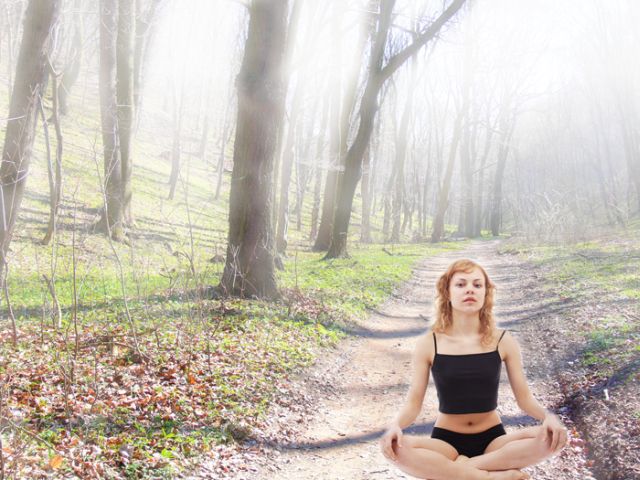
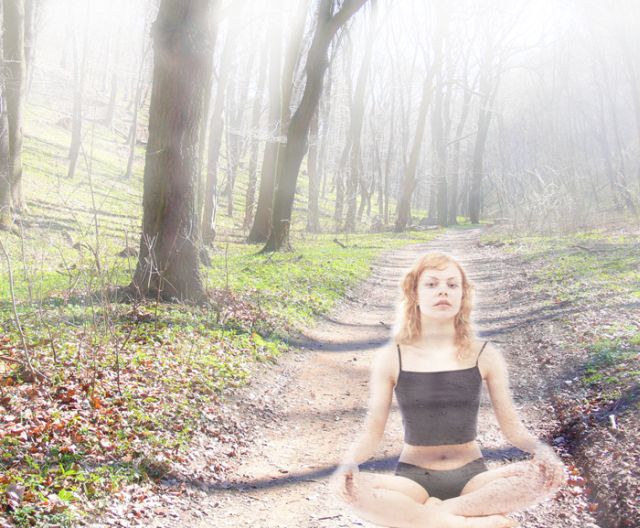
In this tutorial, I will teach you how to create fog over landscape. For this, you would be needing a background image and a girl picture. We are aiming to create the following effect.
Step – 1:
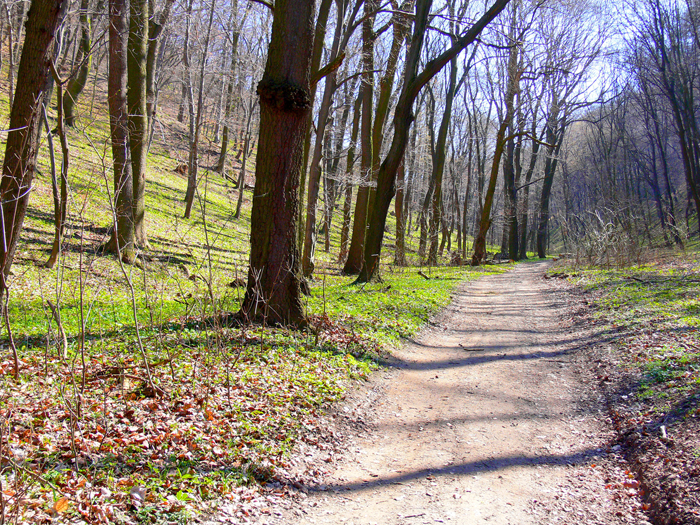
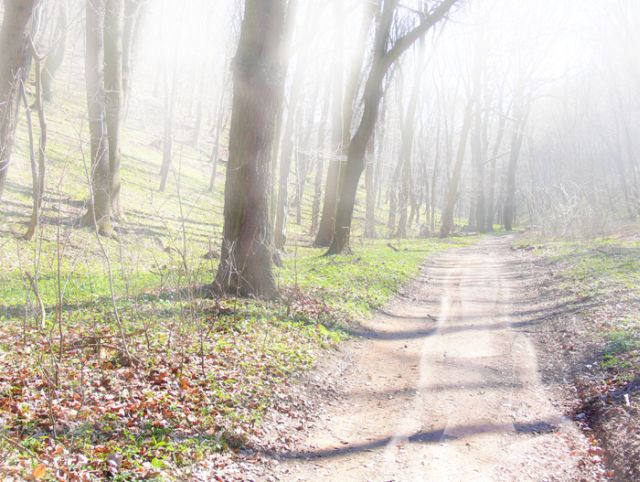
First of all, open the background landscape picture.
Step – 2:
Now we shall create dense fog on distance and disperse on foreground.
To do this:
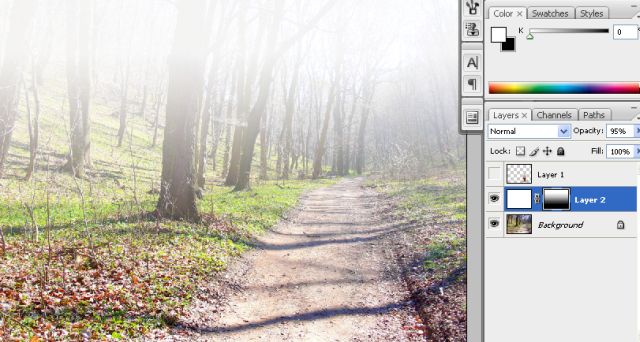
1. Create a new layer
2. Fill it with white color by clicking Edit>>Fill>>chose white color.
3. Set opacity to 95% for this layer.
4. Click Select >> Load Selection then click Layer >> Layer Mask >> Reveal All for creating mask for layer.
5. Remove current selection by pressing Ctrl+D
6. Select Gradient Tool & fill layer with linear black & white gradient.
See screenshot.
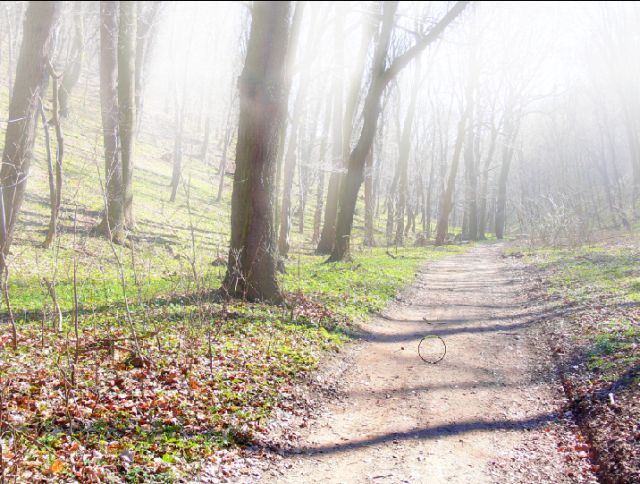
Step – 3:
Click Eraser Tool with Soft Brush and Size = 100px, Opacity = 20%
Then make few strokes on Layer
Paint nearest tree, middle area and few foreground section.
Step – 4:
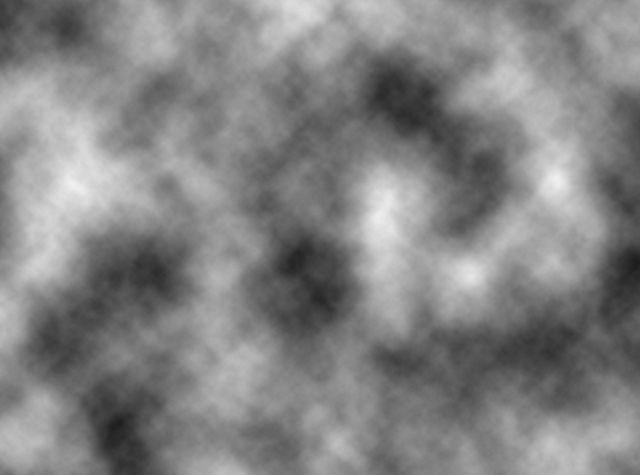
As fog flows irregularly, we shall add cloud effect.
To do this:
1. Create a new layer
2. Make sure foreground color is black and background is white.
3. Then apply Filter >> Render >> Clouds
Step – 5:
Now change this layer’s blending mode to Screen by selecting screen in layer palette. Then set its opacity to about 40%.
Step – 6:
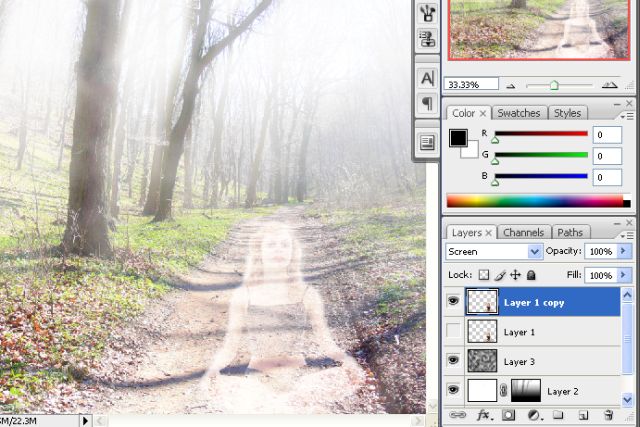
In this step, let’s add a girl photo.
Open photo then copy and paste it to our main image.
Then reduce its size by clicking Edit >> Free Transform and reduce to the size you feel is appropriate.
See the screenshot.
Step – 7:
Now duplicate girl layer by clicking Layer >> Duplicate Layer (Ctrl+J).
Then hide bottom layer by clicking eye in layer palette on the left side of this layer.
Then select upper duplicated layer and change its blending mode – Screen.
Step – 8:
Let’s add mask for this top layer.
To do this:
1. Click Select >> Load Selection, which select the layer content.
2. Click Layer >> Layer Mask >> Reveal All. This shall create layer mask for it.
3. Now remove the current selection by pressing Ctrl+D.
4. Then select Brush Tool (Soft round, Opacity: 45%) and then paint with black color.
Step – 9:
Now, Go to hidden layer and make this layer visible again by clicking eye in layer palette on the left side of this layer.
Then:
1. Click Select >> Load Selection.
2. Click Layer >> Layer Mask >> Reveal.
3. Now remove the current selection by pressing Ctrl+D.
4. Then select Brush Tool (Soft round, Opacity: 30%) and then paint with black color.
Step – 10:
If you want then you can set opacity of this layer to around 80% in layer palette depending on what image you are using. Here, I have used girl photo so I don’t have to lower opacity much. But if you are using the picture of any other thing, then you might want to make it a little faded.
Your final image should look like this.


