
Creating Camouflage Dress in Photoshop
In this tutorial, we would be working with different patterns and making a camouflage dress like displayed below.

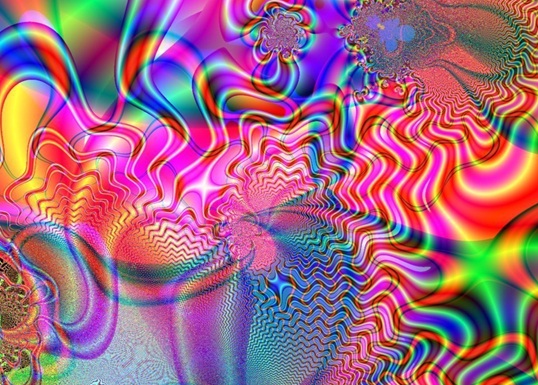
Step 1: Pattern
First of all, you would need a patterned background. For this tutorial, we would be going with a hippy theme.
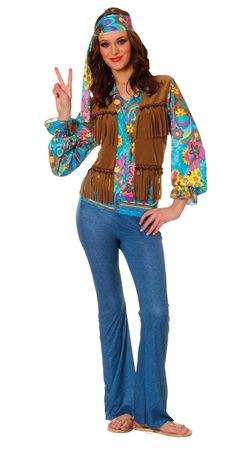
Step 2: Model
Next, you would need a model picture. I have used the one displayed below according to the theme I am using.
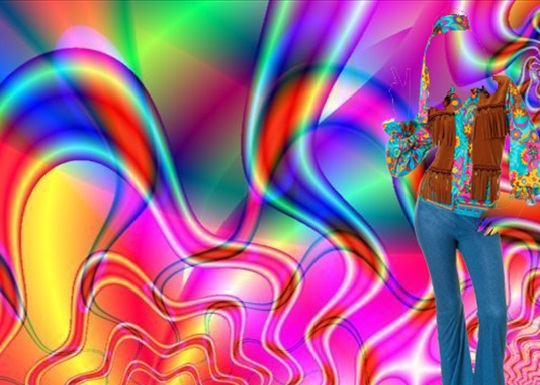
Step 3: Extraction
First of all, cut out the model and separate her from the white image using the lasso tool. Then bring her on the canvas with the background pattern that we had previously downloaded. Copy the model layer and extract the body of the model (her hands and face) from the dress like shown below.
Step 4: Highlights
Duplicate the dress layer. Select the duplicated layer, go to Filter, Blur and choose the Gaussian Blur effect. Keep the radius to 2px in order to retain the outline of the dress. Change the blending options of the duplicated layer to “Screen”.
Step 5: Shadows
Duplicate the background layer and move that layer below the dress layer. By pressing CTRL and right click on the dress layer, you would load the selection of the mask layer. Using the burn tool, simply apply it on the edges of the dress layer in order to make the shadow effect as shown below.
Step 6: Unhide Body Layer
Now simply unhide the body layer and your camouflage dress is complete. To further add to the image, you can extract the hair using the lasso tool and move it to a new layer. By pressing CTRL U and clicking on the check box titled “Colorize” you can change the hair color of the model. To add more depth to the image, go to the layer style and add an inner shadow effect to her hair. That’s it!


