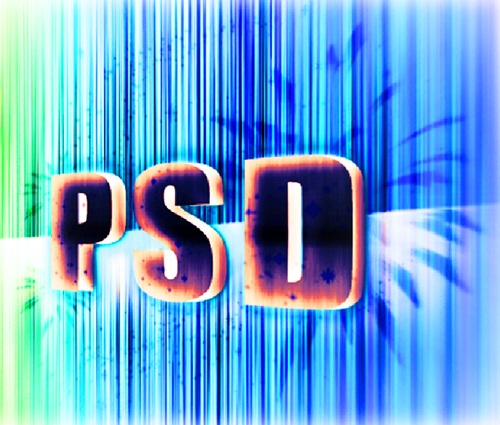
Creating amazing background for your Text
This tutorial would allow you to get a grip on Photoshop brushes and blending options to make a line based background with effects.

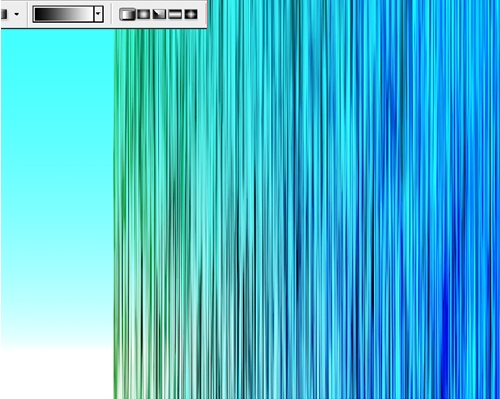
Step 1: Single Line
First of all, use the pencil tool to make a single line as shown below. Next, select the eraser tool and keep the hardness to 0%. Apply the eraser tool on the edges of the line like displayed below.

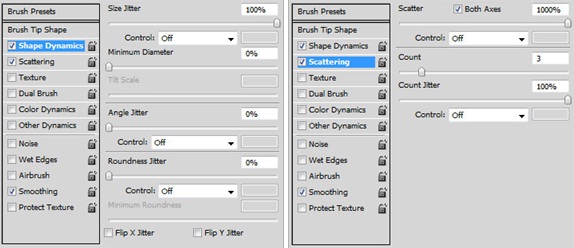
Step 2: Brush Presets
Once you have made a single line, make a selection of the image, go to edit and choose the option “Define Brush Preset”. Once the new window opens, use the following settings displayed below.
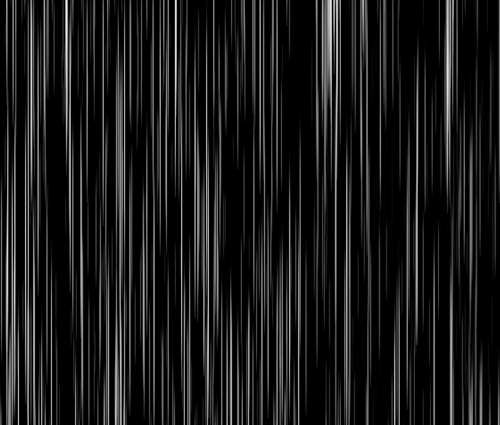
Step 3: Applying the New Brush
Create a new layer and fill the color of that particular layer with black. After that select the brush tool and apply the newly created brush on the canvas.
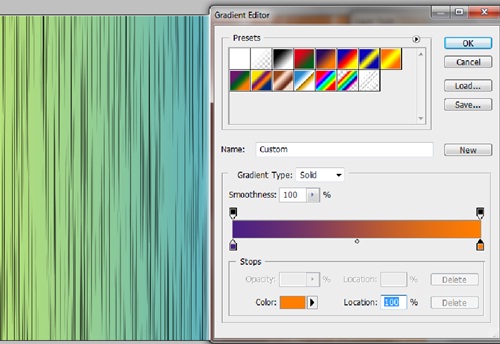
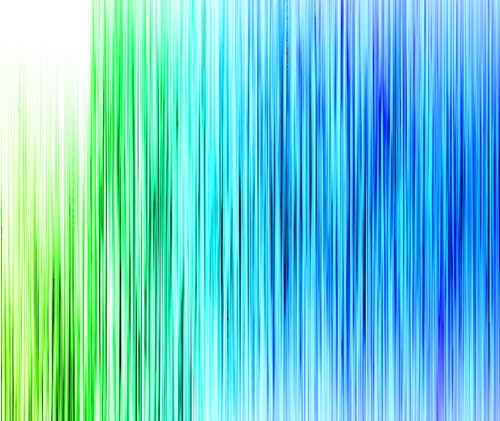
Step 4: Gradient
Change the gradient of the background as shown below.
Step 5: Overlay
Create a new layer and use the paint bucket tool to color the whole layer black. Change the blending options of that particular layer to Overlay.

Step 6: Mask Tool
Create a new layer and make a rectangular shape on this new layer. Color the object black as shown below. After making the object, select the mask tool.

Step 7: Gradient Tool
After selecting the mask tool, select the gradient tool and pull it in a straight line from down to upward. The gradient mesh would appear as shown below.
Step 8: Output
After using the gradient tool, click on the mask tool once again and you would see a selection generated automatically. Hit the delete button and you would see the following effect.

Step 9: Duplicate and Saturation
Duplicate the layer and pattern it all over the canvas to give depth to the center of the canvas. Reduce the opacity of all duplicated layers to 50%. Press control (or CTRL) U and increase the saturation to 80.
Step 10: Floor
Duplicate the layer you’ve made via the masking tool Bring it to the center of the canvas and transform it to make a wide floor type object as shown below.

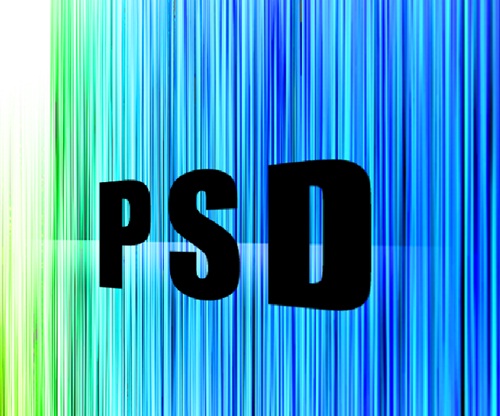
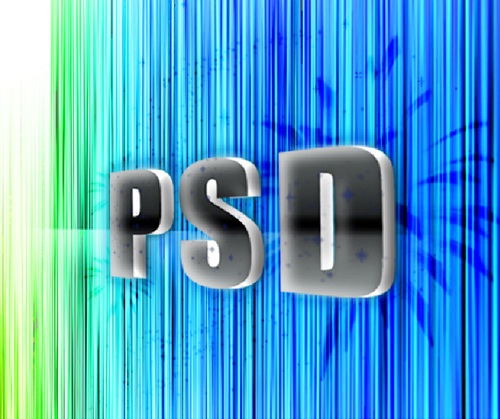
Step 11: Text and Perspective
Insert a text layer in the middle of the canvas and type in whatever text you want. Once you are done with the text, duplicate all the layers and rasterize the text layer. Use the transform tool and select perspective. Change the perspective of all the layers separately by moving the arrow towards the left corner of the selection and dragging the edge towards the center of the canvas.
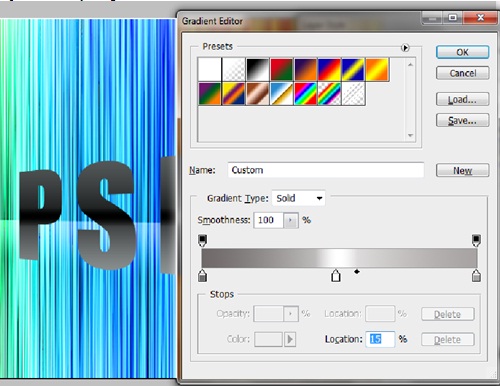
Step 12: Gradient
Select the text layer, go to the layer style and select Gradient. Apply the following frequencies for your gradient.
Step 13: Duplicate Layer
Duplicate the text layer. Go to the layer style and select Color Overlay. Choose the color black and move the layer a few pixels from the original layer as shown below. In the layer style of the duplicated layer, choose Outer Glow and give the glow a lighter shade that merges with the backdrop.

Step 14: Sparks Brush Tool
Make a new layer and position it between the text layer and the background. Download the sparks brush tool and apply it randomly over the layer, keeping the foreground color to white. Go to the blending options of that layer and choose overlay. You can follow the same steps over the text.
Step 15: Color Correction
Add a new layer right at the top and choose the color black all over the layer. Change the blending options to Overlay. Duplicate all the layers and merge them into a single layer. Go to the Curves Adjustment layer and change the RGB values of the canvas to give your image more depth.