
How to create an Awesome Shattered Face
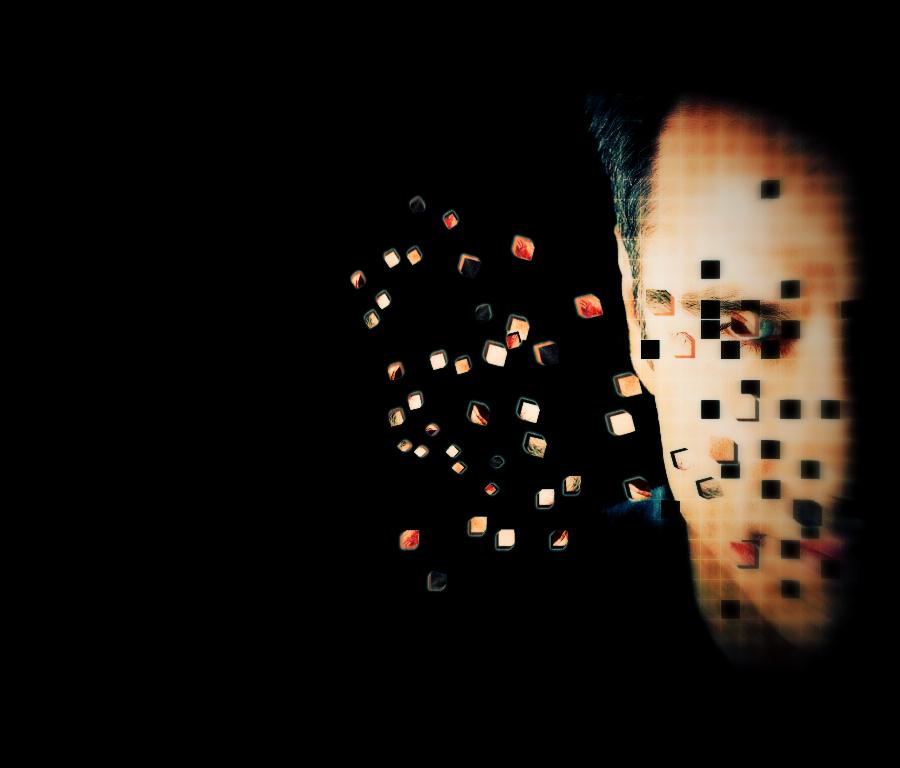
In this tutorial we would be using a simple image and creating a shattering effect like shown in the image below. We would be using the basic pen tool and layer blending options to create such an effect.
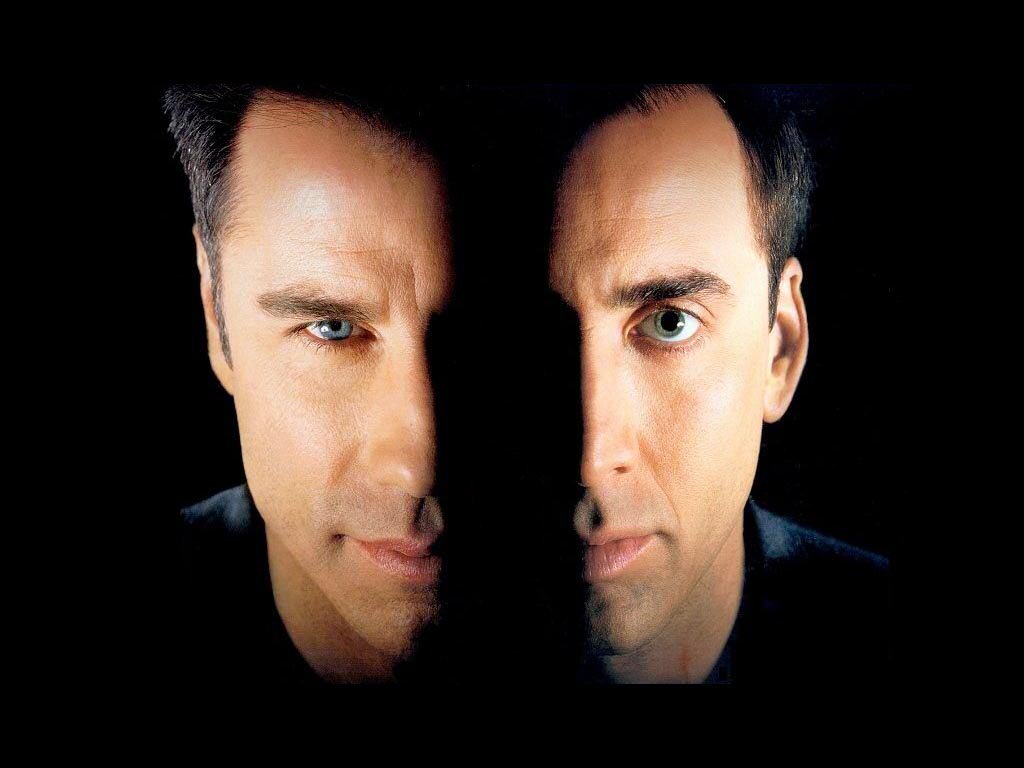
Step 1: Image
Cut out either one of the actors from the image and shift them to either side of the canvas.
Step 2: Creating A Circle Frame
Create a new layer and color it black. Shift the new layer behind your image and merge both the layers.

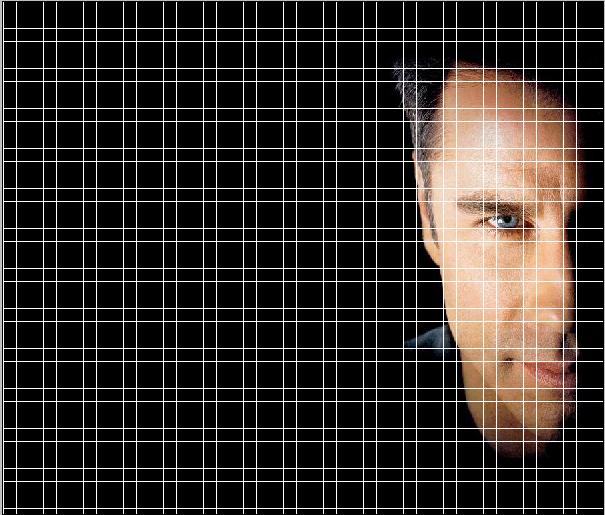
Step 3: Grid
Make a new document of 20 by 20 pixels and make an L shape. Hide the background and select the whole canvas. Go to Edit and choose Define Pattern. Now again go to your image and pick up the paint bucket tool. Change the option from Foreground to Pattern. Select the pattern you have made and apply it all over the canvas.
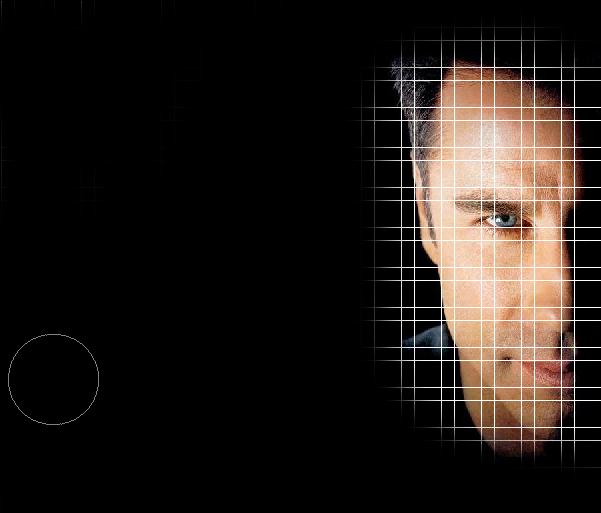
Step 4: Erase
Simply pick up the erase tool and start erasing the grid on the canvas like displayed show.
Step 5: Overlay
Change the blending options of the grid layer from its default value to Overlay.

Step 6: Pen Tool
Select the pen tool and make a selection on the grid like shown in the first image. Go to the Paths tab and press control (or CTRL) while left clicking on the layer. This would select your entire selection. Now go to your basic image, cut and paste the selection into a new layer.
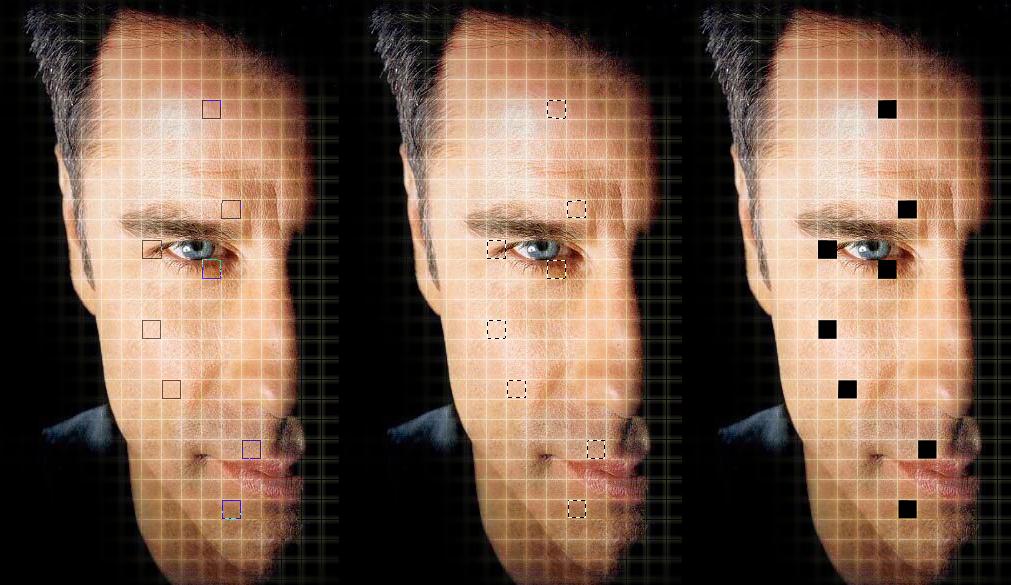
Step 7: Pen Tool
Once you paste the selection into a new layer, move it towards the left and transform the whole selection, reducing the size.

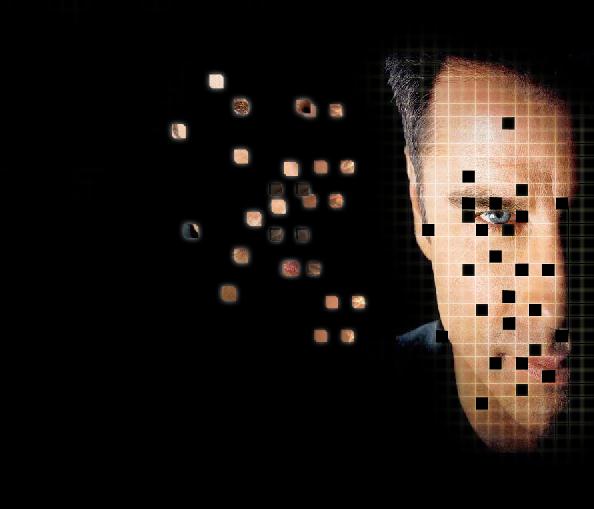
Step 8: Continue With The Same Step
Continue with the same step, making more selection using the pen tool and copying the selection in a new layer. To add depth to the shattered images you can add the glow effect to each layer like shown below.
Step 9: Final Touches
Add a new layer on the top and color the whole layer white. Use the brush tool to make borders around the face. Go to Filter, Blur and apply the Guassian Blur effect. Go to the blending options of that particular layer and choose Hard Mix.


